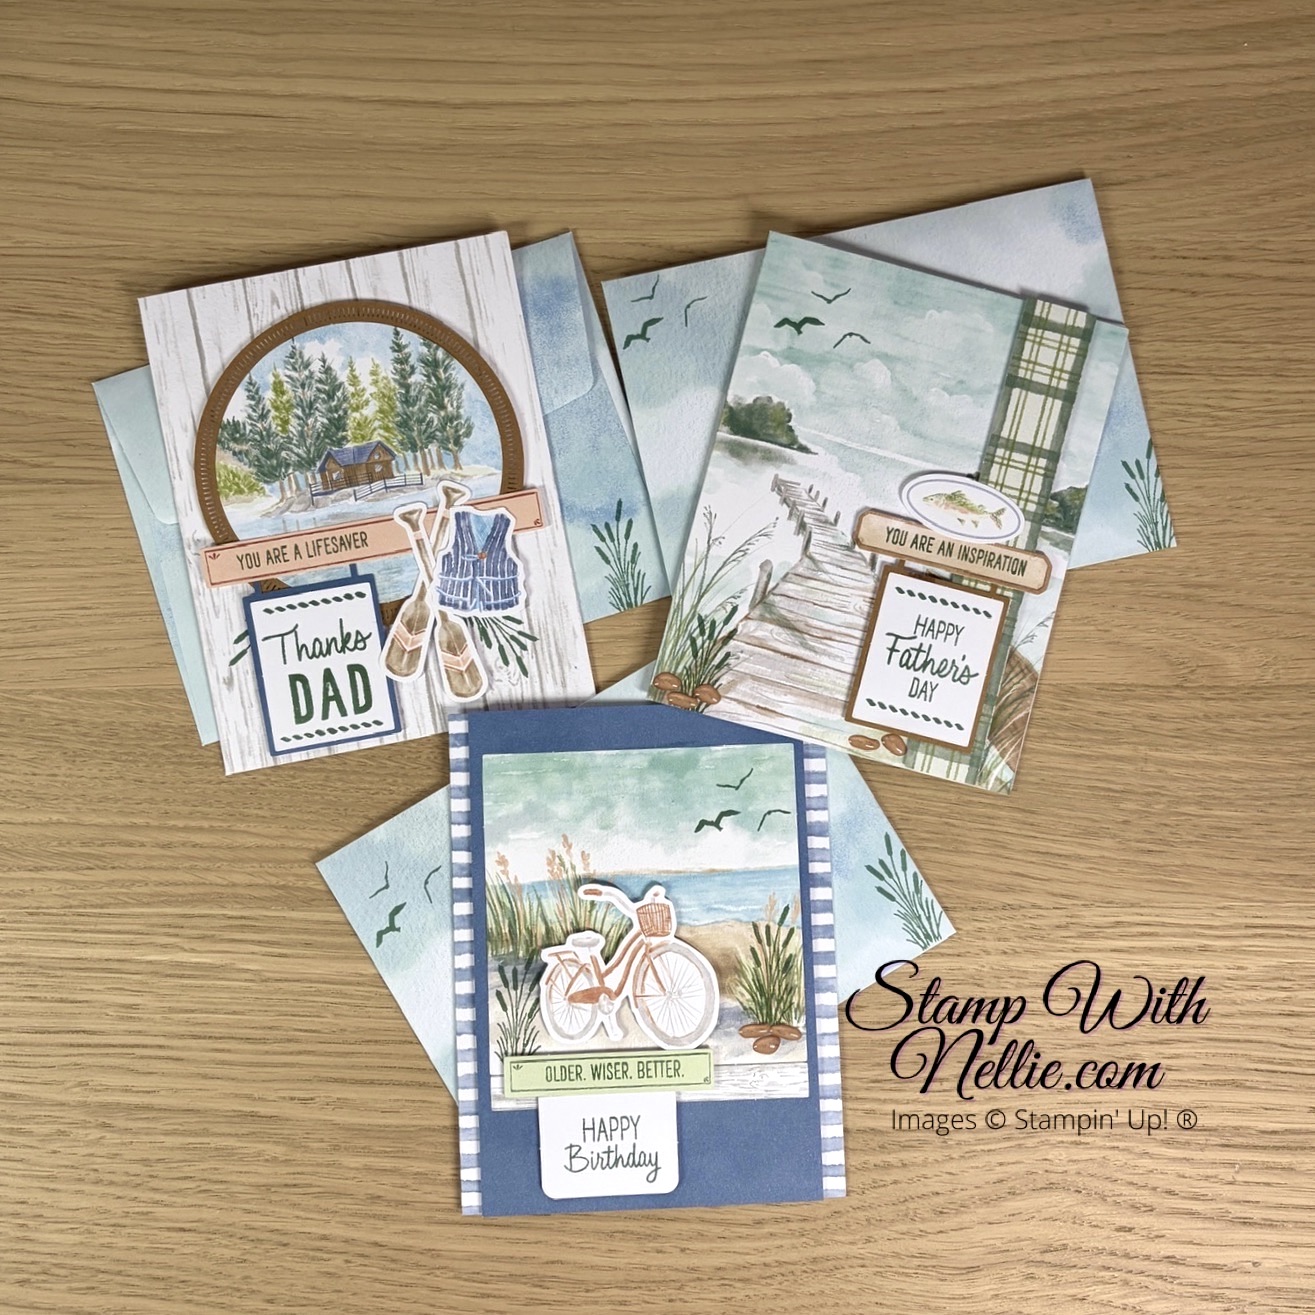
Hello! I hope you are well. I was delighted to receive the April 2026 Lakeside Retreat Paper Pumpkin box at OnStage in Cologne in March. But it has taken me a while to get around to actually making the cards! And once I’d made one of each card, I knew I just had to play around with the remaining supplies to see what else I could come up with! And that’s when I decided to turn a Paper Pumpkin card into a box. But first, here’s the 3 cards I made, following the instructions in the Paper Pumpkin box…
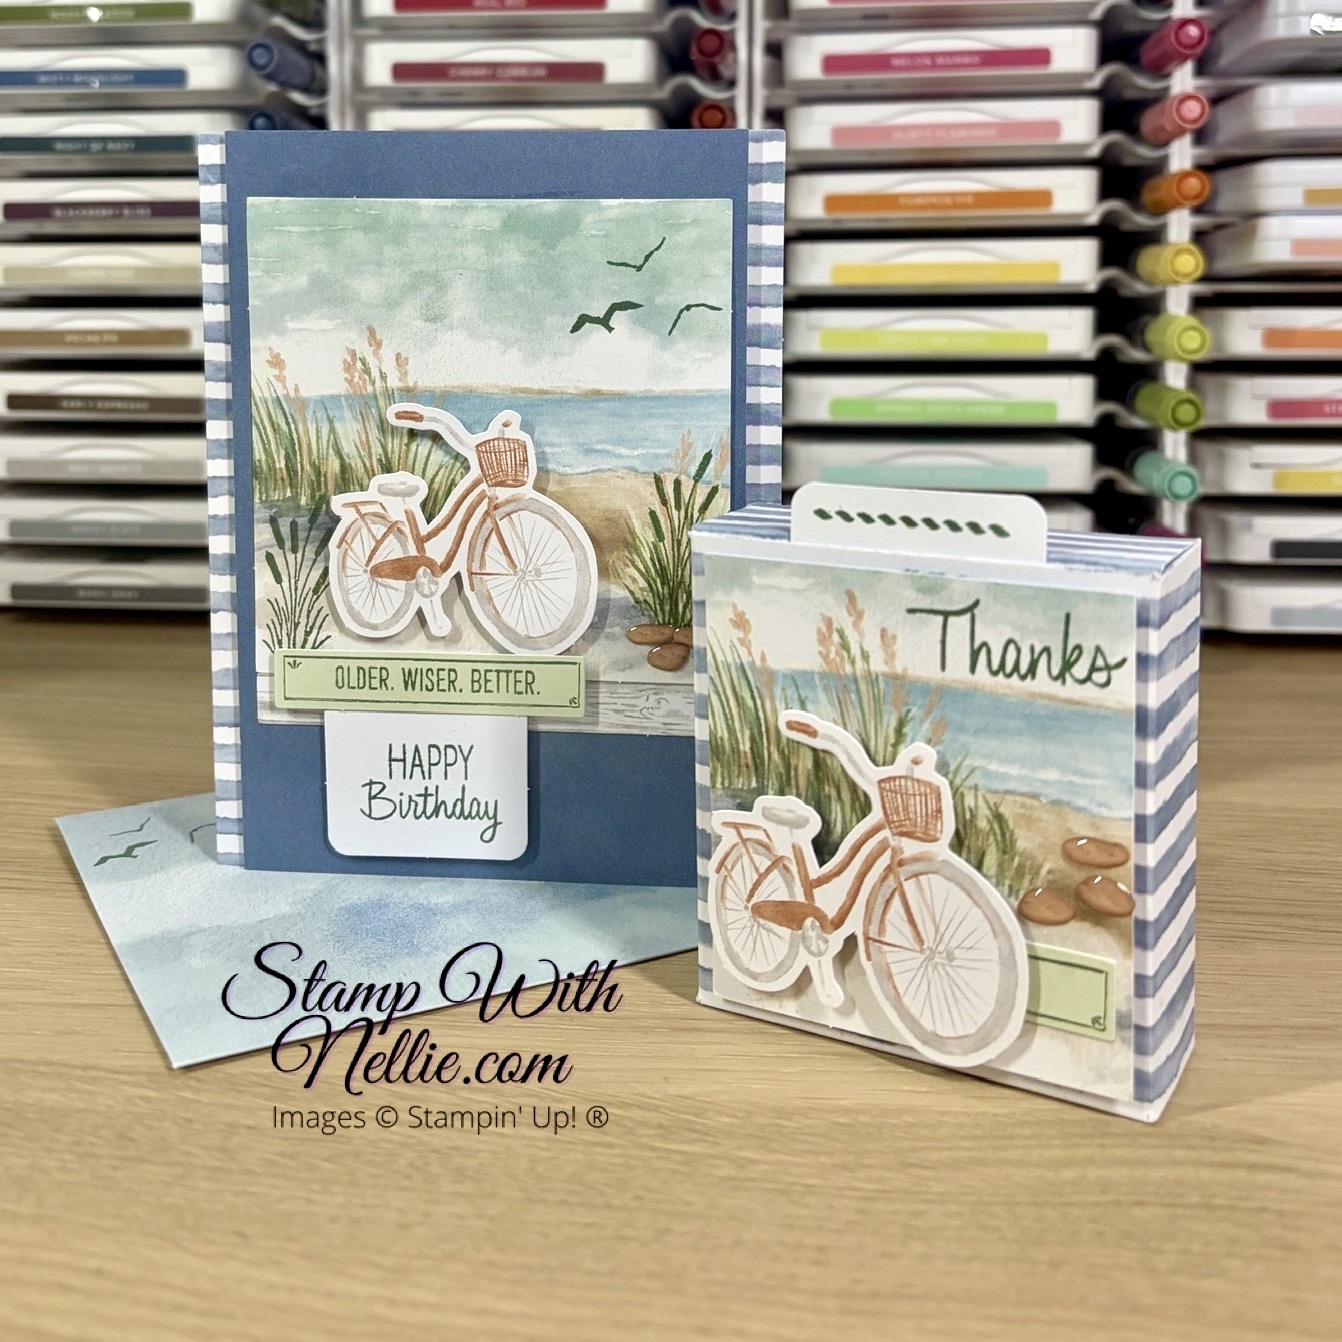
You get enough supplies in the box to make 3 of each of the cards. So I took the supplies for card number 2 and make this coordinating box…
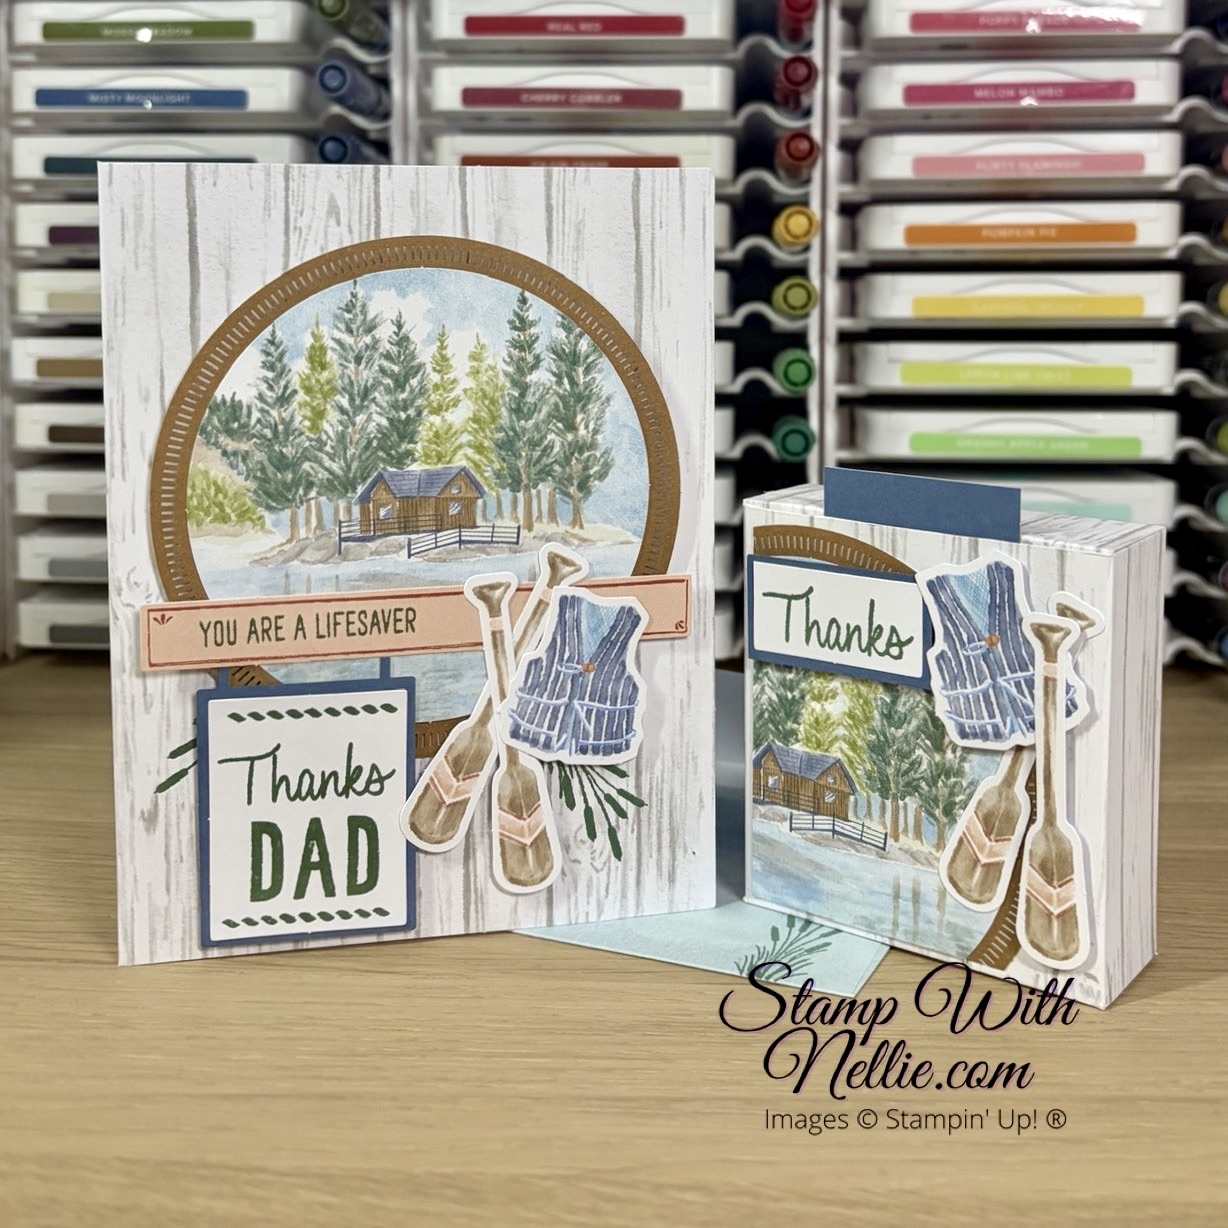
I didn’t add any supplies from my stash to make this box, but instead I had some leftover bits and pieces that I can make a card with, by adding some Basic White card. I did use my paper trimmer to cut and score the card base and some of the other elements to make them fit the front of the box. And of course I had to use a pair of scissors to make a few cuts to turn the card into a box.
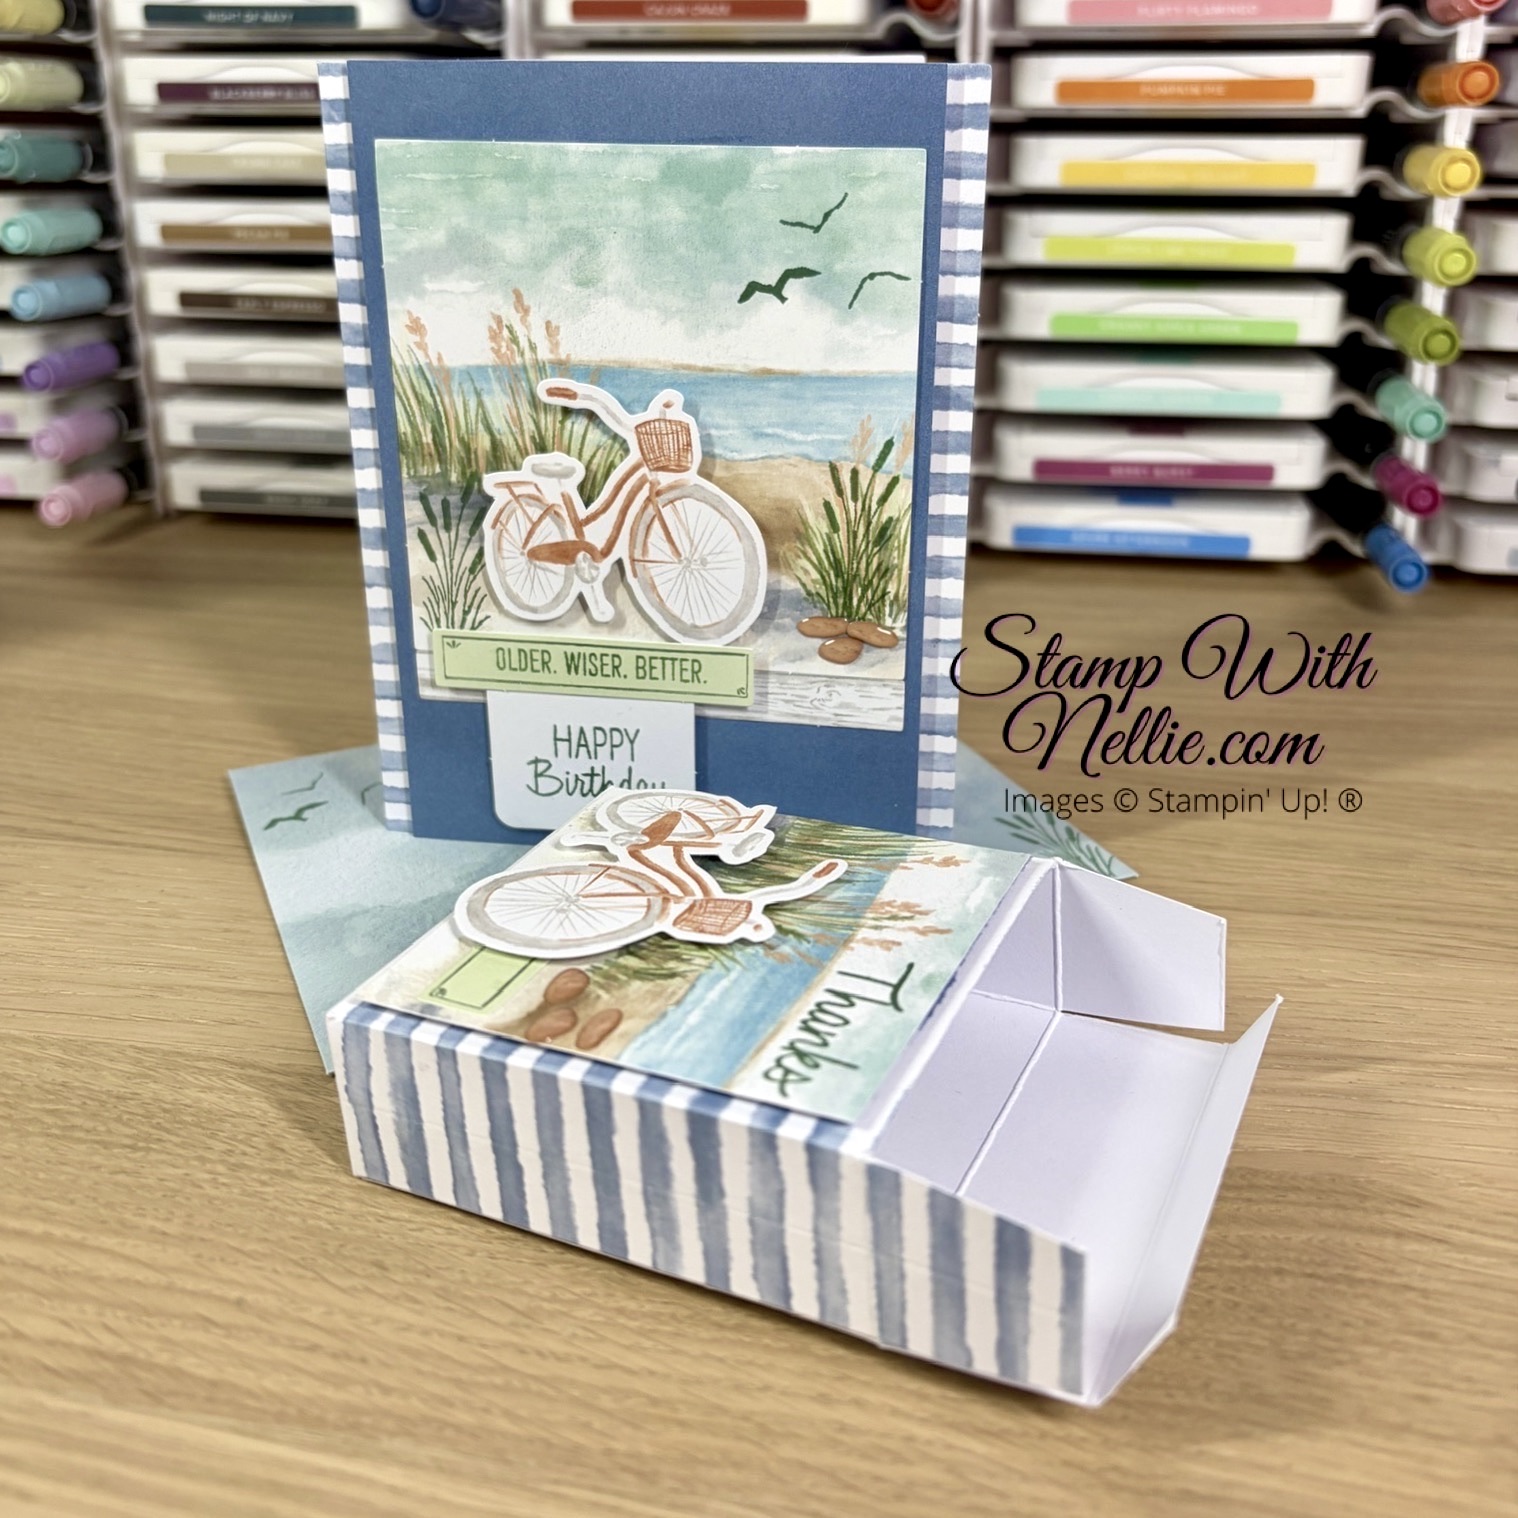
Watch as I turn the supplies for card number 3 into another little gift box…
YOUTUBE TUTORIAL
To watch the video please click on the image below…
Or if you’re reading this from my email, you can CLICK HERE to pop over to YouTube and check out today’s project video. If you enjoy watching my video, I’d love you to give it a thumbs up and leave me a comment too. If you haven’t already subscribed to my channel, make sure you do so when you’re there; so you don’t miss out on future videos.
Here’s the box I made in today’s video…
MEASUREMENTS
To make the gift box in today’s video you’ll need the following supplies
- A Paper Pumpkin card base that has the same design printed on the front and back
- Cut this on the long side so that the base now measures 8″ x 5-1/2″ with the original score line now at 3-3/4″ from the left hand side
- score on the long side at 2-3/4″ (it’s already scored at 3-3/4″), 6-1/2″ and 7-1/2″
- score on the short side at 1″, 4″ and 5″
- Cut this on the long side so that the base now measures 8″ x 5-1/2″ with the original score line now at 3-3/4″ from the left hand side
- Pieces from the Paper Pumpkin kit to decorate the front of your gift box
I hope you have as much fun turning your Paper Pumpkin card into a box as I did!
SHOP THE PRODUCTS
I’ve listed the products I used for the project in today’s video below. You can click on any of the links in the Product List to visit that item in my online Stampin’ Up! store. Please click on the following link to find out more about how to subscribe to Paper Pumpkin:
https://www.stampinup.uk/products/paper-pumpkin-subscription/?demoid=5046503
CUSTOMER APPRECIATION
When you shop with me you’ll receive a handmade card and gift as a token of my appreciation. You will also earn Stampin’ Rewards to spend on a future order if you spend £20 (25€) – CLICK HERE to find out more.
Happy crafting,
Heather x
Product List![Paper Trimmer [ 152392 ]](https://assets1.tamsnetwork.com/images/EC042017NF/152392s.jpg "Paper Trimmer [ 152392 ]")
![Bone Folder [ 102300 ]](https://assets1.tamsnetwork.com/images/EC042017NF/102300s.jpg "Bone Folder [ 102300 ]")
![Multipurpose Liquid Glue [ 154974 ]](https://assets1.tamsnetwork.com/images/EC042017NF/154974s.jpg "Multipurpose Liquid Glue [ 154974 ]")

Brilliant idea – love those boxes!
Thank you so much Deborah ❤️❤️