Hello, I hope you are well.
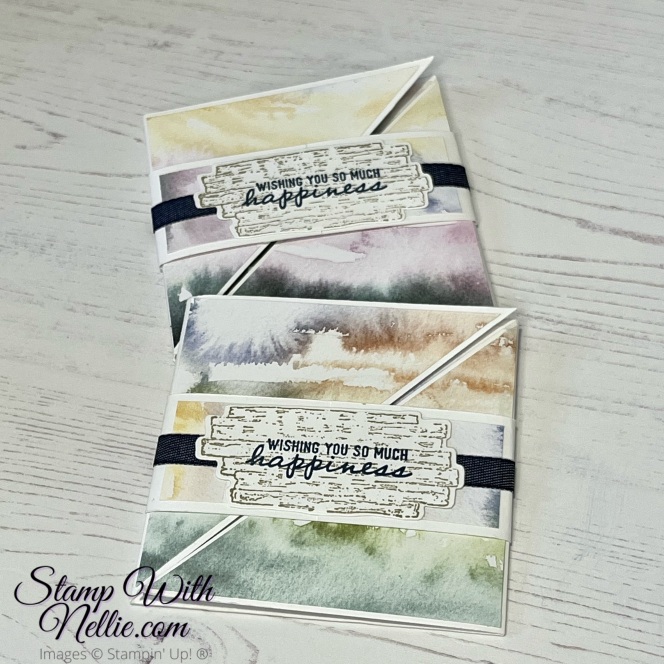
Unfortunately I’ve not been fit enough to record a video tutorial for a few weeks but I’m back with one for you today. And it’s a long one as it’s for a fancy fold card I’ve never tried before. When closed the card measures 4″ x 4″
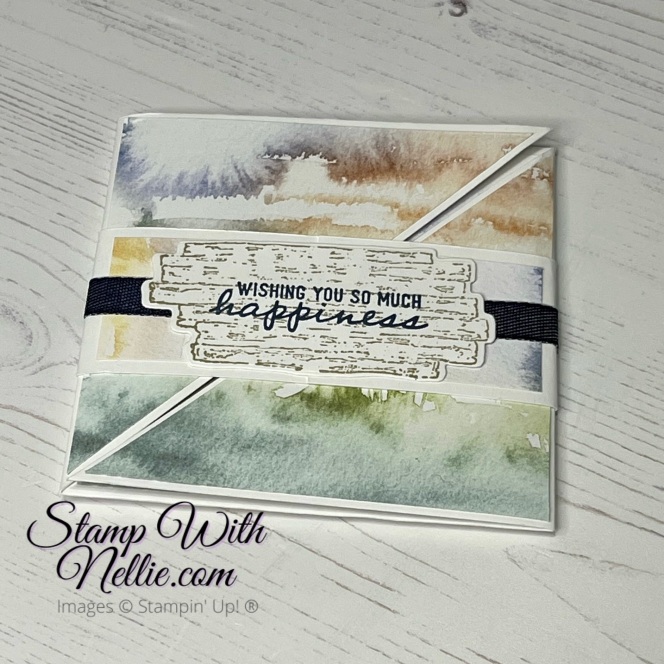
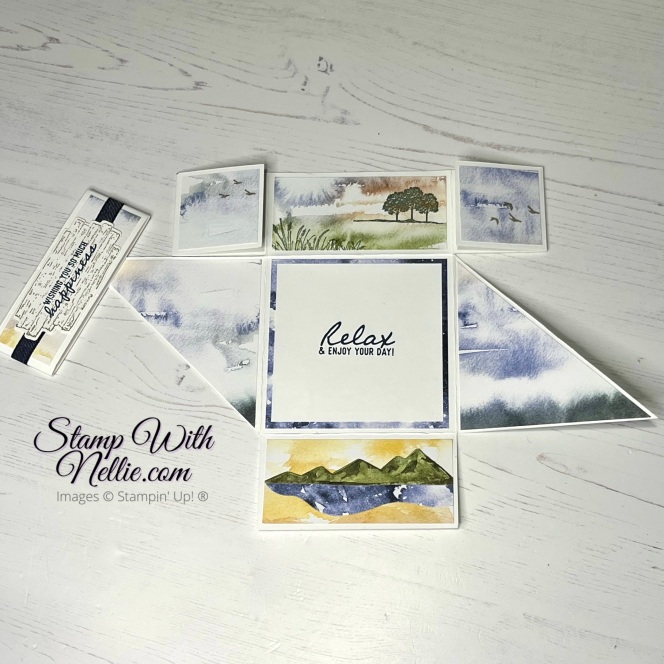
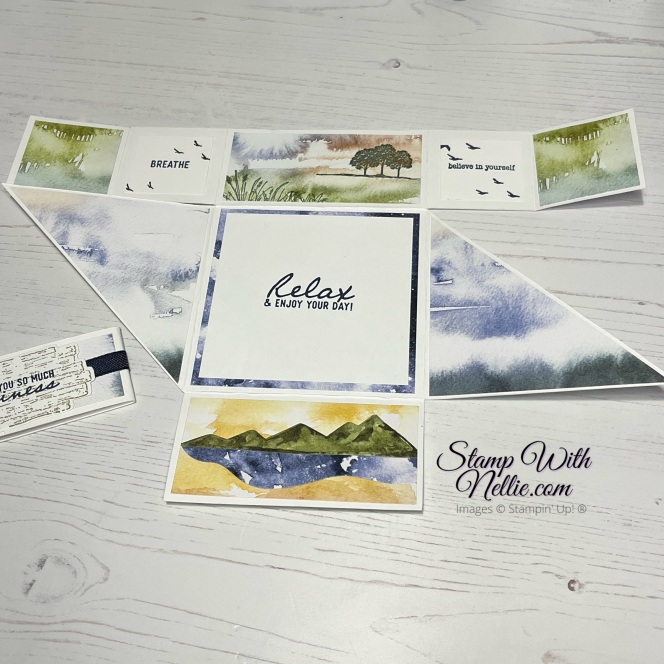
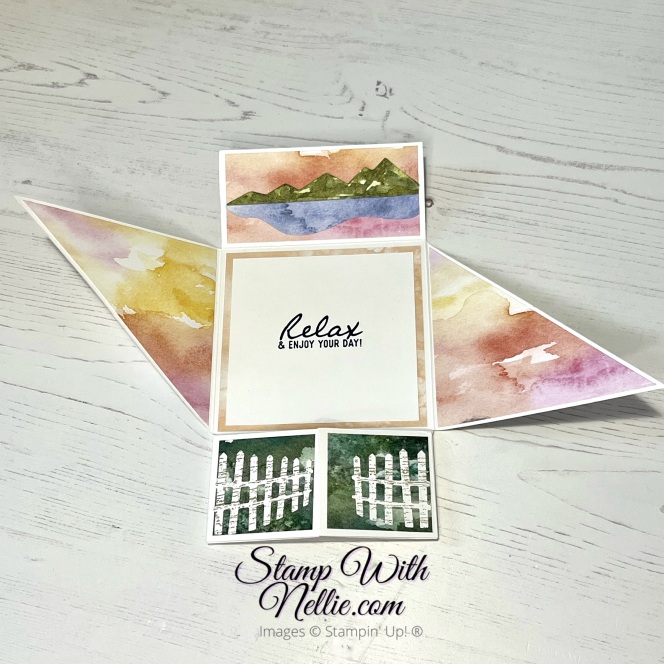
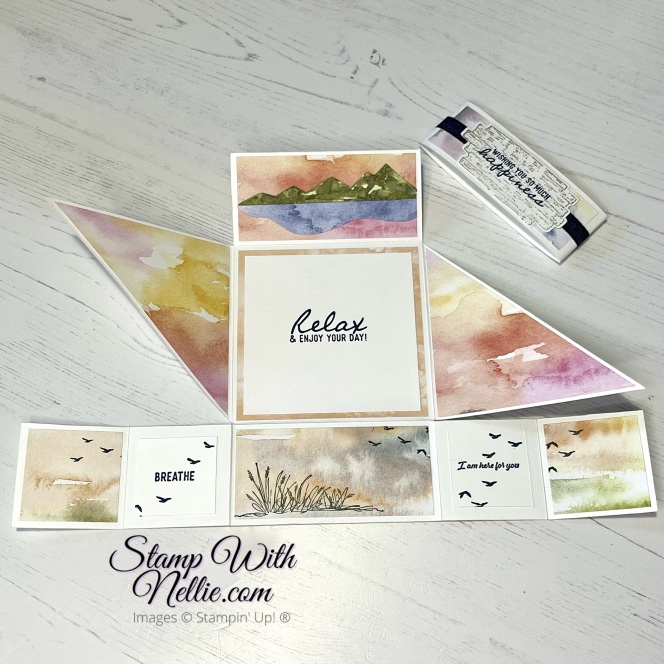
And then it opens out as shown in these photos (but you can see it better in my video)…
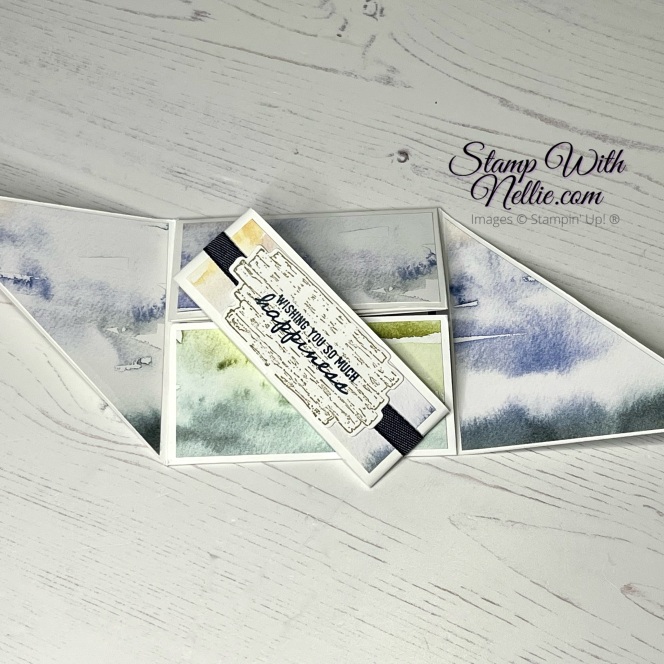

Please click on the image below to see how you can make this fun card…
To make this card you’ll need the following supplies:
- one sheet of 12″ x 12″ Basic White card, trimmed down to 12″ x 8″
- score on the long side at 4″ and 8″
- score on the short side at 2″ and 6″
- cut on the short side at 2″ in down to the 4″ mark
- cut on the short side at 6″ in, down to the 4″ mark
- rotate 180 degrees and repeat the 2 steps above
- cut on the long side at 4″ in, down to the 2″ score line
- cut on the long side at 8″ in, down to the 2″ score line
- cut the 2 outside 4″ x 4″ panels on the diagonal as shown in the video
- with the full long side at the top, score at 2″ in, down 2″ then do the same at 8″ in.
- cut a strip for the belly band measuring 1-1/2″ x 9″ from the remaining piece of 12″ x 12″ card
- stamp and die cut the fence panels from the triangles you chopped off earlier
- 3 pieces of DSP measuring 3-3/4″ x 3-3/4″ – cut 2 of them on the diagonal to decorate the triangles on both sides. Use the 3rd piece for the centre 4″ x 4″ panel
- 4 pieces of DSP measuring 1-3/4″ x 3-3/4″ – decorate 2 of them for your inside panels, with die cuts and stamping
- 6 pieces of DSP measuring 1-3/4″ x 1-3/4″
- 1 piece of DSP measuring 1-1/4″ x 3-3/4″ for the belly band
- DSP for die cutting the mountains and water
- 2 pieces of Basic White card measuring 1-1/2″ x 1-12″ for sentiments
- 1 piece of Basic White card measuring 3-1/2 x 3-1/2″ for the centre sentiment
- Basic White card for stamping and die cutting the belly band sentiment
Here’s the card I made in the video…
I hope you’ve enjoyed this card, I certainly enjoyed making both versions!
If you enjoyed my video tutorial I’d love it if you’d pop over to YouTube to give it a thumbs up and subscribe to my channel if you haven’t already done so – just click here
I’ll be back with another video tutorial at 6pm on 1 April 2022 and I hope you’ll check that out too.
Shop the products
I’ve listed all of the products I used for today’s cards below. You can click on any of the links to see that product in my online shop. The stamps and dies I used can be purchased separately but if you buy them as a bundle you’ll save 10%; so I’ve shown both options in my product list below.
When you shop with me you’ll receive a handmade card and gift as a token of my appreciation. If your order is under £150 please use the current Host Code so that I can add in a free product to your customer thank you pack for the month. Find out more on the Host Code page in the main menu.
Happy crafting,
Heather x
Product List ") |  | |
 Denim Ribbon") | ||
 |  |  |
 |  |
")
 Designer Series Paper")
 Cardstock")


Leave a Reply