Hello! I hope you are well.
My friends will tell you that I have a bit of a thing for handbags. I often joke that I have a small handbag collection; that fits inside my medium handbag collection and that fits inside my large handbag collection. I seriously do have to store them like Russian dolls, lol.
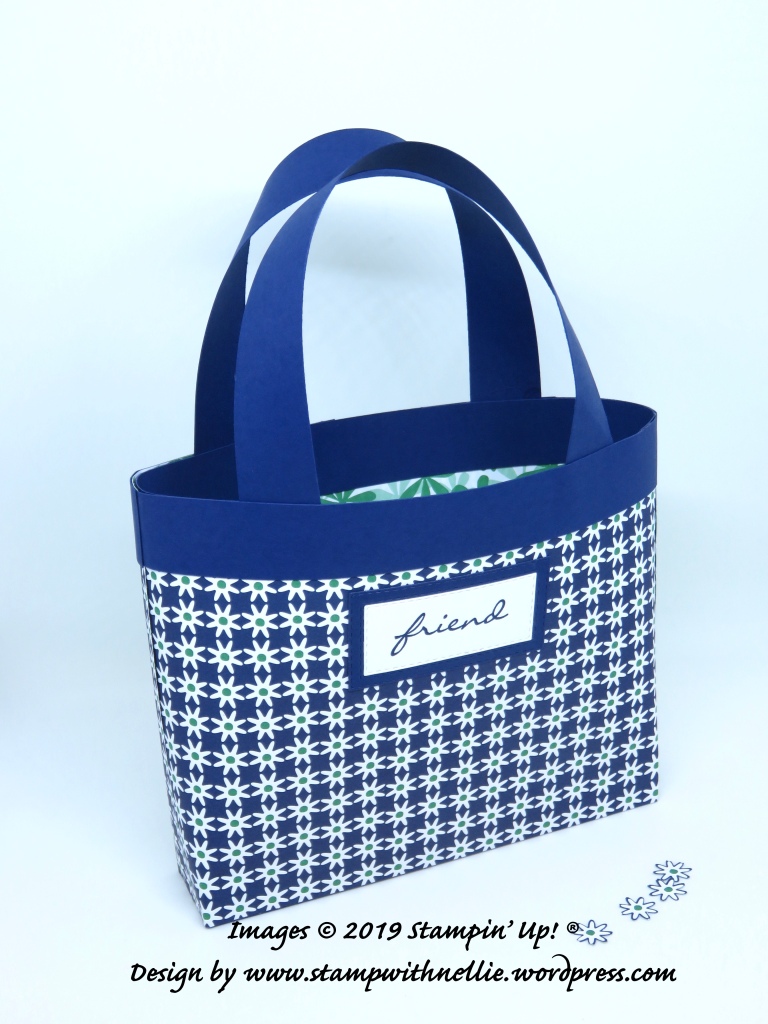
So it’s a bit of a surprise that it’s taken me so long to make one from card and paper, but here it is…

I’ve sized this so that I can comfortably include some handmade A6 sized cards to gift to a friend…

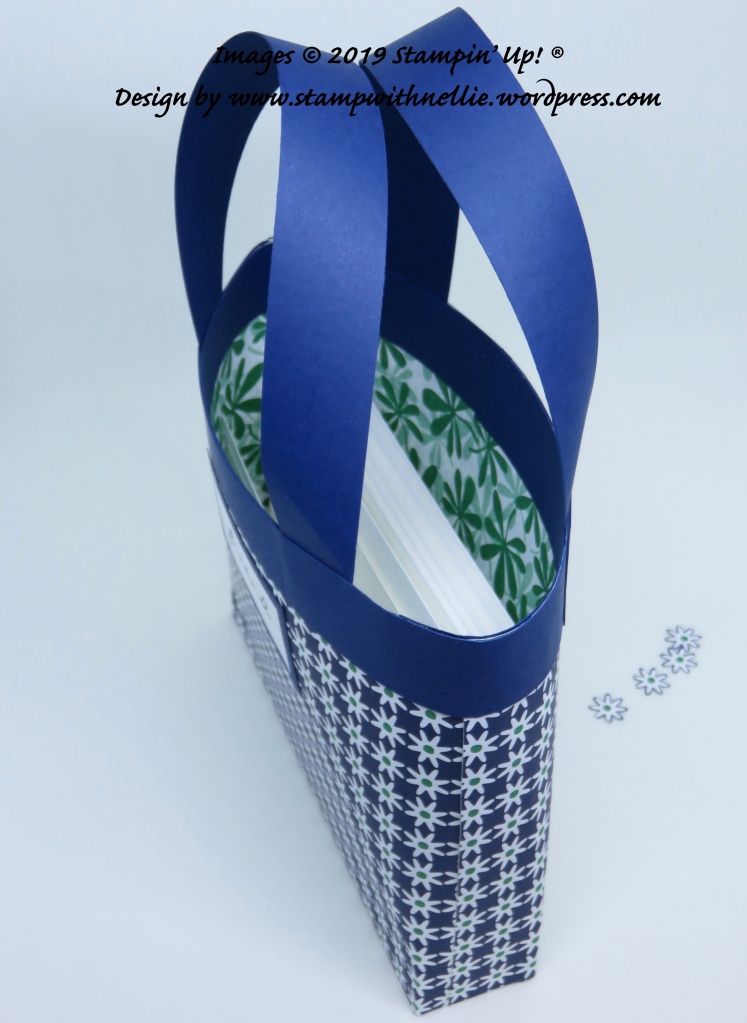
I really like how the other side of the paper makes it look like the bag is lined.
The finished size is 7 inches in length, 1 & 1/2 inches deep and 6 inches high (plus the handles)
To make this I started with making a box tray base. I cut some Night of Navy card to measure 9 x 3 & 1/2 inches and scored it at 1 inch on each side. I cut the smaller tabs to create the box.
I cut a sheet of Happiness Blooms designer series paper to measure 6 inches by 9 & 1/2 inches and another piece to measure 6 x 9 inches. I glued this to the sides of the card box so that the edge of the paper is in line with the base of the box. I made sure my joins were on the sides of the box. You will also need to glue the edges of the paper together.
I then cut 6 1 inch strips of Night of Navy A4 card (approx 11 & 3/4 long). Two of these need to be trimmed down to 6 inches in length.
Glue a full strip and a short strip to the top edge of the bag. Use 2 full strips to create the handles, making sure you glue them to the inside of the bag around 3/4 inch in. You can then use the remaining full and short strip to cover the handles on the inside top of the bag.
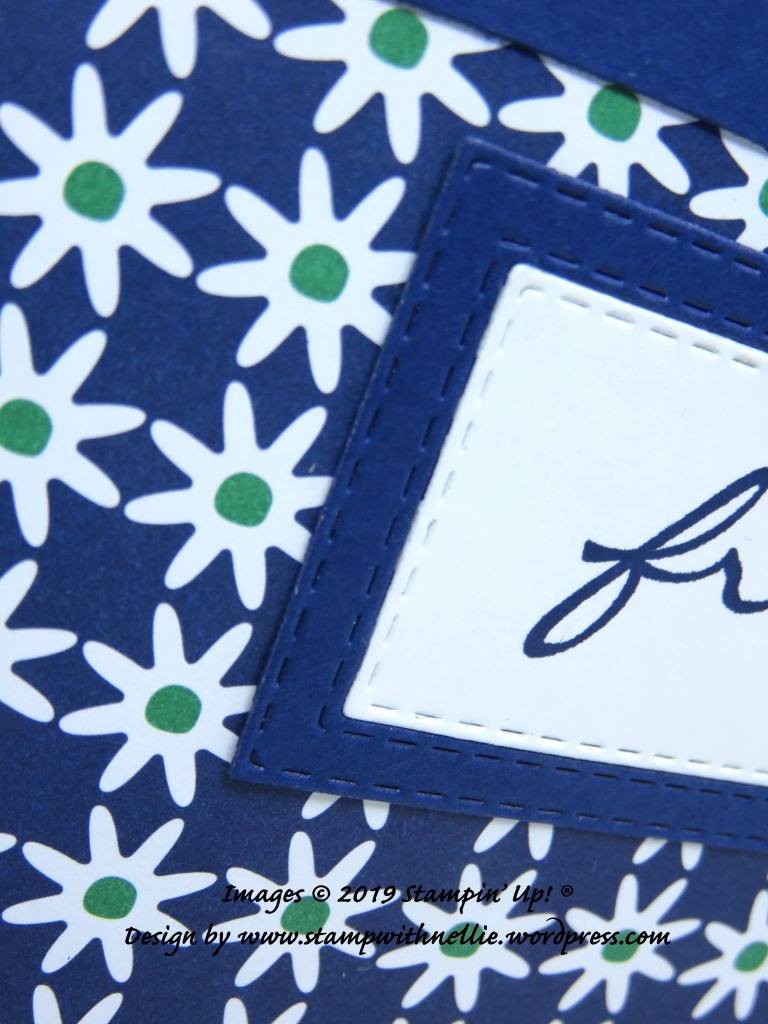
To decorate my bag I simply stamped the word Friend from the Botanical Bliss stamp set in Night of Navy ink onto Whisper White card and cut it with a Rectangle Stitched framelit. I created a frame for this in Night of Navy card using the same rectangle and the next one up in size.

I love the double stitching detail on these framelits and I thought it would look a bit like a designer label on the front on my bag.
This bag could be used for all sorts of gifts, not just cards, as it’s nice and roomy and quite sturdy too. I hope you’ve enjoyed today’s project and will be tempted to give it a go.
I’ve listed all of the products used in today’s project below. You can click on any of them to visit my online Stampin’ Up! shop.
If you have any comments or questions I’d love to hear from you. You can leave a comment below or use the Contact Me form to get in touch.
Happy crafting,
Heather x
Product List


Leave a Reply