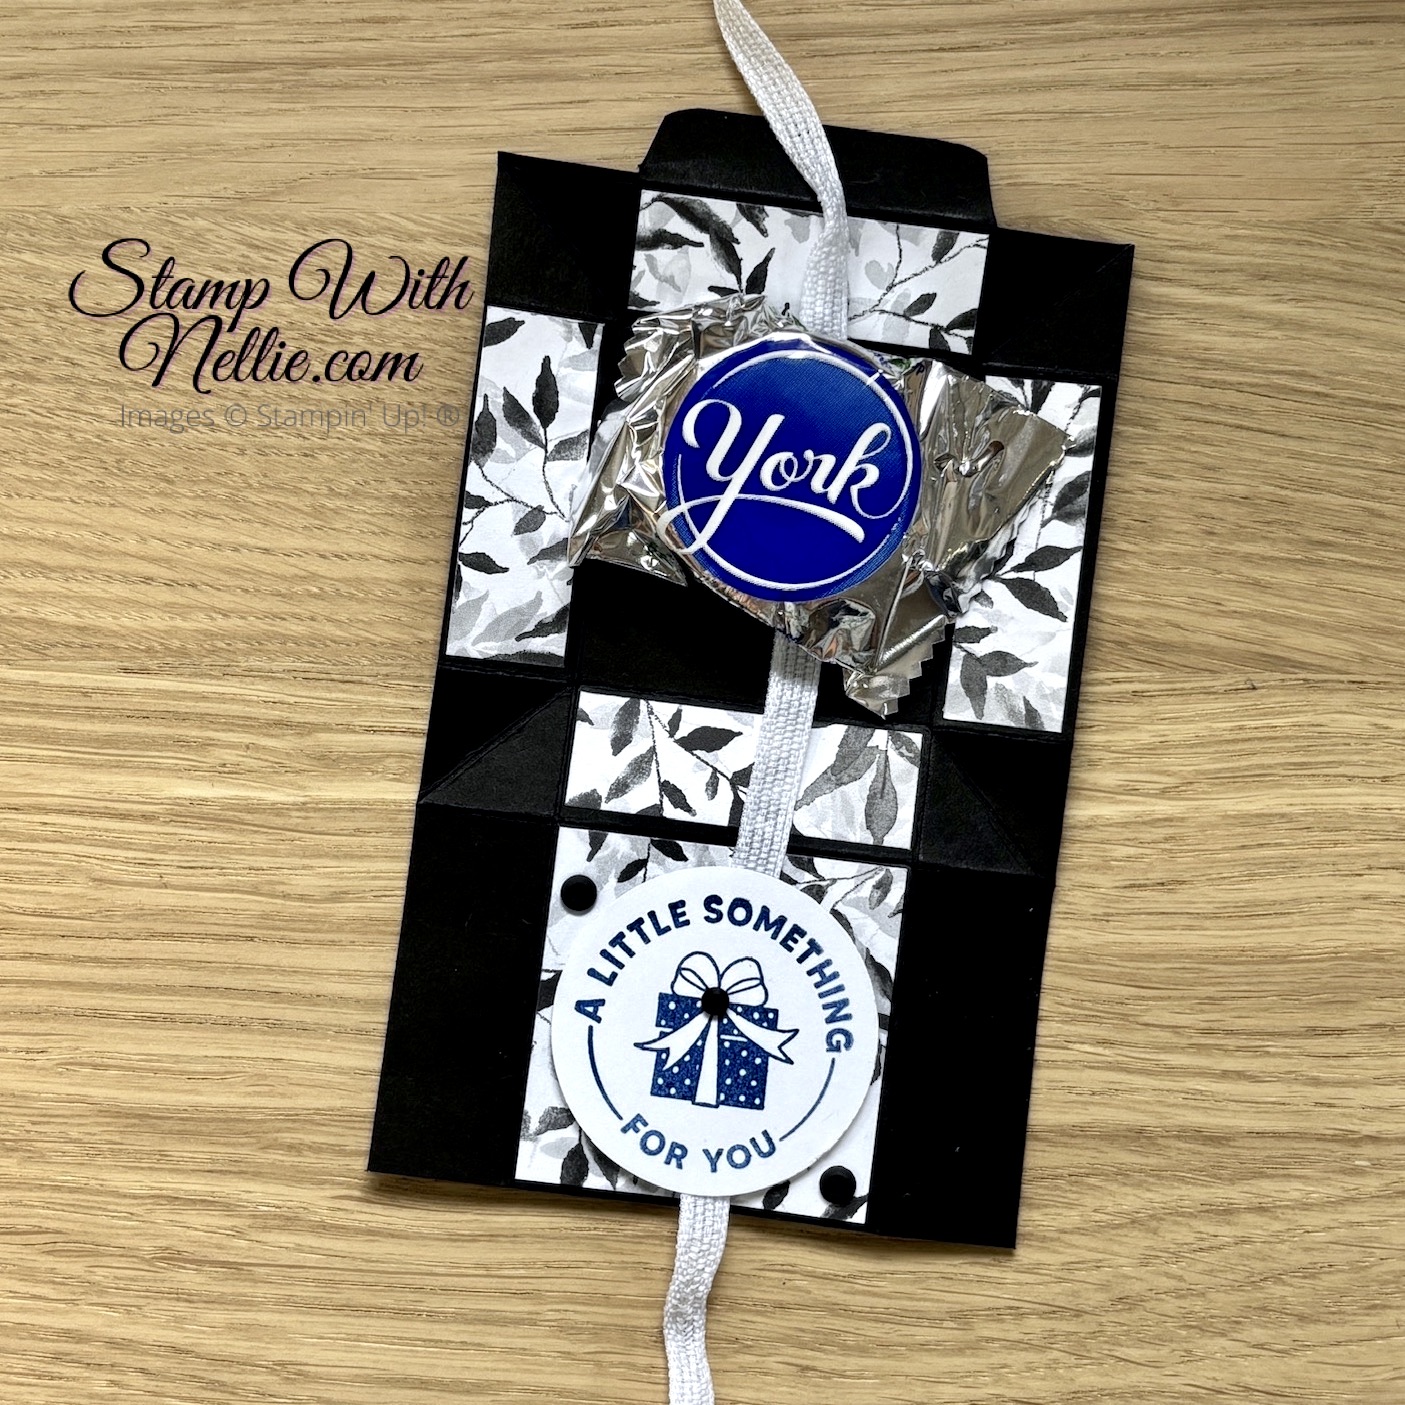
Hello! I hope you are well. Today’s project is inspired my one of the lovely ladies in my Nellie’s Stampers team. Emma of Emma’s cards and papercrafts made a cute little rectangle no glue gift box recently and this inspired me to make an even smaller one that was square! Here’s my tiny no glue treat box…

And here’s Emma’s cute box that inspired me:
Isn’t her’s gorgeous? And it fits a chocolate biscuit too – even better! If you like Emma’s gift box, please watch her YouTube video and give her a thumbs up. Better still, why not subscribe to her channel while you’re there?
I added some ribbon to my tiny box but that’s just for decoration as the box construction means that you tuck a little panel under the top section with the sentiment to keep it closed. But the ribbon was too fabulous to resist…

And here’s the little chocolate treat that I put inside my box – one of my favourites…
The photo above also shows you where to adhere your designer series paper on this box, but I also cover that in today’s video…
youtube tutorial
If you’d like to check out the YouTube tutorial for my tiny no glue treat box, please click on the image below…
Or if you prefer you can click here to pop over to YouTube and check out today’s project video. If you enjoy watching my video, I’d love you to give it a thumbs up and leave me a comment too. If you haven’t already subscribed to my channel, make sure you do so when you’re there; so you don’t miss out on future videos.
Here’s the one I made in today’s video beside my original one…
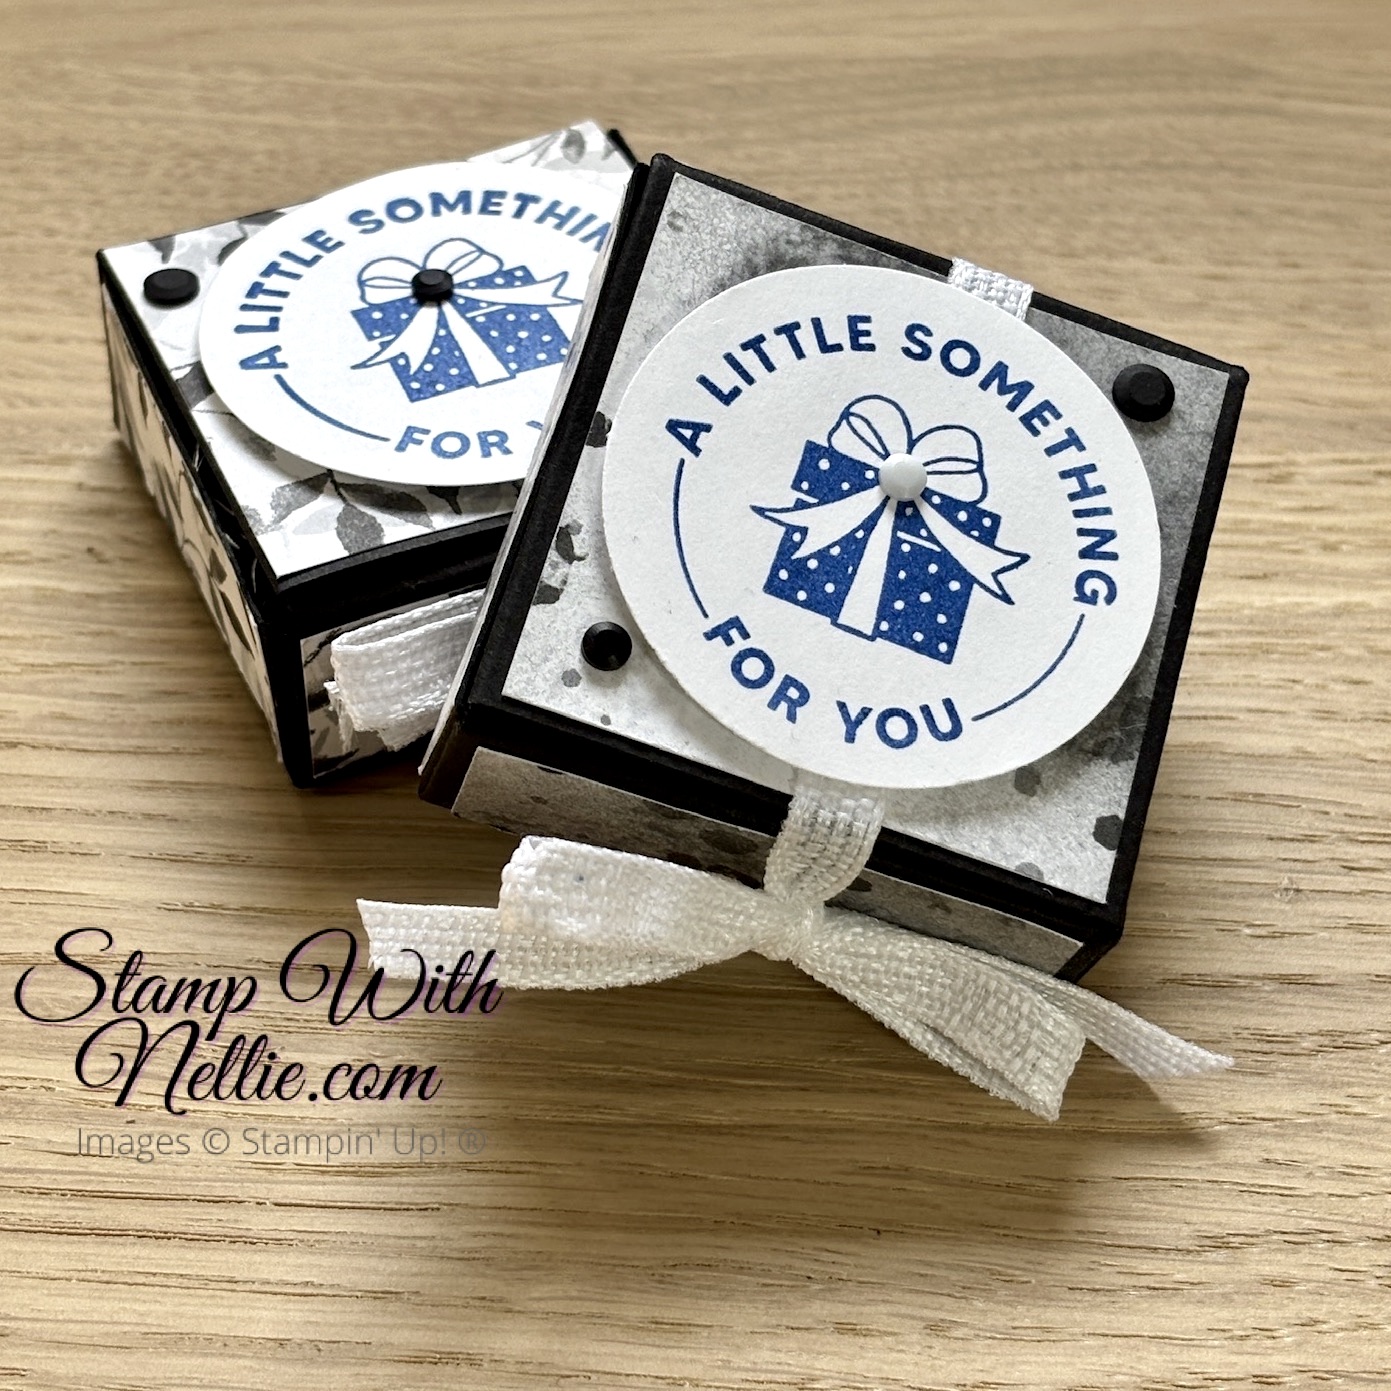
I stamped the sentiment from Encircled With Love in Blueberry Bushel ink to coordinate with the York Peppermint Pattie.
MEASUREMENTS
To make the tiny no glue treat box in today’s video you’ll need the following supplies:
- Basic Black card measuring 6″ x 3-1/2″
- score on the short side at 3/4″ from each end
- score on the long side at 1/2″, 1-1/4″, 3-1/4″ and 4″
- Botanical Textures designer series paper as follows
- 1 piece measuring 1-7/8″ x 1-7/8″ for the top
- 4 pieces measuring 1-7/8″ x 5/8″ for each of the side panels
- Basic White card to stamp your sentiment and cut with the 1-3/4″ circle punch
- Ribbon
- Embellishments
Here’s the guide to show you where you need to add diagonal score lines and the 2 rectangles you need to cut out…
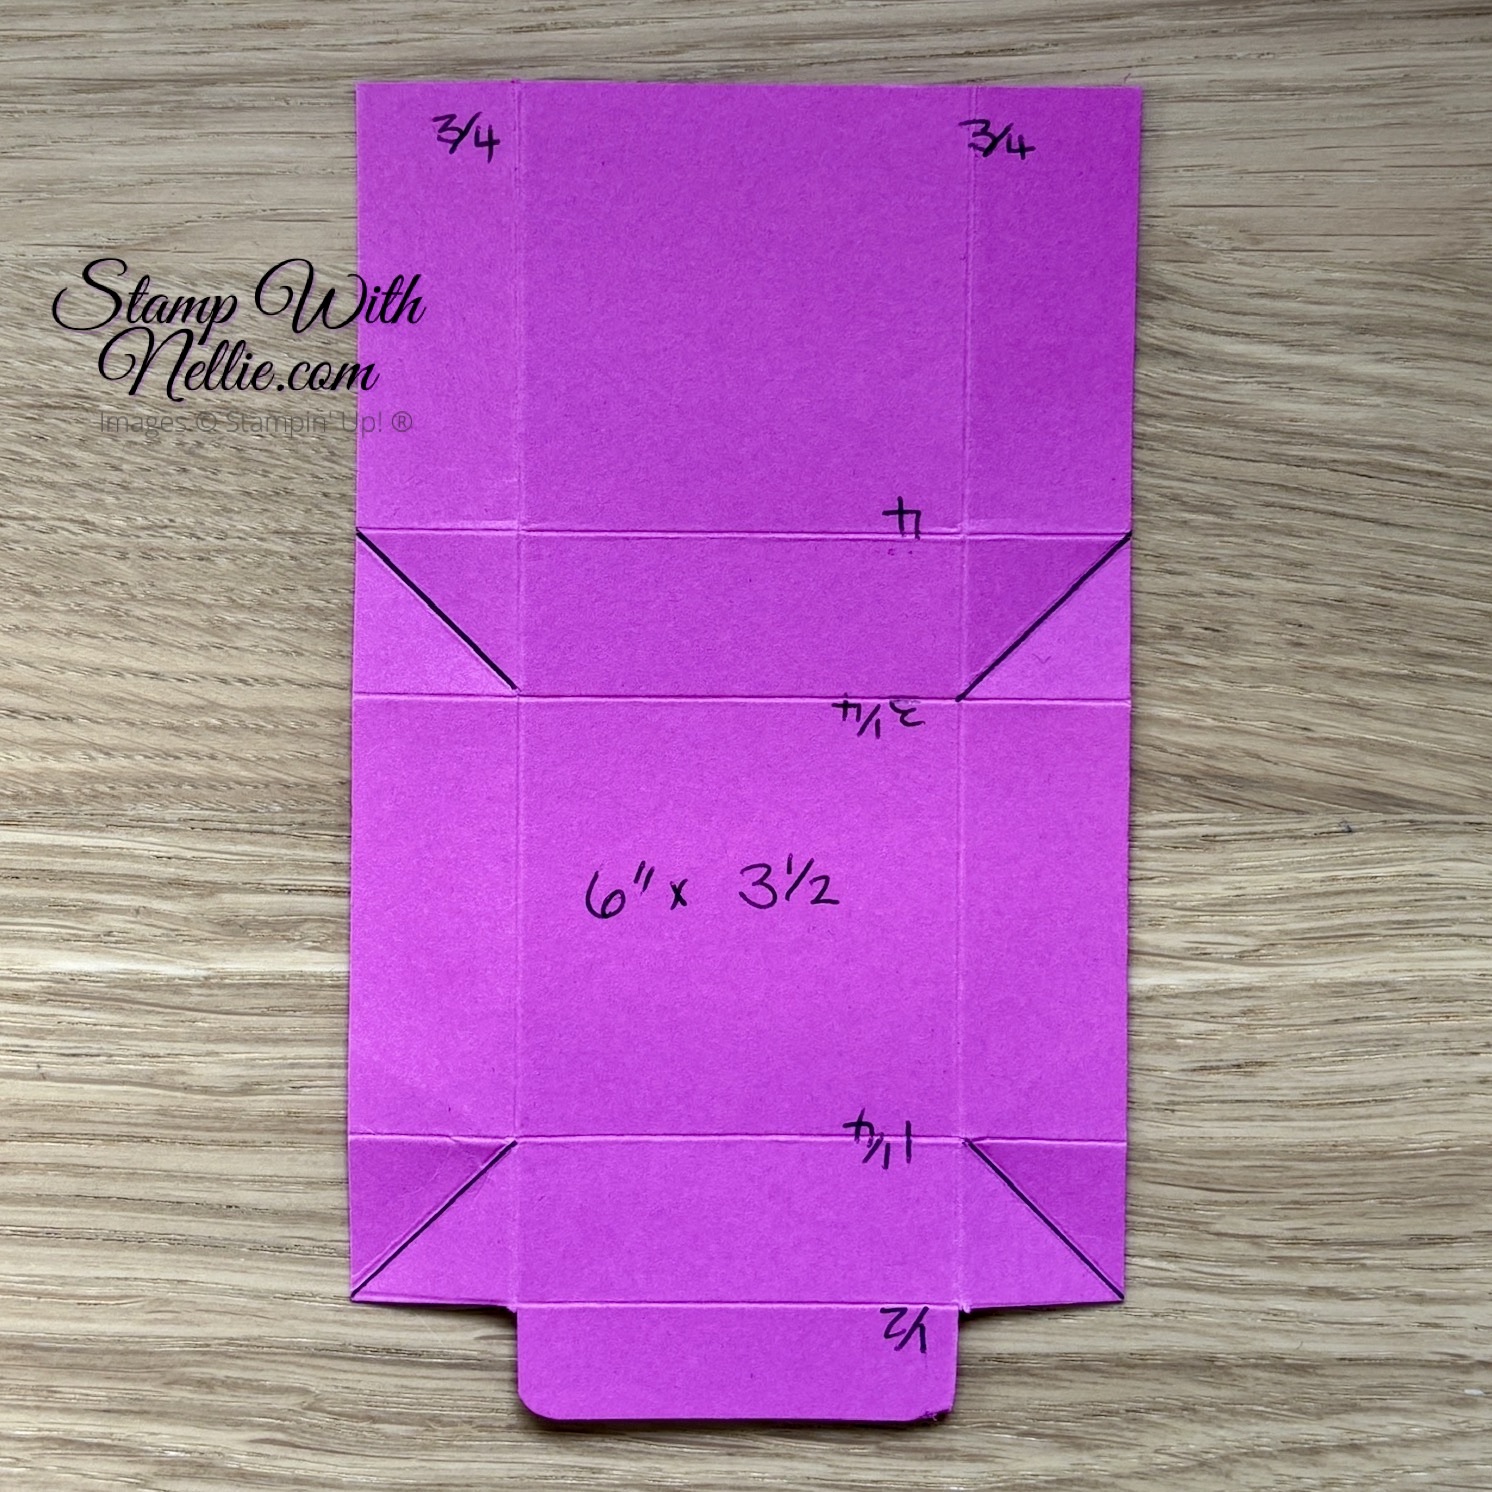
The finished box measures 2 x 2″ x 3/4″
SHOP THE PRODUCTS
I’ve listed the products I used for the project in today’s video below. You can click on any of the links in the Product List to visit that item in my online Stampin’ Up! store.
CUSTOMER APPRECIATION
When you shop with me you’ll receive a handmade card and gift as a token of my appreciation. You will also earn Stampin’ Rewards to spend on a future order if you spend £20 (25€) – CLICK HERE to find out more.
Happy crafting,
Heather x
Product List![Encircled With Love Photopolymer Stamp Set (English) [ 165338 ]](https://assets1.tamsnetwork.com/images/EC042017NF/165338s.jpg "Encircled With Love Photopolymer Stamp Set (English) [ 165338 ]")
![1-3/4" (4.4 Cm) Circle Punch [ 119850 ]](https://assets1.tamsnetwork.com/images/EC042017NF/119850s.jpg "1-3/4\" (4.4 Cm) Circle Punch [ 119850 ]")
![Botanical Textures 12" X 12" (30.5 X 30.5 Cm) Designer Series Paper [ 165545 ]](https://assets1.tamsnetwork.com/images/EC042017NF/165545s.jpg "Botanical Textures 12\" X 12\" (30.5 X 30.5 Cm) Designer Series Paper [ 165545 ]")
![Basic Black A4 Card Stock [ 121688 ]](https://assets1.tamsnetwork.com/images/EC042017NF/121688s.jpg "Basic Black A4 Card Stock [ 121688 ]")
![Basic White A4 Cardstock [ 166781 ]](https://assets1.tamsnetwork.com/images/EC042017NF/166781s.jpg "Basic White A4 Cardstock [ 166781 ]")
![Blueberry Bushel Classic Stampin' Pad [ 147138 ]](https://assets1.tamsnetwork.com/images/EC042017NF/147138s.jpg "Blueberry Bushel Classic Stampin' Pad [ 147138 ]")
![White 1/4" (6.4 Mm) Ribbon [ 165562 ]](https://assets1.tamsnetwork.com/images/EC042017NF/165562s.jpg "White 1/4\" (6.4 Mm) Ribbon [ 165562 ]")
![Neutral Matte Dots [ 165561 ]](https://assets1.tamsnetwork.com/images/EC042017NF/165561s.jpg "Neutral Matte Dots [ 165561 ]")
![Simply Scored [ 122334 ]](https://assets1.tamsnetwork.com/images/EC042017NF/122334s.jpg "Simply Scored [ 122334 ]")

I do love your gift boxes – this is another fab creation!
Thank you so much Deborah ❤️❤️ I love that we all inspire each other xx