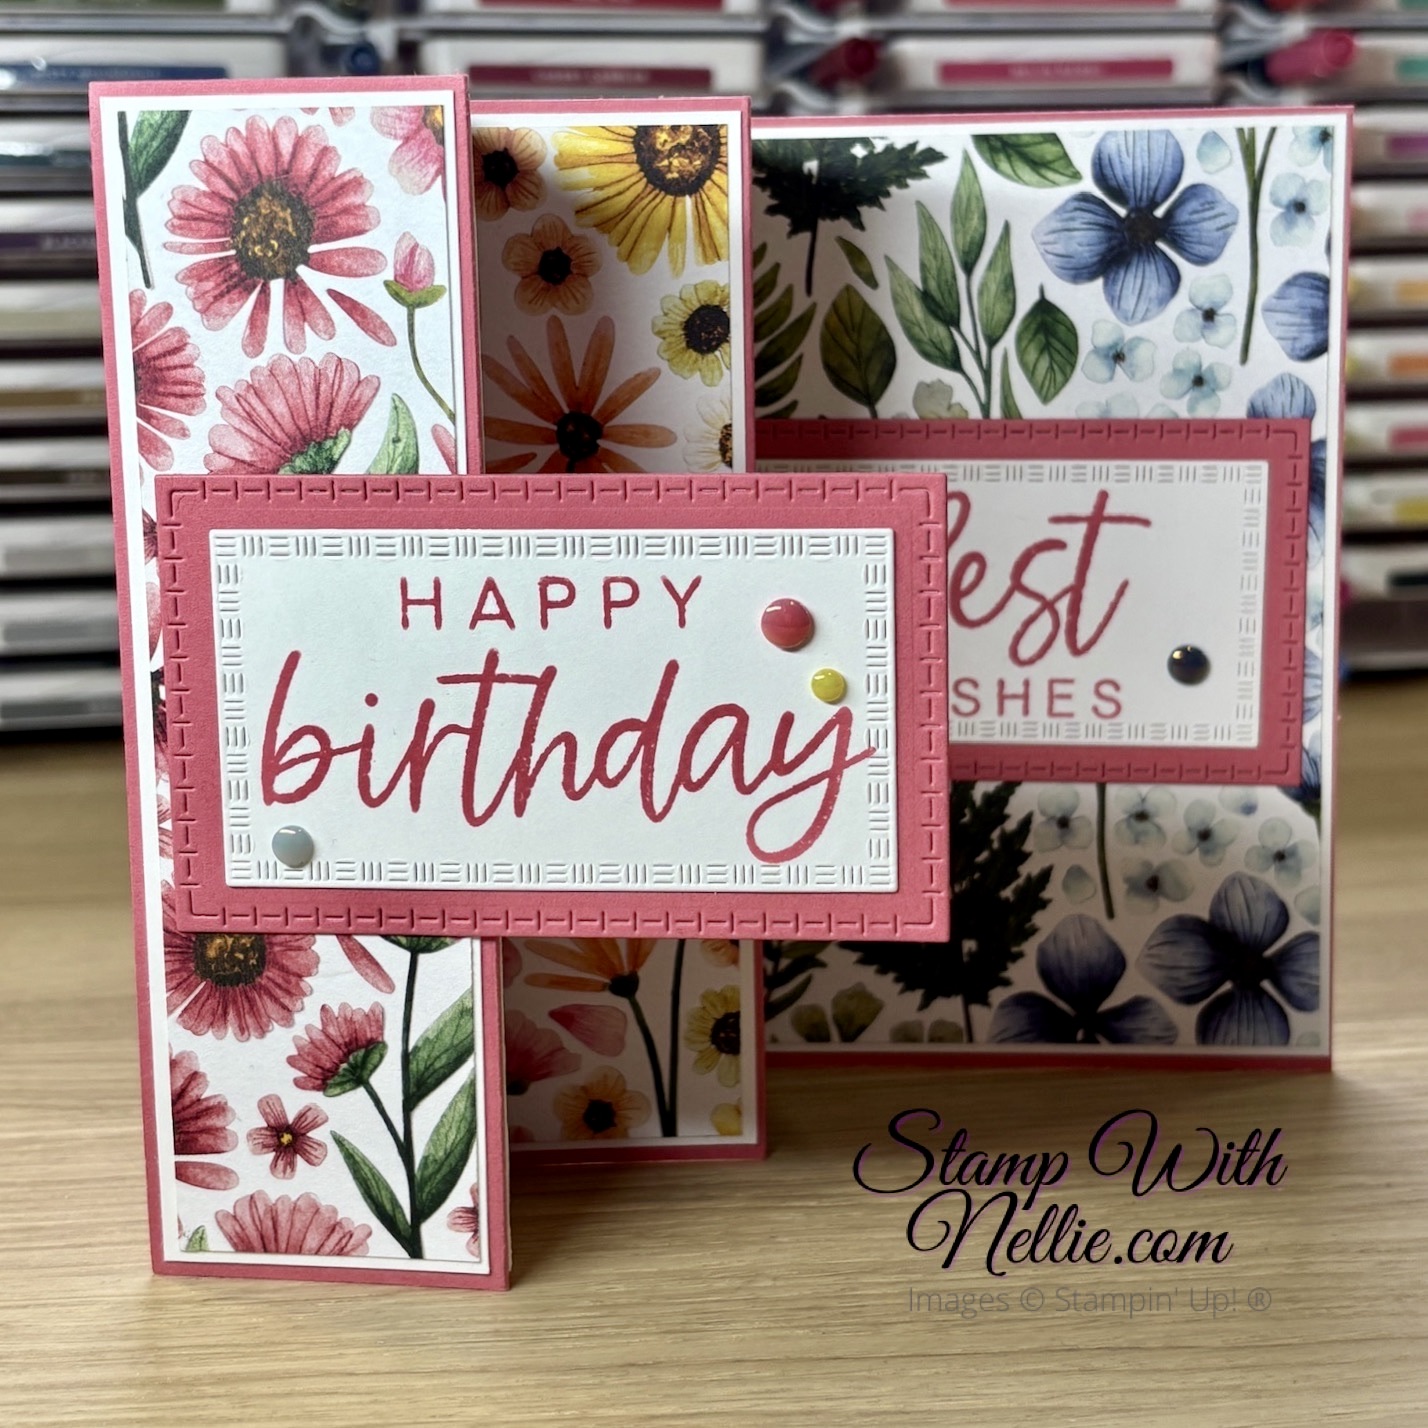
Hello! I hope you are well. Yesterday I took part in the Project Share Project blog hop with my lovely friends Verity, Victoria & Jayne. If you missed it please CLICK HERE to check it out. I promised that I’d be back today with a tutorial for my Floral Impressions concertina card and here it is. This is the card I shared yesterday…
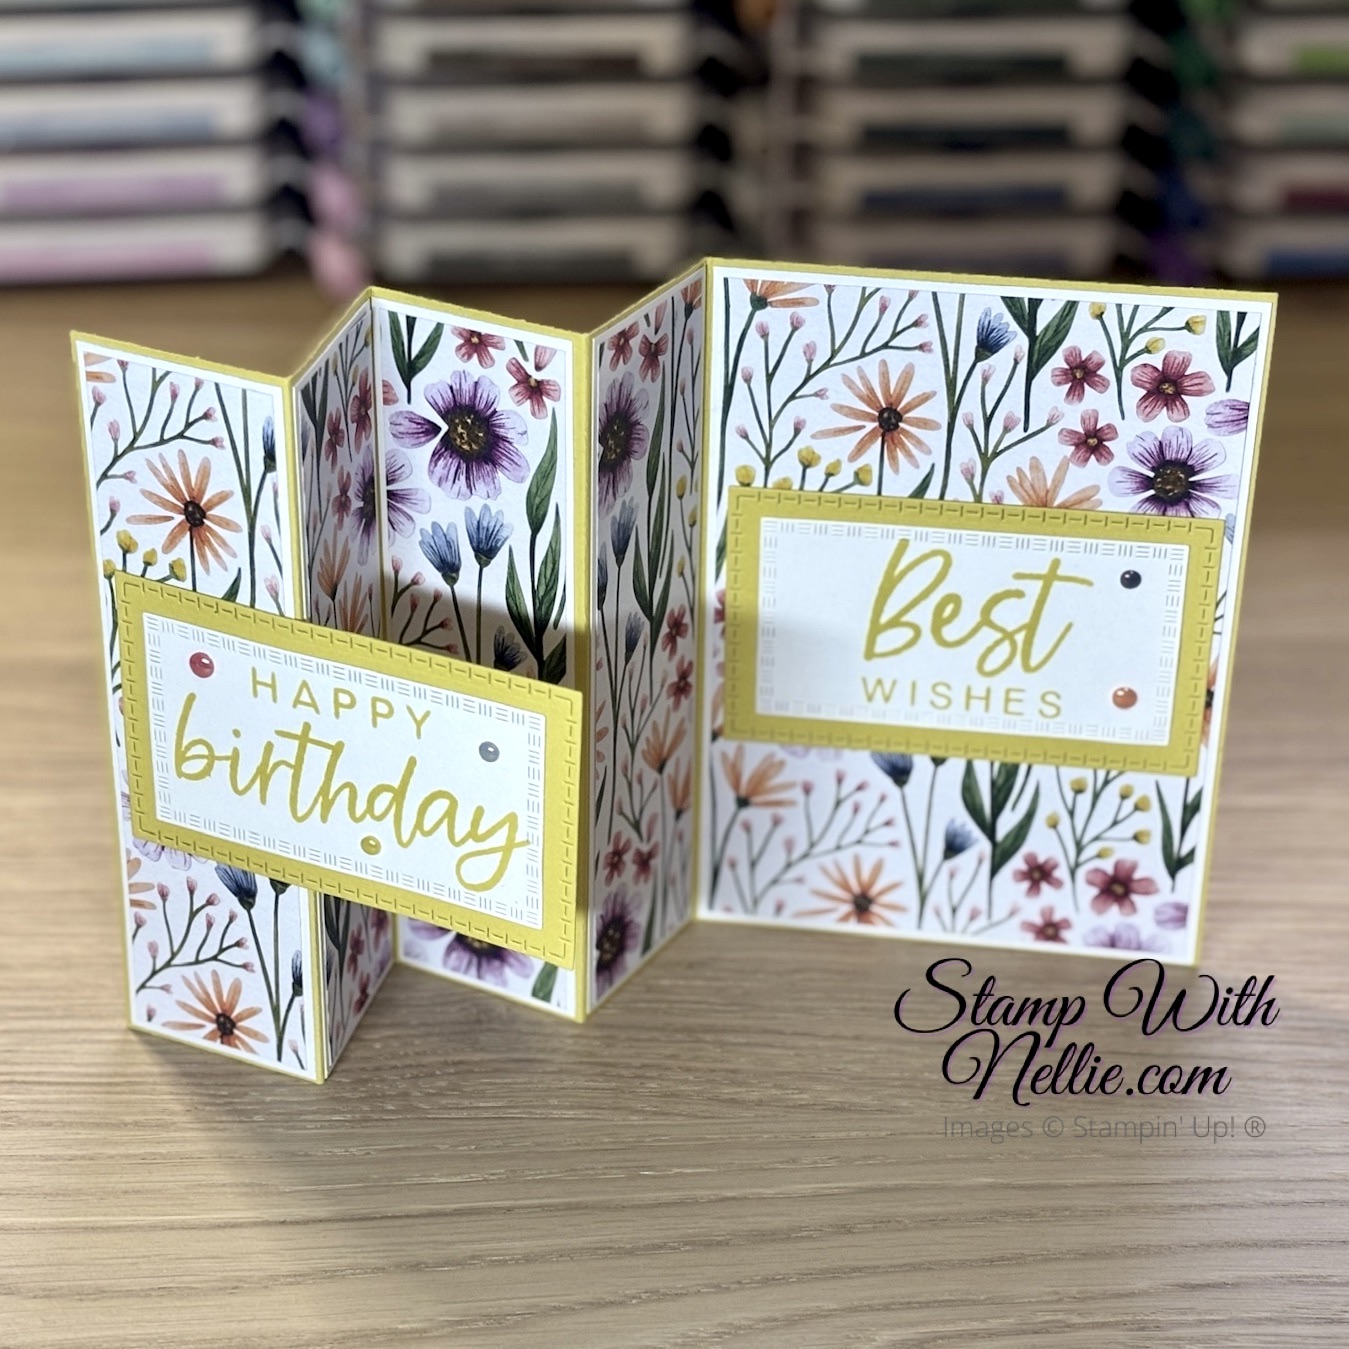
Here’s the one I make in today’s video…
Again, I used the stunning Floral Impressions designer series paper for today’s fun fold card. The sentiments are from With You In Mind and the dies I used are from Textured Notes. You can buy the stamp set and dies right now but the In Colors and Floral Impressions DSP will be available from 6 May 2025 – not too long to wait now!
In today’s video I show you these new products as well as how to make this impressive but easy fun fold card…
youtube tutorial
If you’d like to check out the YouTube tutorial for today’s project, please click on the image below…
Or if you prefer you can click here to pop over to YouTube and check out my Floral Impressions concertina card. If you enjoy watching my video, I’d love you to give it a thumbs up and leave me a comment too. If you haven’t already subscribed to my channel, make sure you do so when you’re there; so you don’t miss out on future videos.
Here’s the one I made in today’s video when it’s folded up and ready to pop into an envelope…
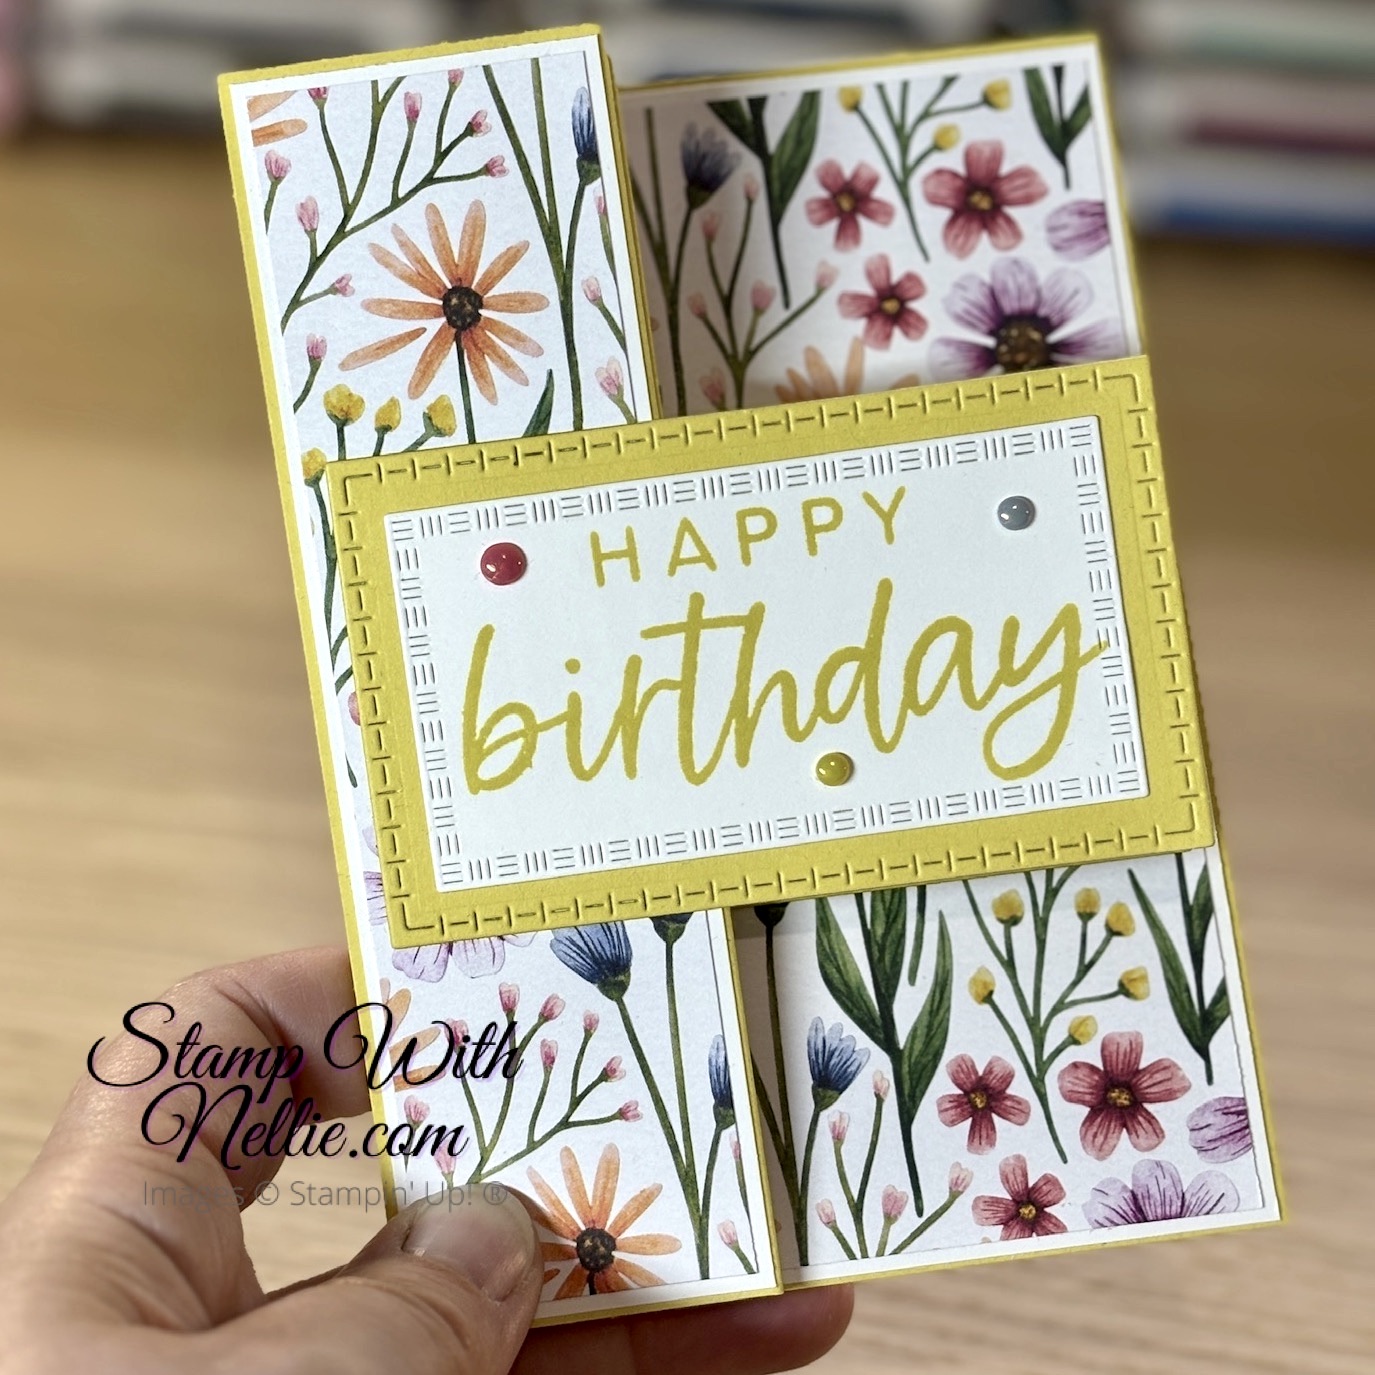
I absolutely love the details on those Textured Notes dies!
MEASUREMENTS – USING A4 card
To make the Floral Impressions concertina card in today’s video you’ll need the following supplies:
- Darling Duckling card for the base measuring 11-1/8″” x 5-3/4″
- scored on the long side at 1-3/4″, 3-1/2″, 5-1/4″ and 7″
- Floral Impressions designer series paper as follows:
- Four pieces = 1-1/2″ x 5-1/2″
- One piece = 3-7/8″ x 5-1/2″
- Basic White card layers as follows:
- Four pieces = 1-5/8″ x 5-5/8″
- Two pieces = 4″ x 5-5/8″ (one is for the back of the card)
- Darling Duckling card to die cut the 2 rectangles to back the sentiments
- Basic White card scraps to stamp and die cut the 2 smaller rectangles
- Embellishments
The card measures 5-3/5″ x 4-1/8″ when folded and ready to pop into an envelope.
MEASUREMENTS – USING US LETTER CARD (8-1/2″ X 11″)
- Darling Duckling card for the base measuring 11″ x 5-1/2
- scored on the long side at 1-3/4″, 3-1/2″, 5-1/4″ and 7″
- Floral Impressions designer series paper as follows:
- Four pieces = 1-1/2″ x 5-1/4″
- One piece = 3-3/4″ x 5-1/4″
- Basic White card layers as follows:
- Four pieces = 1-5/8″ x 5-3/8″
- Two pieces = 3-7/8″ x 5-3/8″ (one is for the back of the card)
- Darling Duckling card to die cut the 2 rectangles to back the sentiments
- Basic White card scraps to stamp and die cut the 2 smaller rectangles
- Embellishments
The card measures 5-1/2″ x 4″ when folded and ready to pop into an envelope.
SHOP THE PRODUCTS
I’ve listed the currently available products I used for the project in today’s video below. You can click on any of the links in the Product List to visit that item in my online Stampin’ Up! store. Most of the products are not available until 6 May 2025 so pop back to my shop then.
CUSTOMER APPRECIATION
When you shop with me you’ll receive a handmade card and gift as a token of my appreciation. You will also earn Stampin’ Rewards to spend on a future order if you spend £20 (25€) – CLICK HERE to find out more.
Happy crafting,
Heather x
Product List![With You In Mind Photopolymer Stamp Set (English) [ 164747 ]](https://assets1.tamsnetwork.com/images/EC042017NF/164747s.jpg "With You In Mind Photopolymer Stamp Set (English) [ 164747 ]")
![Textured Notes Dies [ 165555 ]](https://assets1.tamsnetwork.com/images/EC042017NF/165555s.jpg "Textured Notes Dies [ 165555 ]")
![Basic White A4 Cardstock [ 166781 ]](https://assets1.tamsnetwork.com/images/EC042017NF/166781s.jpg "Basic White A4 Cardstock [ 166781 ]")
![Peach Pie Classic Stampin Pad [ 163810 ]](https://assets1.tamsnetwork.com/images/EC042017NF/163810s.jpg "Peach Pie Classic Stampin Pad [ 163810 ]")
![Multipurpose Liquid Glue [ 154974 ]](https://assets1.tamsnetwork.com/images/EC042017NF/154974s.jpg "Multipurpose Liquid Glue [ 154974 ]")
![Bone Folder [ 102300 ]](https://assets1.tamsnetwork.com/images/EC042017NF/102300s.jpg "Bone Folder [ 102300 ]")

It’s such a pretty design!
Thank you so much Deborah 💜💜
Heather- these cards are very lovely! Thank you very much for sharing the card measurements in A 4 and letter size as well. I also like the stamp set you used for the sentiments. Those sentiments are perfect for this card .
Thank you so much Judy, I love that these cards have the wow factor but are quite easy to make ❤️❤️