Hello everyone.
Today’s project uses the awesome All Dressed Up Dies to create this cute little backpack gift bag…

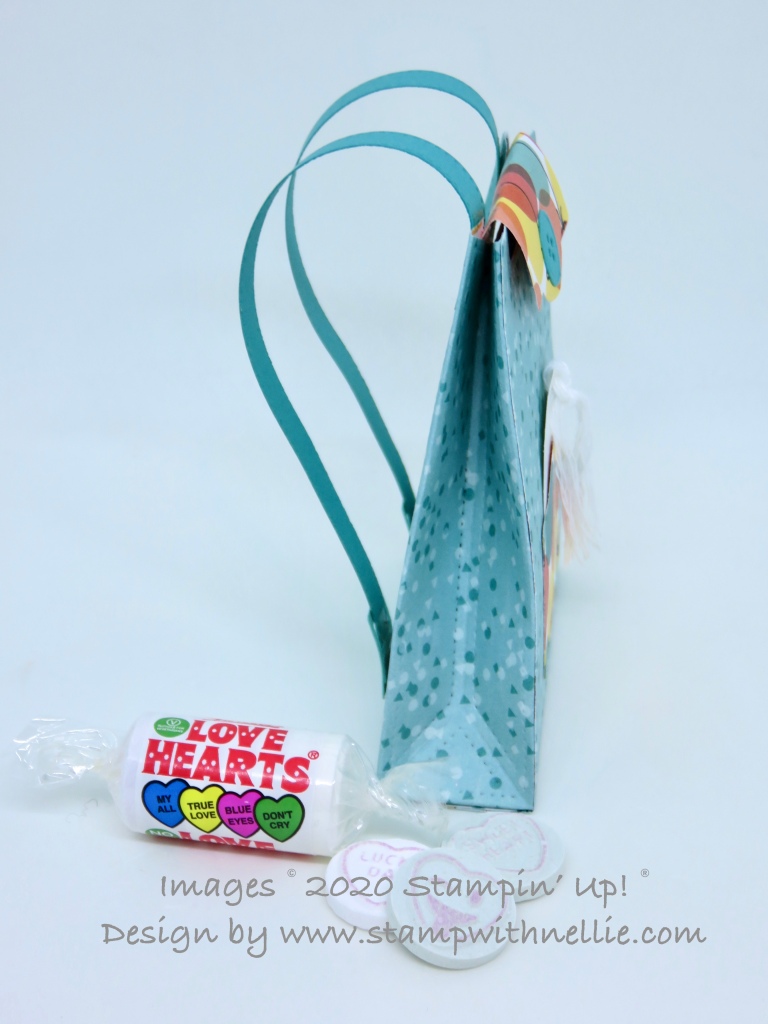
Here’s the side view…

And the back…

Isn’t this just so adorable? And it’s easy to make as the set has dies for all of the pieces.
I cut 2 pieces of the Birthday Bonanza designer series paper with the main bag die from the set. I also cut 2 of the label shape die from the set using a different pattern of paper from the same pack. I remembered to cut them in different directions so the pocket on the front and the flap at the top could go in the same direction but them promptly used them the wrong way round!! Oops, just shows I’m human, lol.
I cut 2 straps and a button from Bermuda Bay card and the buckles from a little scrap of Coastal Cabana card.
Once you’ve glued the edges of the main bag pieces together and glued the flaps for the bottom of the bag, you simply push in the sides to create the backpack shape.
I curled the label shape with my bone folder so that it curved over the top of the back and glued the straight edge to stick it to the inside of the top of the back of the bag. I used a velcro dot to keep the flap in place and glued on the button feature. I added glue to the 3 straight sides of the other label to create the pocket in the front of the bag.
I threaded the straps through the buckles and added glue to the back of the straps to add to the bottom of the bag. I added glue to the front of the top of the straps to add them to the top of the bag. Again, gently curling them with a bone folder first helps to give them a nice shape.
I thought it would be nice to add a little message in the front pocket like this…

I used my Timeless Label punch twice on a piece of Whisper White card to create a shorter label for the pocket. The sentiment is from the Strong & Beautiful stamp set and I used Bermuda Bay ink. I purposely stamped towards the bottom so the message is hidden when in the pocket. The little heart comes from the Dog Builder punch, using the same paper as the main parts of the bag. I punched a 1/8″ hole at the top and tied 3 lengths of Whisper White Baker’s twine through and frayed the ends.
I added a couple of mini packs of Love Hearts into my bag so it would make a cute little Valentine’s treat but you could add lots of different types of sweets or chocolates for your loved one. Or you could pop in a gift card for their favourite store?
I hope you’ve enjoyed this project. I’ve listed the Stampin’ Up! products I used below and you can click on any of the links to visit my online shop 24/7.
Happy crafting,
Heather x
Product List


[…] See more at Heather’s blog here […]