Hello!
Today I have a 3D project to share with you all. I recently bought a note block for my desk as I sometimes just want to scribble on a little bit of paper rather than in one of my many notebooks! Obviously I had to make it pretty…
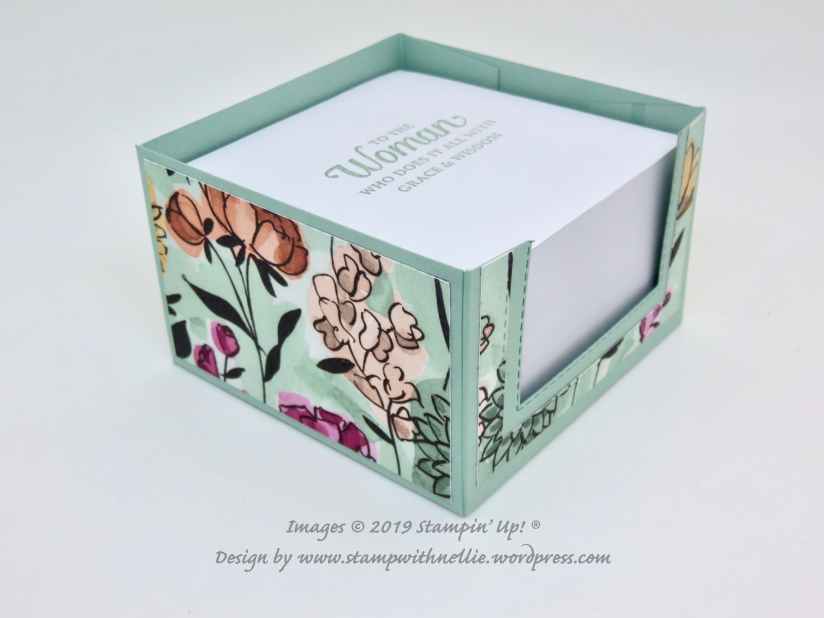
I thought it would actually make quite a nice gift, especially if you stamped a nice message on the top piece of paper.
EDITED TO ADD – My note block pages measure 3 & 1/4 inches square and the block is 2 inches high so my dimensions are based on making the holder 1/4 inch bigger in each direction.
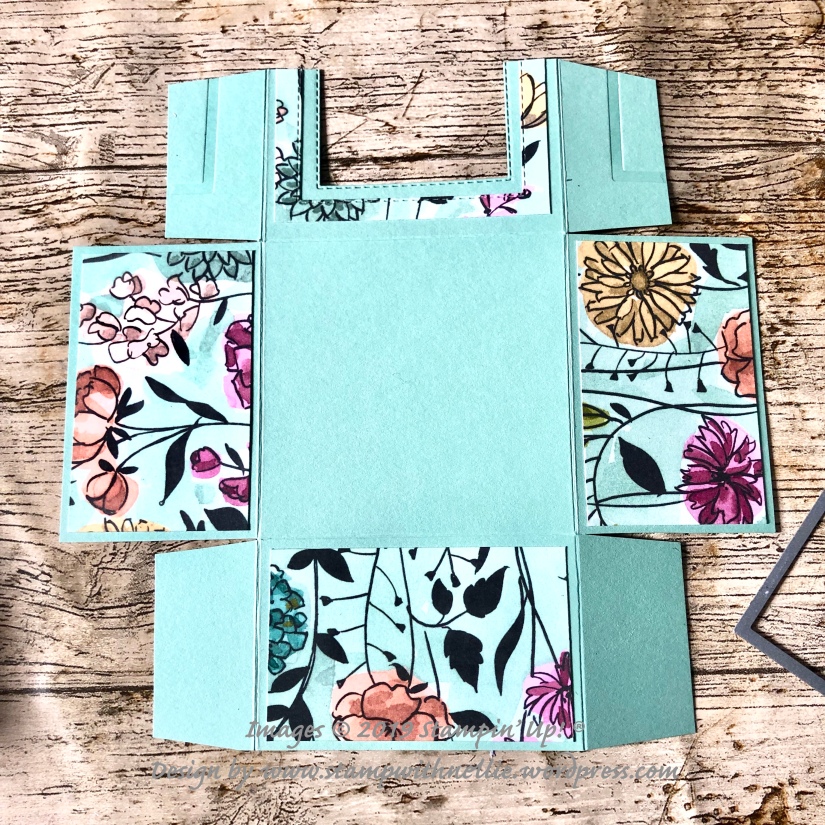
To make this I used a piece of Mint Macaron card measuring 8 by 8 inches. This is scored on each side at 2 & 1/4 inches. This means that the base is 3 & 1/2 inches square and the sides are 2 & 1/4 inches tall.
I cut down the square tabs so that they don’t overlap on the sides of the holder and I used one of the Rectangle Stitched dies to cut out a section of the front panel. To fit it into my Big Shot I had to fold over the 2 tabs which means that they got embossed in the process, but that’s OK as they’re on the inside of the box and we can pretend it’s a design feature, lol.

I cut pieces of the Share What You Love speciality designer series paper to add to the sides of the box. You’ll need 4 pieces that measure 3 & 1/4 by 2 inches. You’ll obviously need to cut out part of the piece for the front, so I used the next size up of the Rectangle Stitched dies.

I made a little pencil mark on the tab to show when the bottom of the cut out of the base comes to so I could judge where I wanted to cut the DSP.
Once the DSP is added it’s just a case of glueing the tabs inside to form the box. I then thought that if you were making this as a gift you could include a little pencil box too…
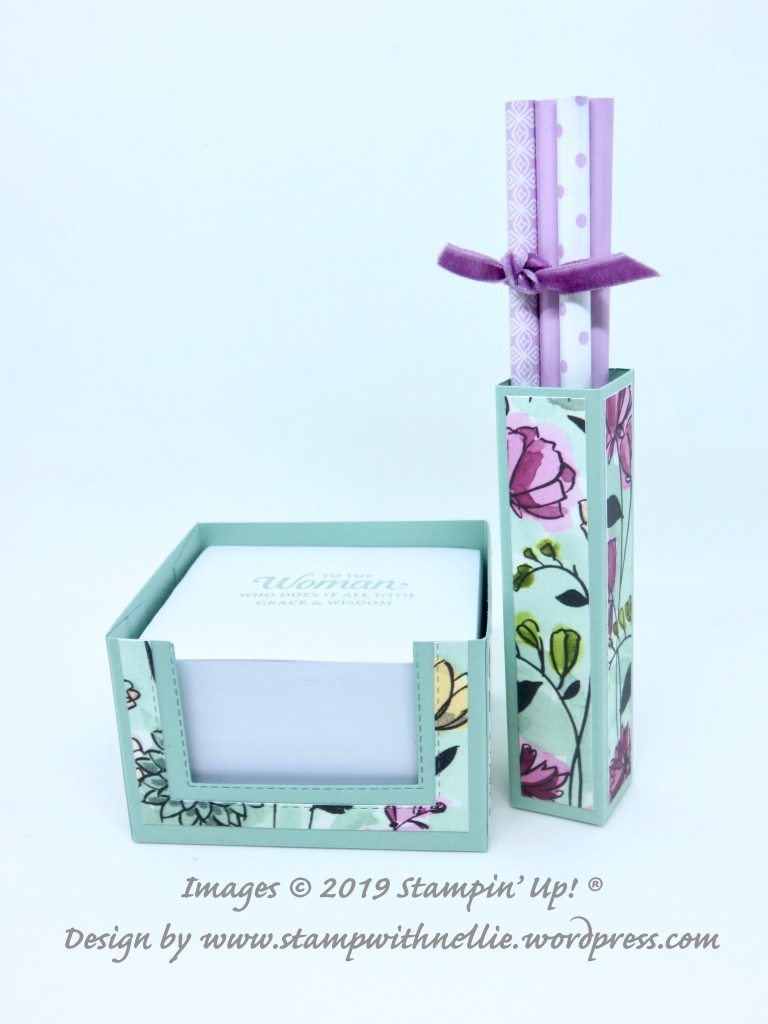
This measures 1 inch square on the bottom and is 4 & 1/4 inches tall. I used a piece of Mint Macaron card measuring 4 & 1/2 inches square, scored on one side at 1, 2, 3 & 4 inches and on the other side at 1 inch only. I popped in a few pink pencils tied together with Rich Razzleberry ribbon. You could glue the pencil box to the side of the paper holder if you wanted to make it sturdier.
Pop it in a gusseted cello bag and you’ve got a great craft fair item too!
I hope you like today’s project. I’ve listed the products used below. You can click on any of them to visit my online Stampin’ Up! shop.
Happy crafting,
Heather x
Product List  |  | |

 Velvet Ribbon")
Oh I love these gorgeous boxes, they would be such a lovely gift to give? The idea of stamping a sentiment on the top page is ingenious and makes it perfect. I always have scraps of post it notes and paper all over my desk with scribbles on and this would be a beautiful alternative. I have added making one to my ‘to do’. Thanks for posting the instructions Heather, you’ve done all the hard work for me X
Oh I’m so glad you like this. Just adding the stamp makes it more like a gift for some reason. Thanks xx
Love these Thats for the tutorial xx
Thanks for your kind comments 😊 x