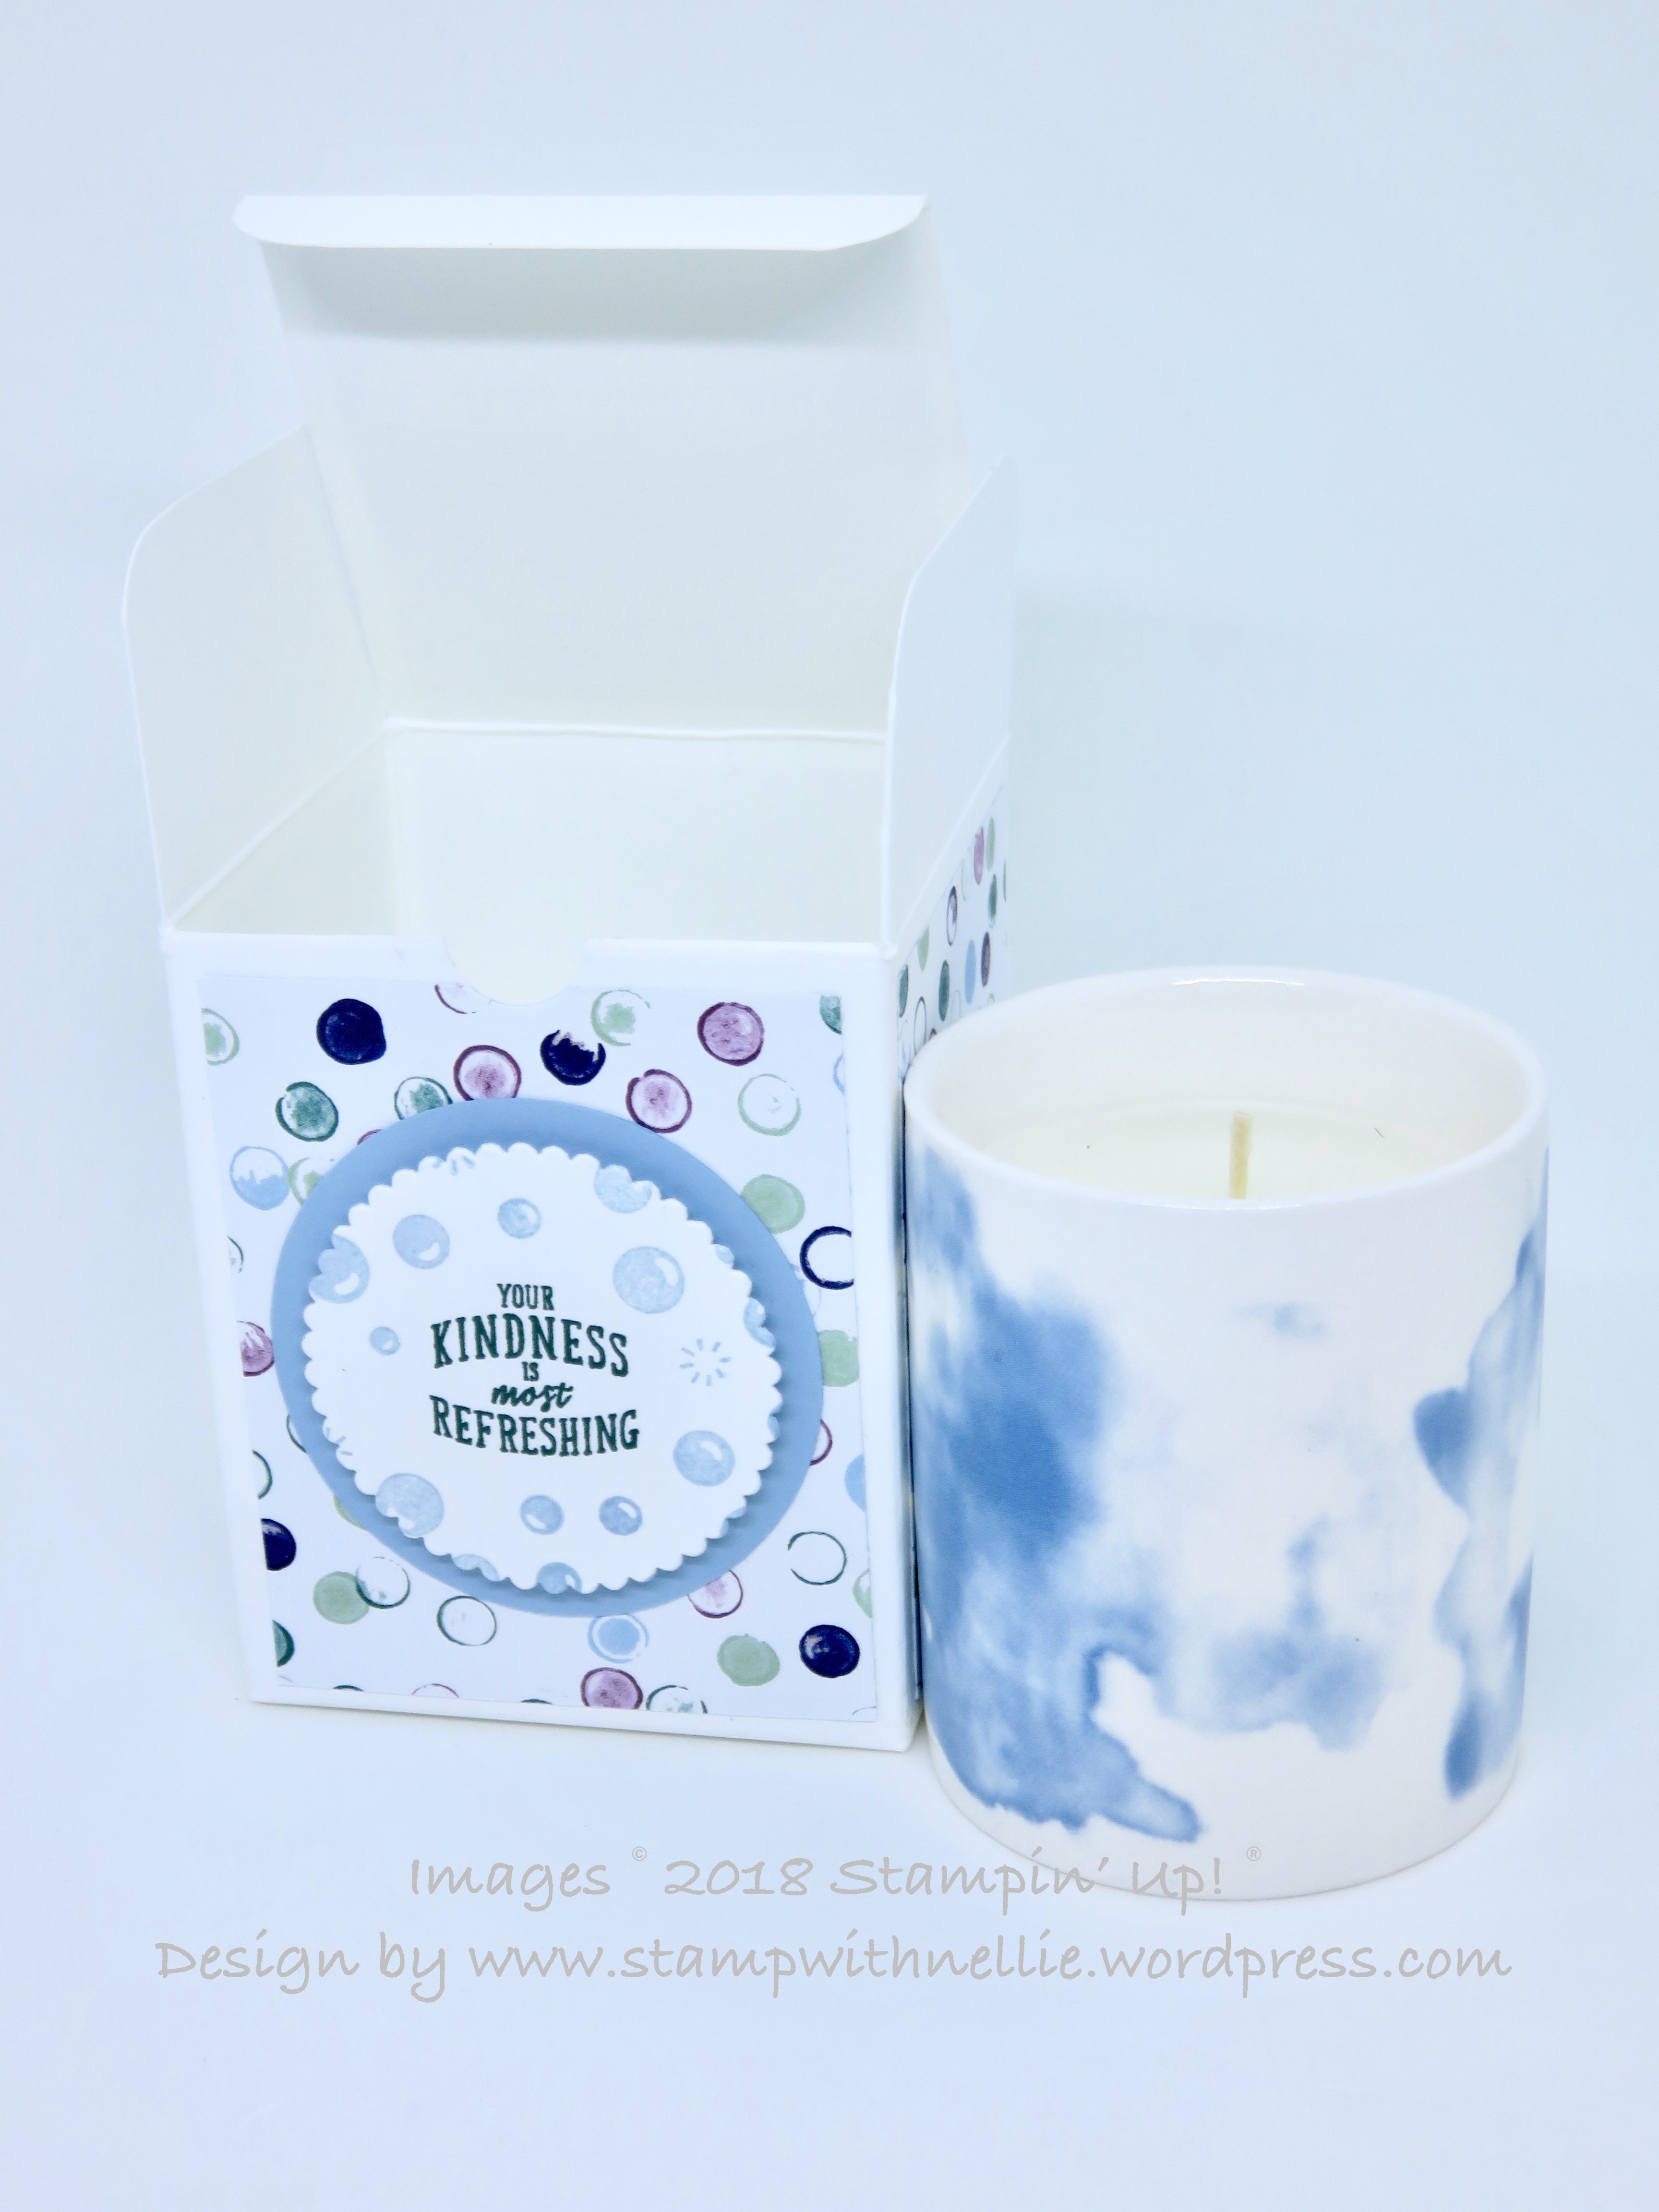
If you read my blogs on a regular basis you’ll have gathered that I often spot things while I’m out shopping that I reckon would make lovely gifts with the right handmade packaging. Well, I did it again in Sainsbury’s while doing my weekly shop! I spotted this pack of 3 ceramic candles for a bargain price in their clearance section…

While the candles are pretty, the box leaves a lot to be desired, so here’s what I made to gift just one of the candles…
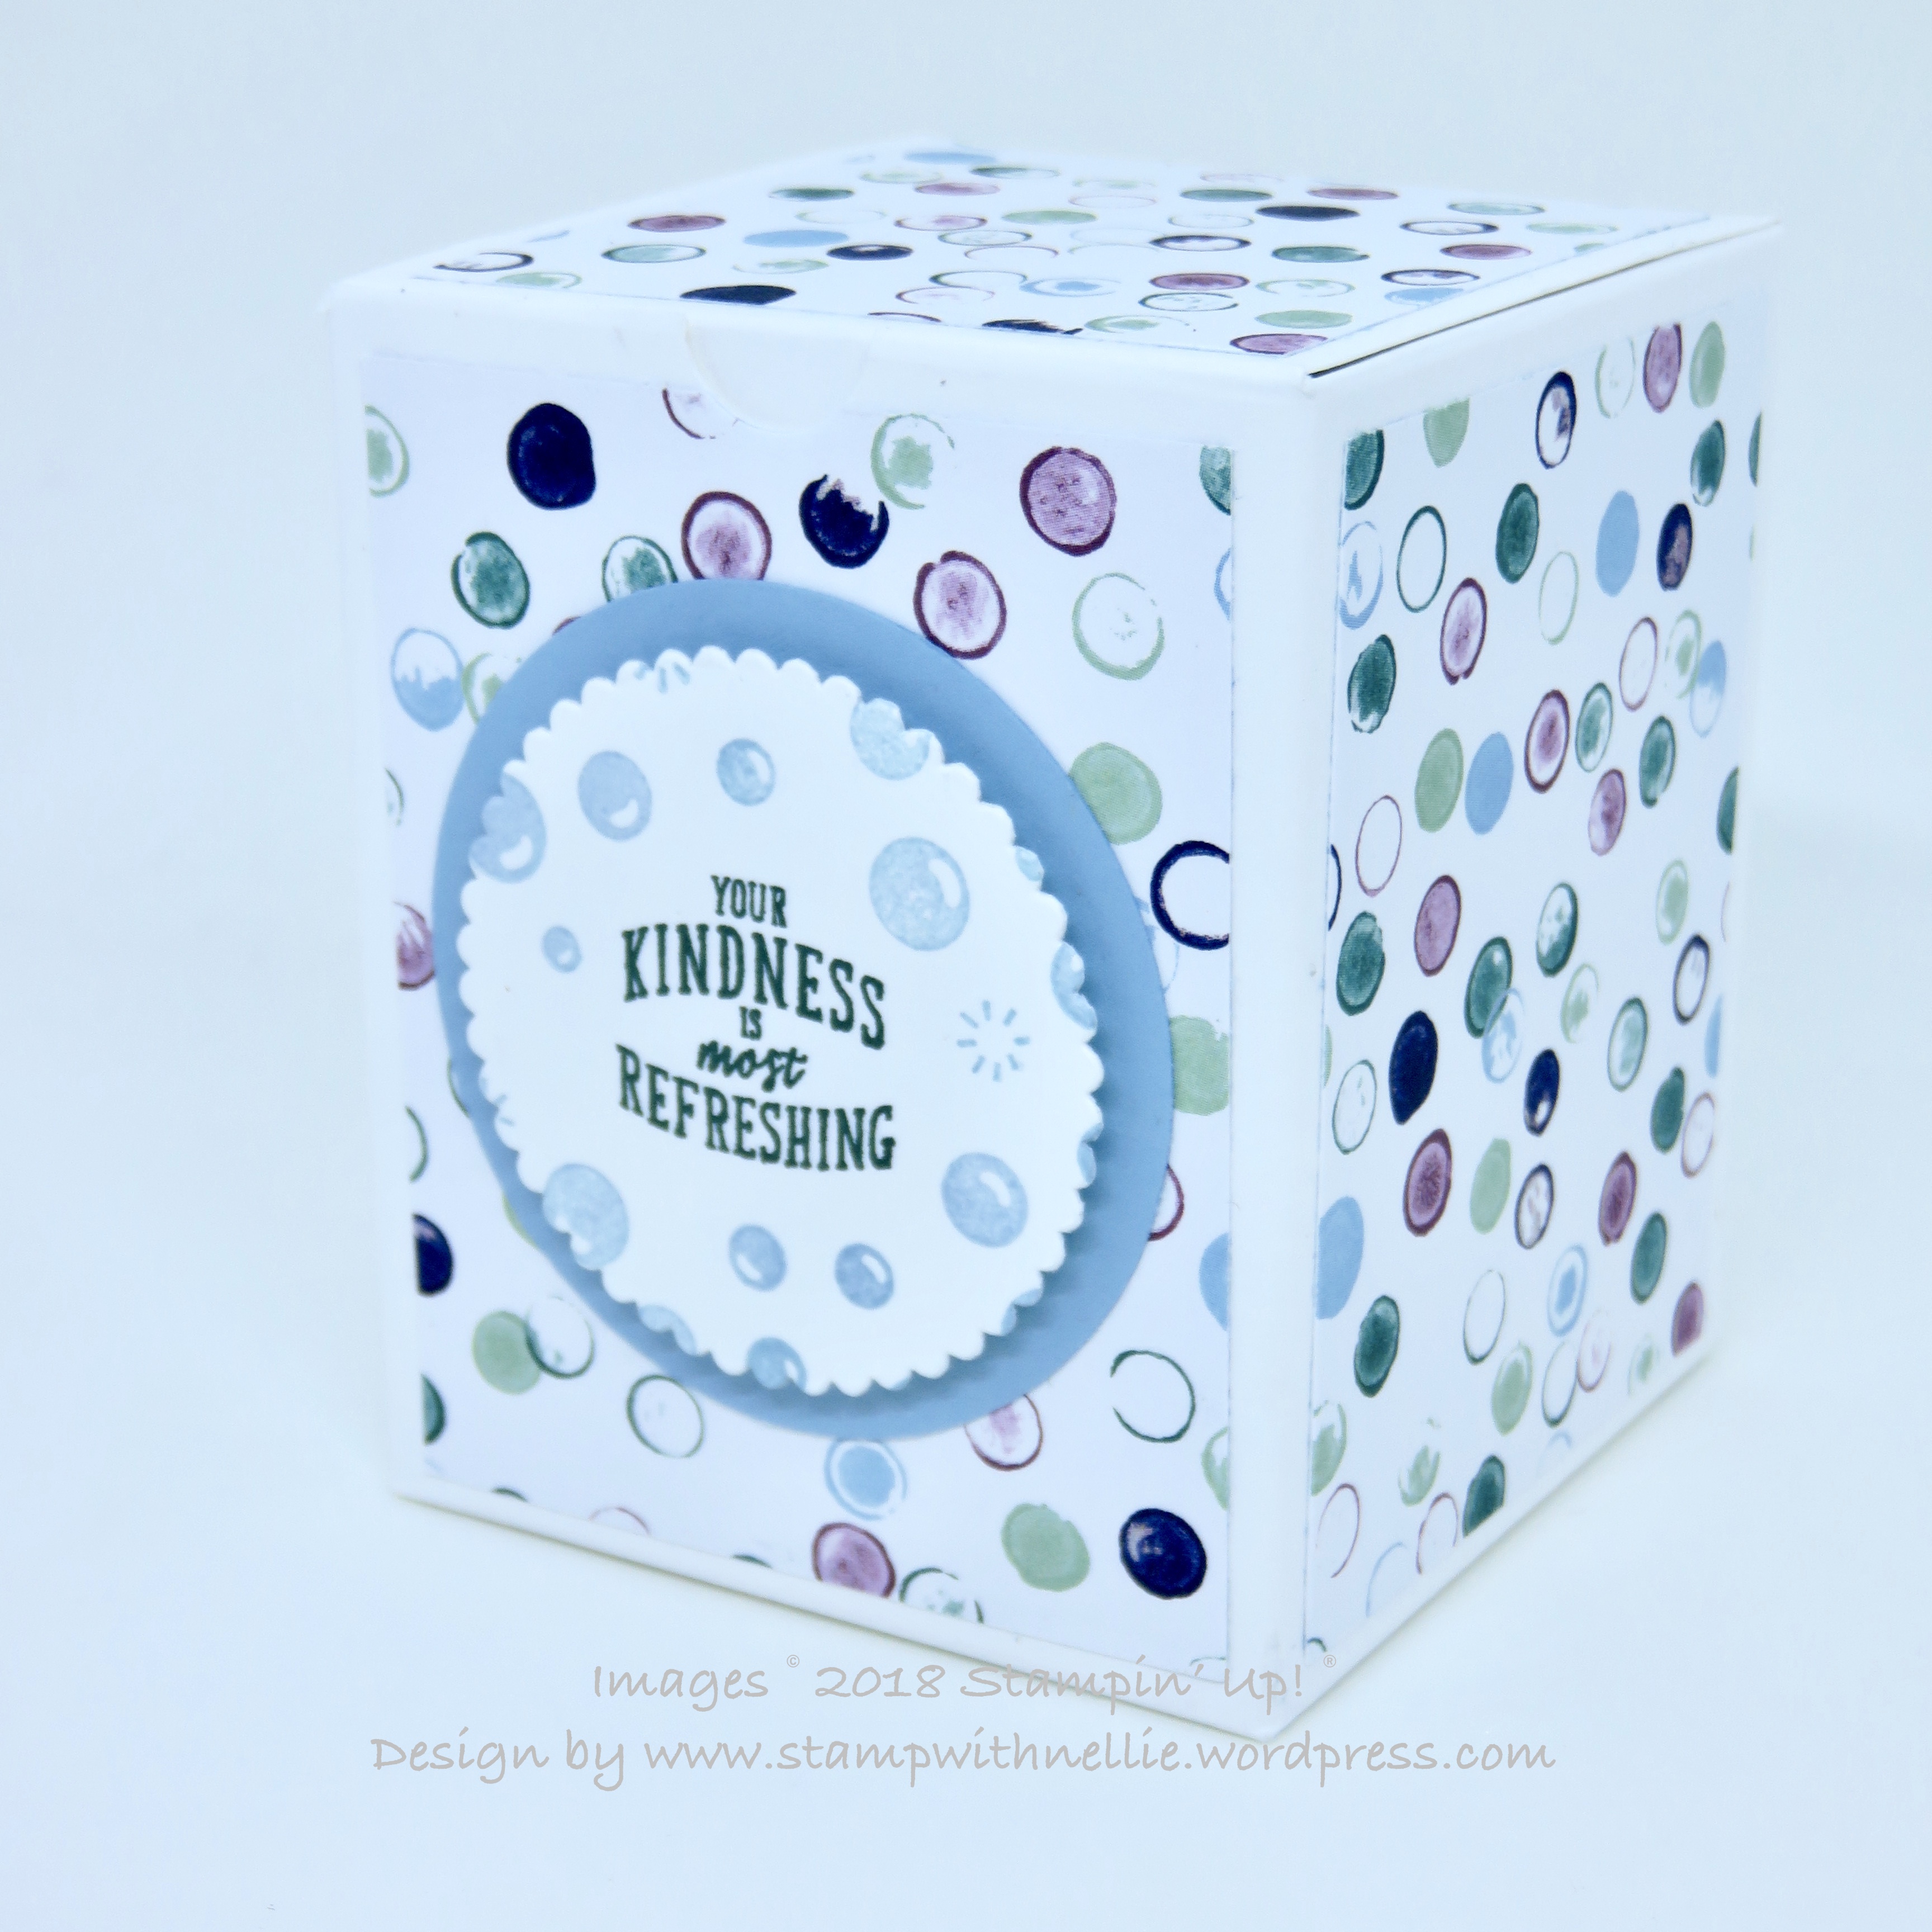
The lid fits really neatly so there’s no need to a ribbon closure
I used an A4 sheet of Whisper White Thick card that I trimmed down on the long side to 10.5 inches. I then scored as follows:
On the long side at
- 2 and 1/2 inches
- 5 inches
- 7 and 1.2 inches
- 10 inches
On the short side at
- 1/2 an inch
- 3 inches
- 6 inches
I then cut it using the following template:

You trim off most of the skinny part at the end of the long edge, just leaving the middle section as your tab to add your glue to. Cut straight up the score lines at the bottom section as this will form your base. The part closest to your side tab forms the lid so you only need to cut straight down the side of that and then round the corners of the top 1/2 inch part, which will tuck in to close the box. Trim down the 2 panels that will form the sides of the top part, to slightly less than 1/2 way and round the corners too. One top section is completely removed, as this will be the front of your box, where the lid tucks in.
You can keep the bits you’ve cut off to use for sentiments on other projects etc. You can always use scraps!
Before you assemble the box you can add DSP of your choice to each of the middle panels. I chose Tranquil Textures designer series paper. Each of the 4 side panels measure 2 and 1/4 inches by 2 and 3/4 inches. The piece for the lid is 2 and 1/4 inches square.
I also used my 1/2 inch circle punch to create a notch on the front panel to make it easier to open the box.
I stamped the Your Kindness is most Refreshing in Tranquil Tide ink. This sentiment and the bubbles stamp are from the Bubble Over stamp set. I used Balmy Blue ink for the bubbles. I used a scalloped circle from Layering Circles for the sentiment and also cut a circle from Balmy Blue card. I glued the circle straight onto my box front and added the sentiment with Stampin’ Dimensionals.
The finished box measures 2.5 x 2.5 x 3 inches so could fit all sorts of small gifts.

I hope you’ve enjoyed today’s project. I’ve listed the products I’ve used below. You can visit my Stampin’ Up! shop by clicking on any one of the images at any time. Remember to use the current Host Code if you’re order is under £150 – see the Host Code page from the main menu for more information.
Got a question? Just use the Contact Me page to get in touch. I’d love to hear from you.
Happy crafting,
Heather x
Product List

|
||

|
||

|

|

|

|


Very pretty, much better than the original box xx
Thanks Verity, it wasn’t too hard to improve on 😂 xx