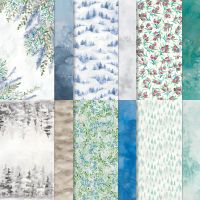
Hello and welcome to the September 2024 Project Share Project blog hop. Our fabulous little group of independent Stampin’ Up! demonstrators share each others projects every Thursday and also create a new project for a monthly Blog Hop. This month, our theme is One Sheet Wonder. I’ve used a 12″ x 12″ sheet to create my Winter Meadow One Sheet Wonder.
Here are the 9 cards I created by adding in Lost Lagoon and Basic White Thick card bases (they measure 4-1/8″ x 5-3/4″ when folded) plus some die cuts and sentiments from Decorative Trees…
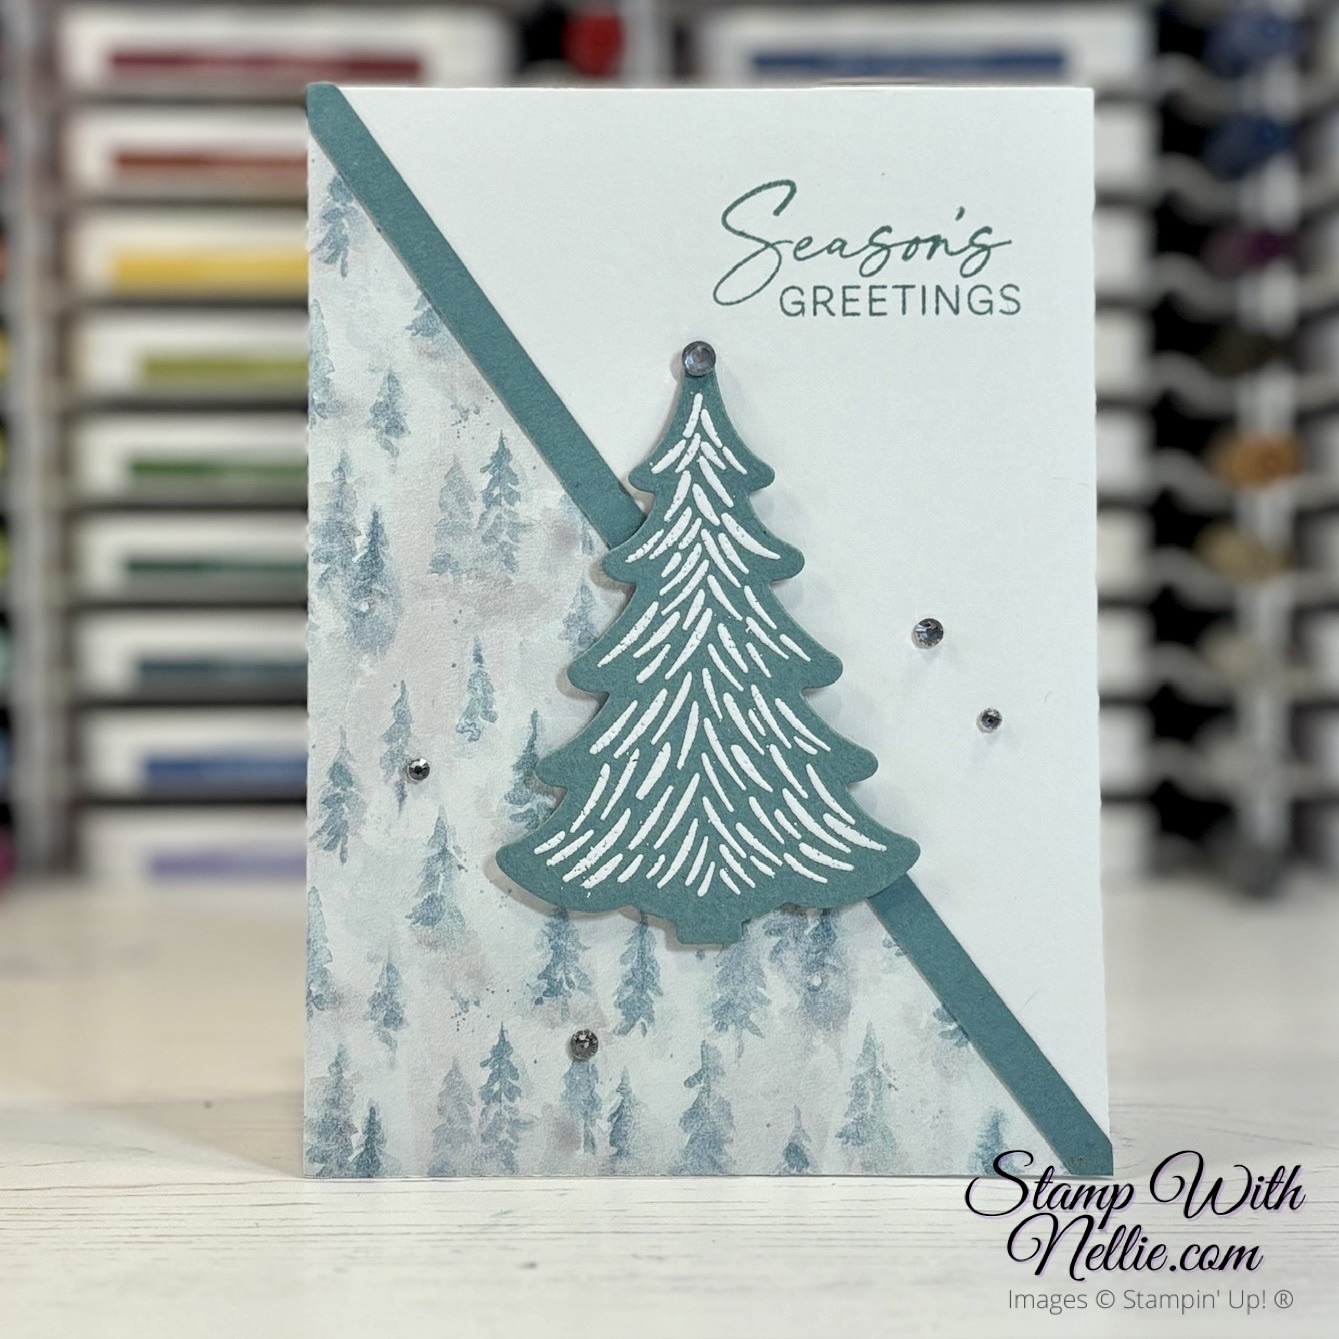
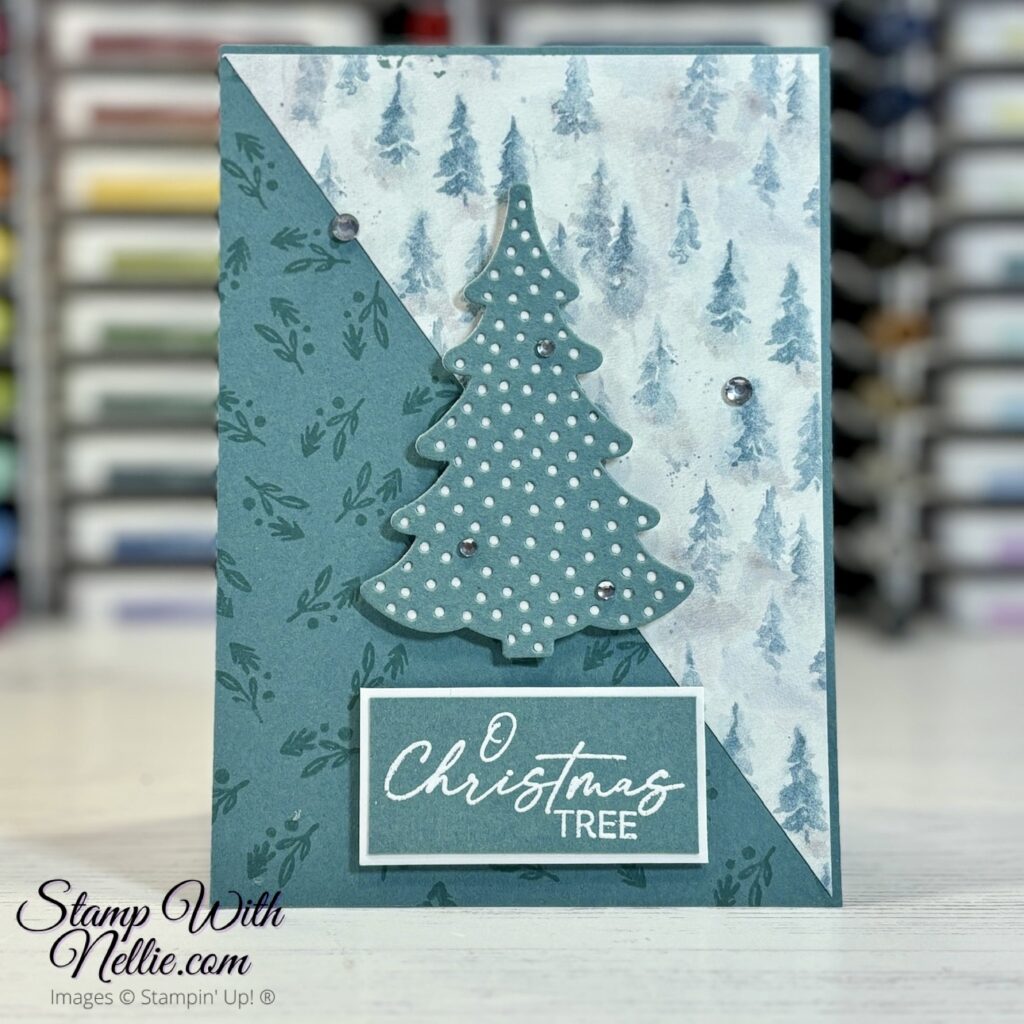
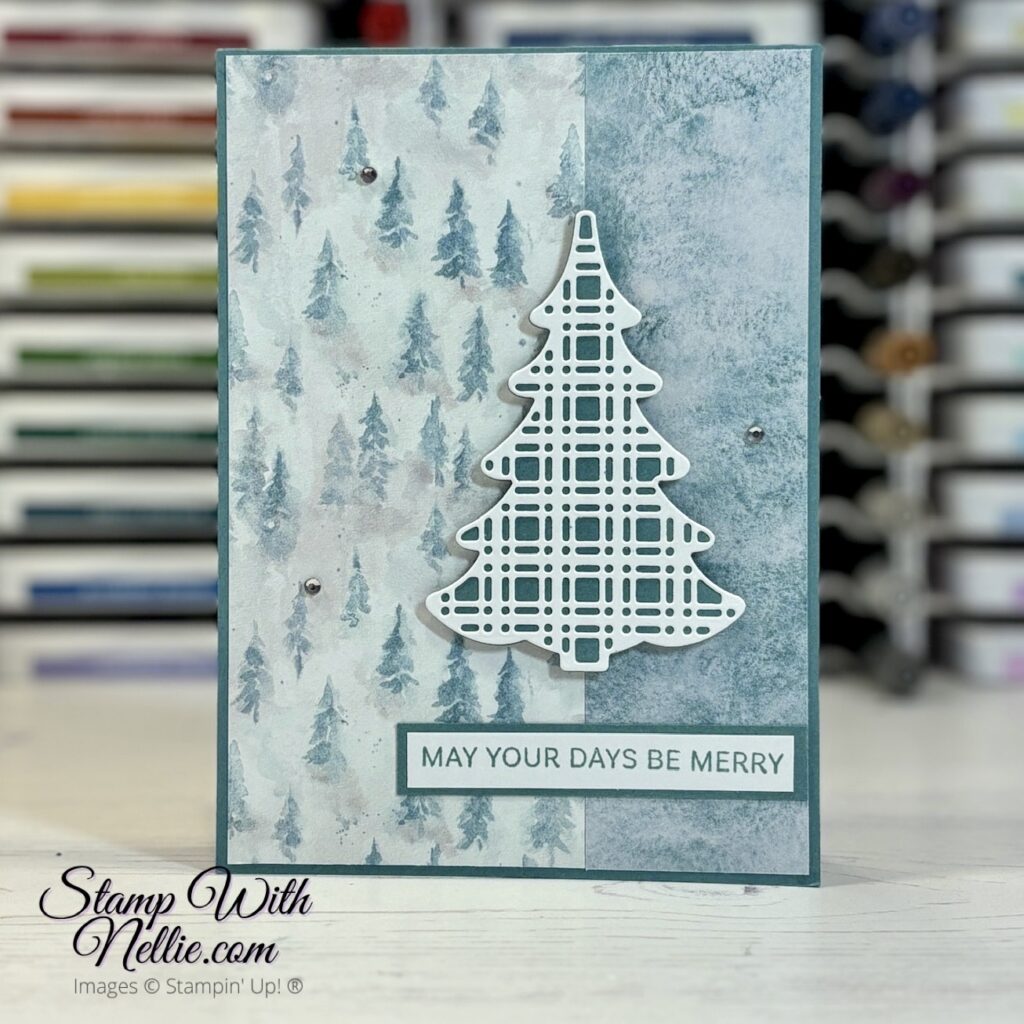
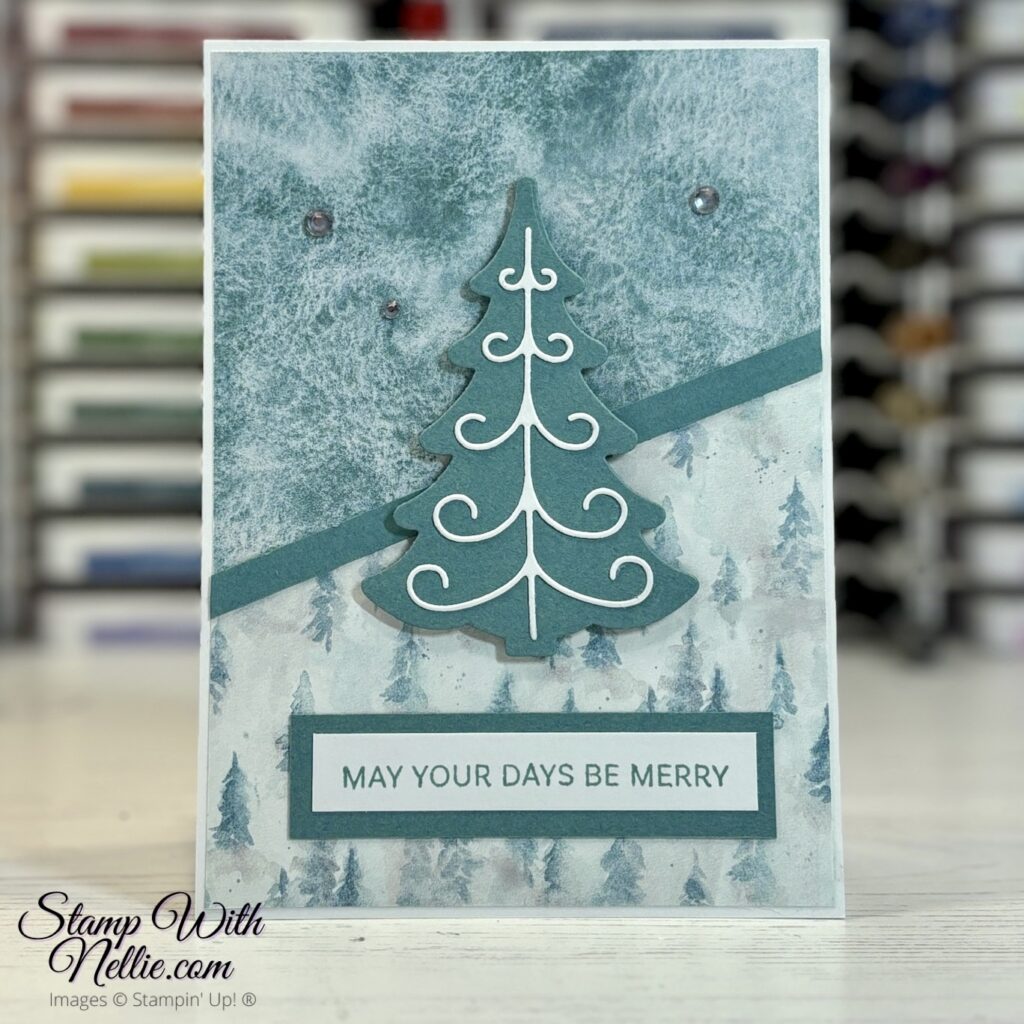
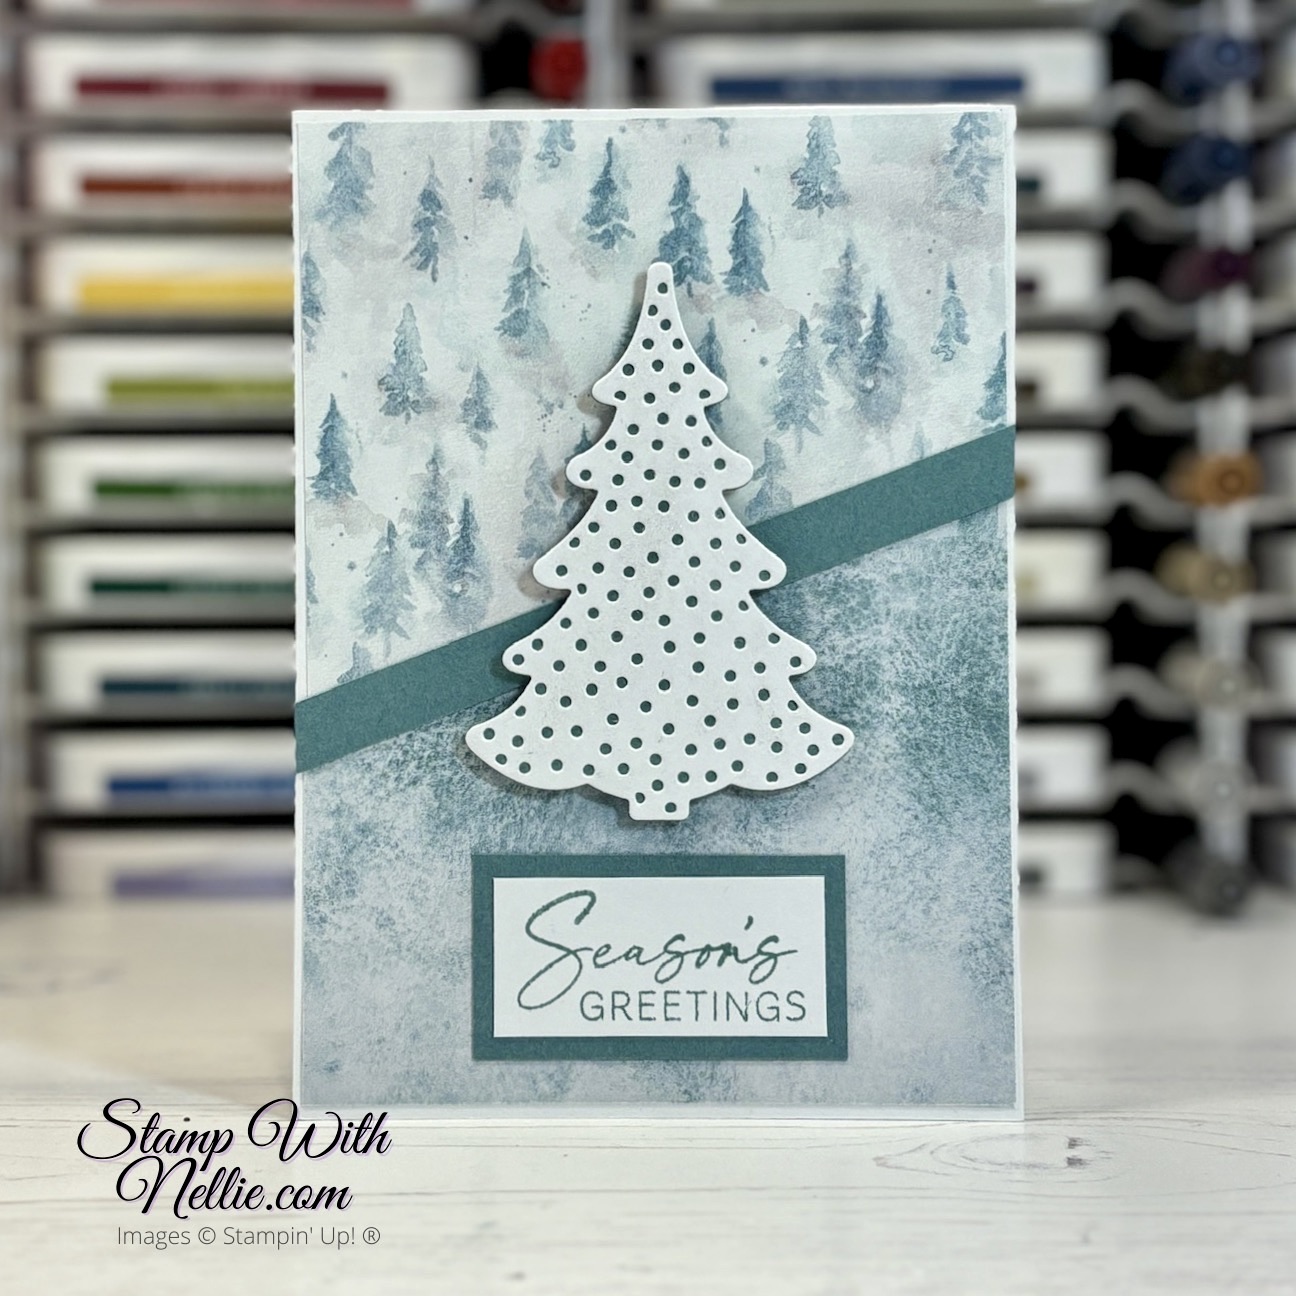
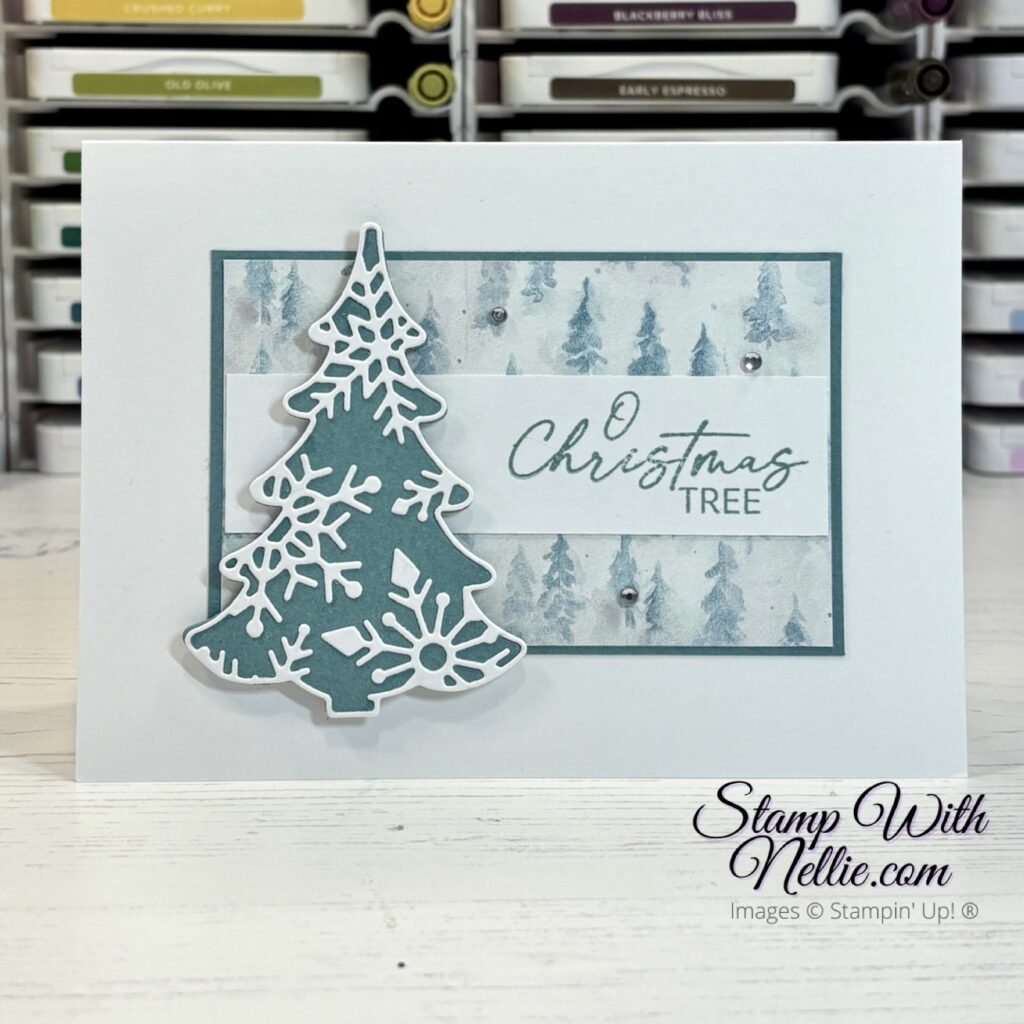
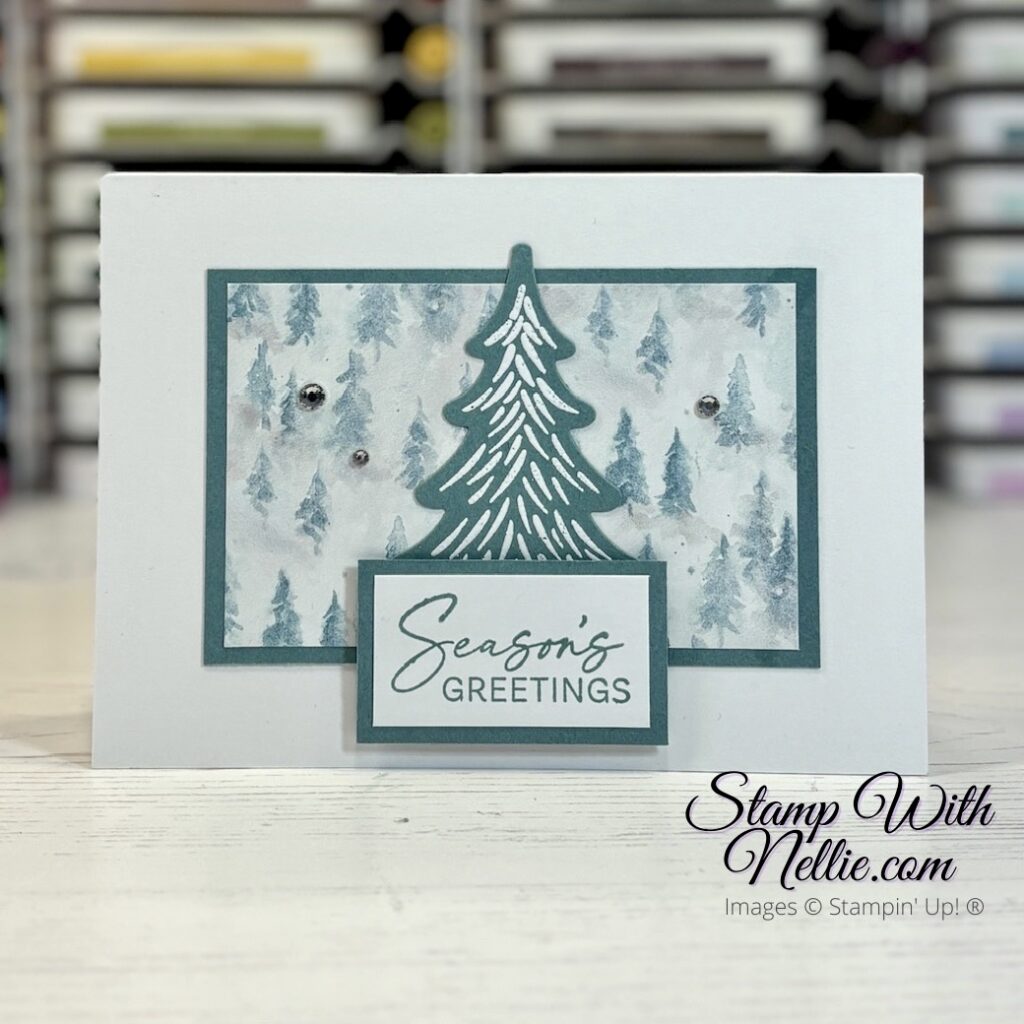
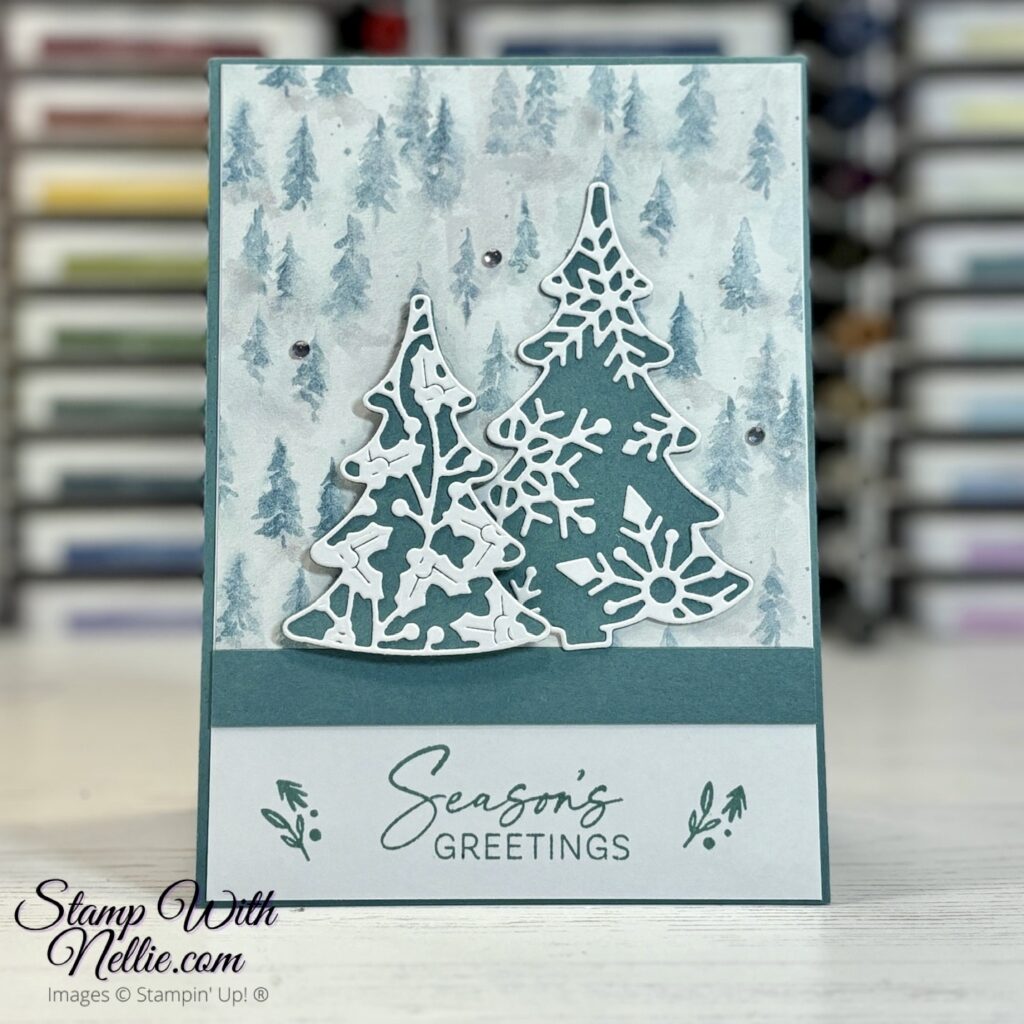
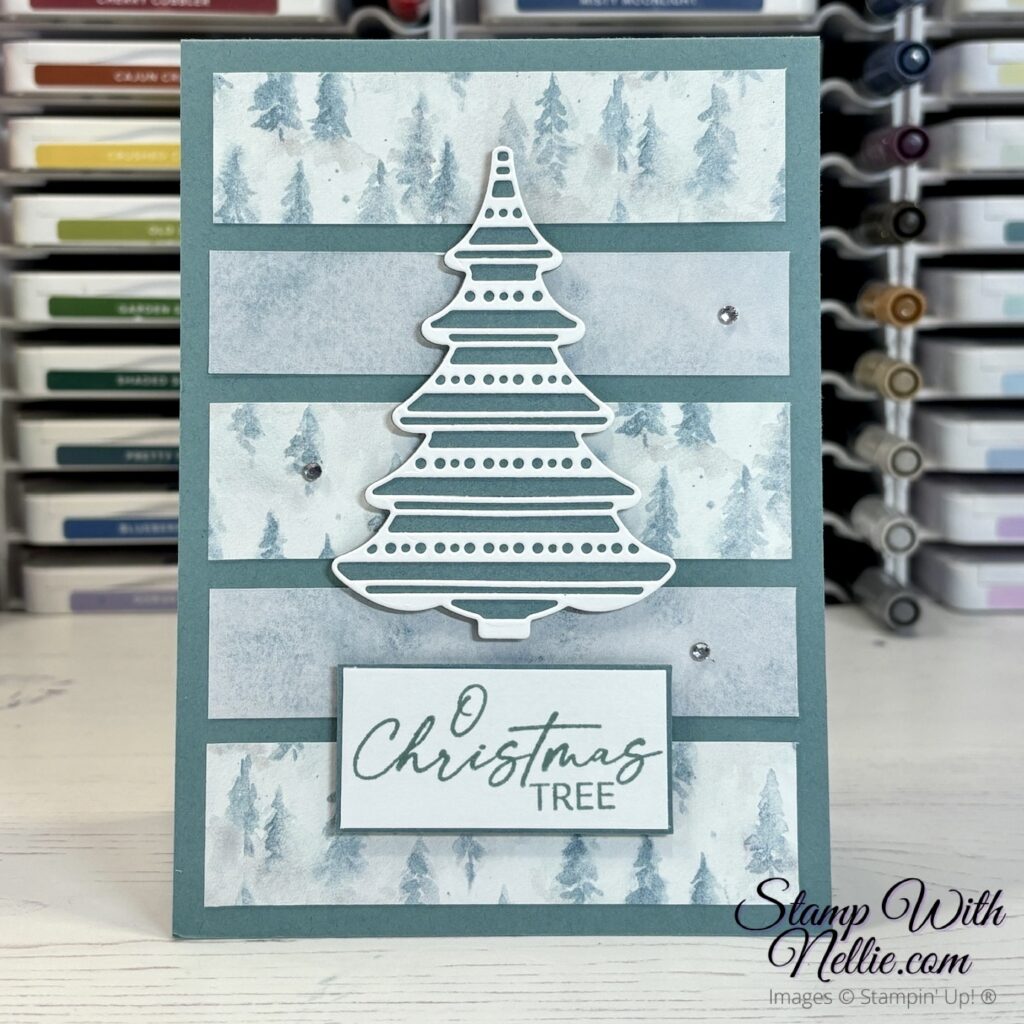
I loved chopping up this one sheet of Winter Meadow designer series paper and showing off both sides with my card layouts.
THE BLOG HOP
Now it’s time for you to check out what other ladies have created to inspire us all. Click on the image below to go straight to the next blog…
Or you can check out all of the blogs by using the links below:
- Jayne Frank – Craft with Jayne – https://craftwithjayne.co.uk/?p=6612
- Heather Forgan – Stamp With Nellie – https://stampwithnellie.com/2024/10/05/winter-meadow-one-sheet-wonder-the-project-share-blog-hop-october-2024/ (YOU ARE HERE)
- Verity Pursglove – Stampin’ with inkybutterfly – https://inkybutterfly.com/?p=14753
I hope you enjoy seeing what rainbow projects these lovely ladies have created – I can’t wait!
MEASUREMENTS
As I mentioned earlier, all my card bases measure 4-1/8″ x 5-3/4″ when folded. They are all tent folds and a mix of portrait and landscape to suit the size of the DSP pieces.
Here’s a diagram of the pieces I cut (not to scale – sorry!)
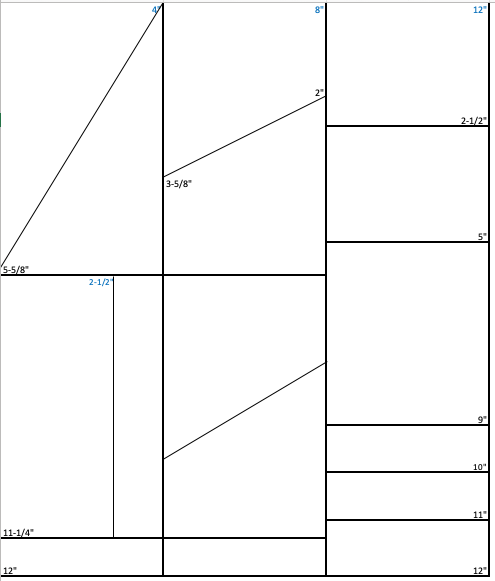
- First of all I cut the 12″ x 12″ piece into 3 strips of 4″ x 12″
- I cut the first strip on the long side at 5-5/8″ and again at 5-5/8″. This leaves a 3/4″ x 4″ strip
- Cut one of the large pieces are cut on the diagonal from top left to bottom right. Use each on a separate card base. (Cards 1 & 2)
- Cut the second large piece into 2 rectangles, I cut mine at 2-1/2″ on the short side. Glue both to a card base, showing each side of the paper. (card 3)
- I also cut the second strip on the long side at 5-5/8″ and again at 5-5/8″. This leaves another 3/4″ x 4″ strip
- Layer the 2 large pieces on top of each other and cut them on an angle. You can then mix and match the 4 pieces on 2 card bases. I also added thin strips of card to cover the joins. (cards 4 & 5)
- The third strip is cut along the long side at
- 2-1/2″, 2-1/2″, 4″, 1″ and 1″
- I backed the 4″ x 2-1/2″ pieces with Lost Lagoon card and added them both to landscape white card bases (cards 6 & 7)
- I added the 4″ x 4″ piece to a basic white layer measuring 4″ x 5-5/8″, along with a 4″ x 1/2″ piece of Lost Lagoon card and added this to a Lost Lagoon card base (Card 8)
- I trimmed the length of the remaining three 1″ strips to 3-3/4″. I did the same with the 3/4″ wide pieces leftover from strips 1 & 2. I alternative the 5 strips onto a Lost Lagoon card base (Card 9)
- I used various scraps of Basic White and Lost Lagoon card for the Decorative Trees die cuts and the sentiment pieces.
shop the products
I’ve listed all of the Stampin’ Up! products I used for today’s project below. You can click on any of the links to visit that item in my online Stampin’ Up! shop.
customer appreciation
When you shop with me you’ll receive a handmade card and gift as a token of my appreciation. If your order is under £150 please use the current Host Code so that I can add in a free product to your customer thank you pack for the month. Find out more on the Host Code page in the main menu.
Happy crafting,
Heather x
Product List




Fabulous cards Heather x
Thank you so much Jayne ❤️
such pretty cards!
Thank you so much Verity ❤️
fab collection of cards!
Thank you so much 🥰❤️