Hello! Welcome to another Festive Friday post. It’s probably no surprise to regular readers that I’m still working away on Christmas craft fair ideas. As the weeks go by, it’s looking more and more like Santa’s workshop in my little craft room! This week I’ve been working on hot chocolate packs and I want to share with you the Gift of Giving tags I’m adding to them…

This is such a cute image and simply perfect for these hot chocolate gift packs or any kind of beverage gift.
This is the latest of my Festive Friday posts that I started off in September. Each one has a supporting video tutorial and if you’ve missed any of them you can click here to watch the full playlist over on YouTube.

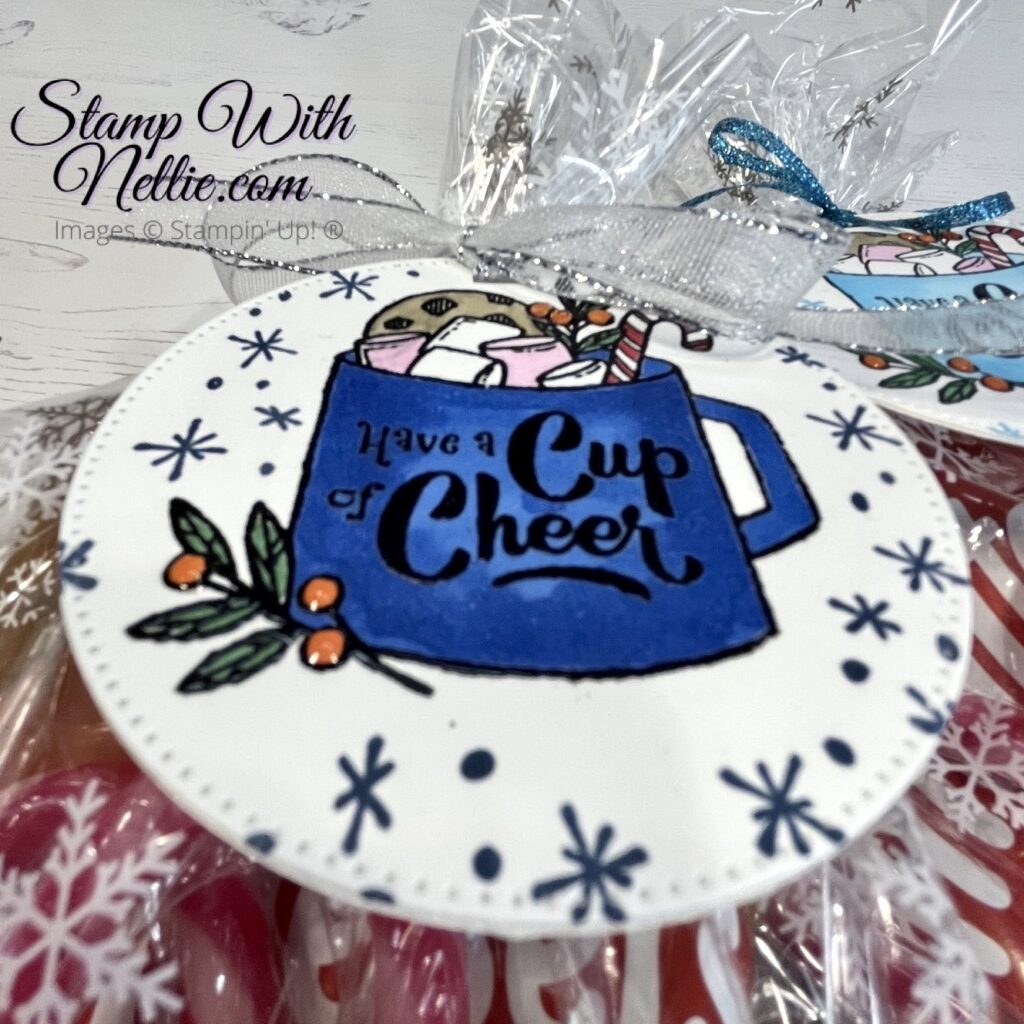
The first Gift of Giving tag I made for these hot chocolate gifts was stamped with memento ink and coloured with Stampin’ Blends. I decided to try another one with heat embossing and loved it. You can find out how I made the tag and what’s inside the gift by watching my tutorial…
youtube tutorial
I’d love you to click on the image above or if you prefer you can click here to pop over to YouTube and check out how to make this Gift of Giving tag. If you enjoy watching my video, I’d love you to give it a thumbs up and leave me a comment too. If you haven’t already subscribed to my channel, make sure you do so when you’re there; so you don’t miss out on future videos.
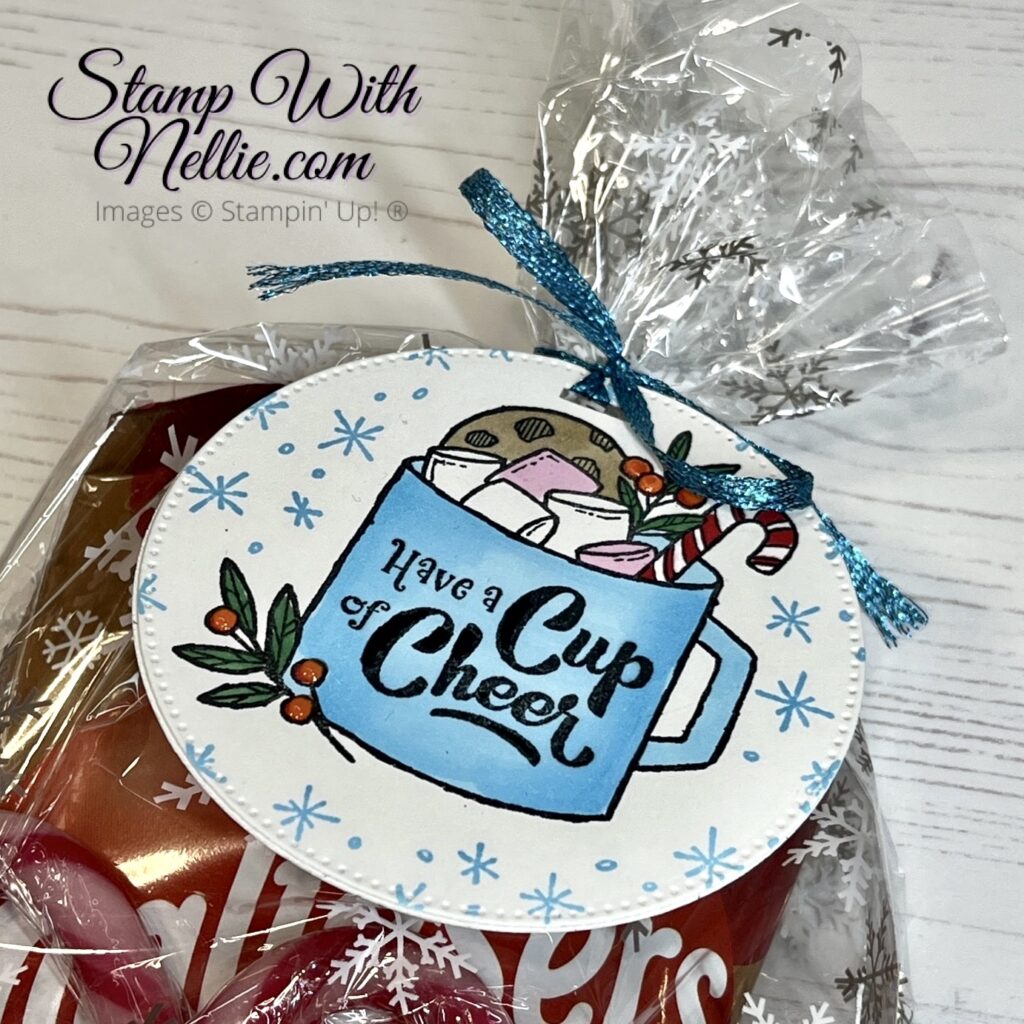
Here’s a close up of the tag I made in the video, check out the shine on those berries…

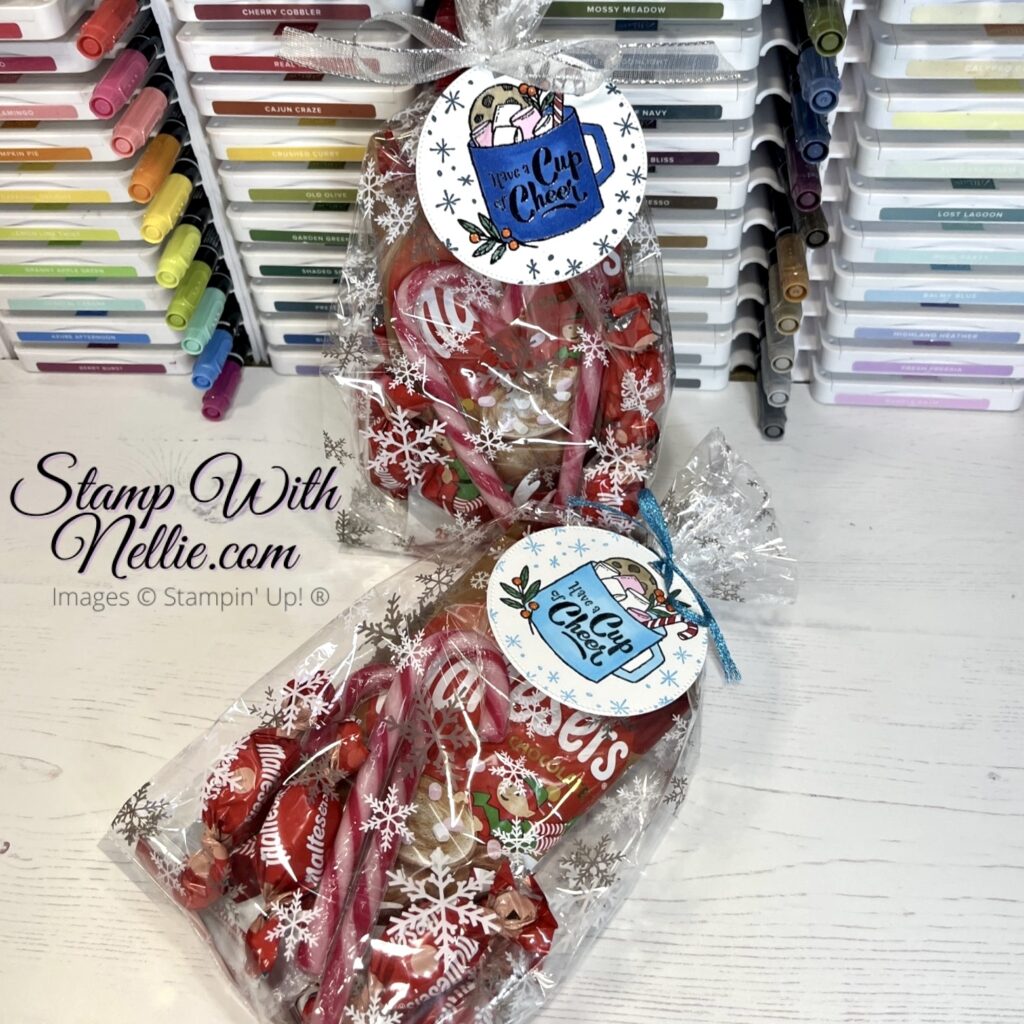
And here are my 2 completed hot chocolate gift packs…

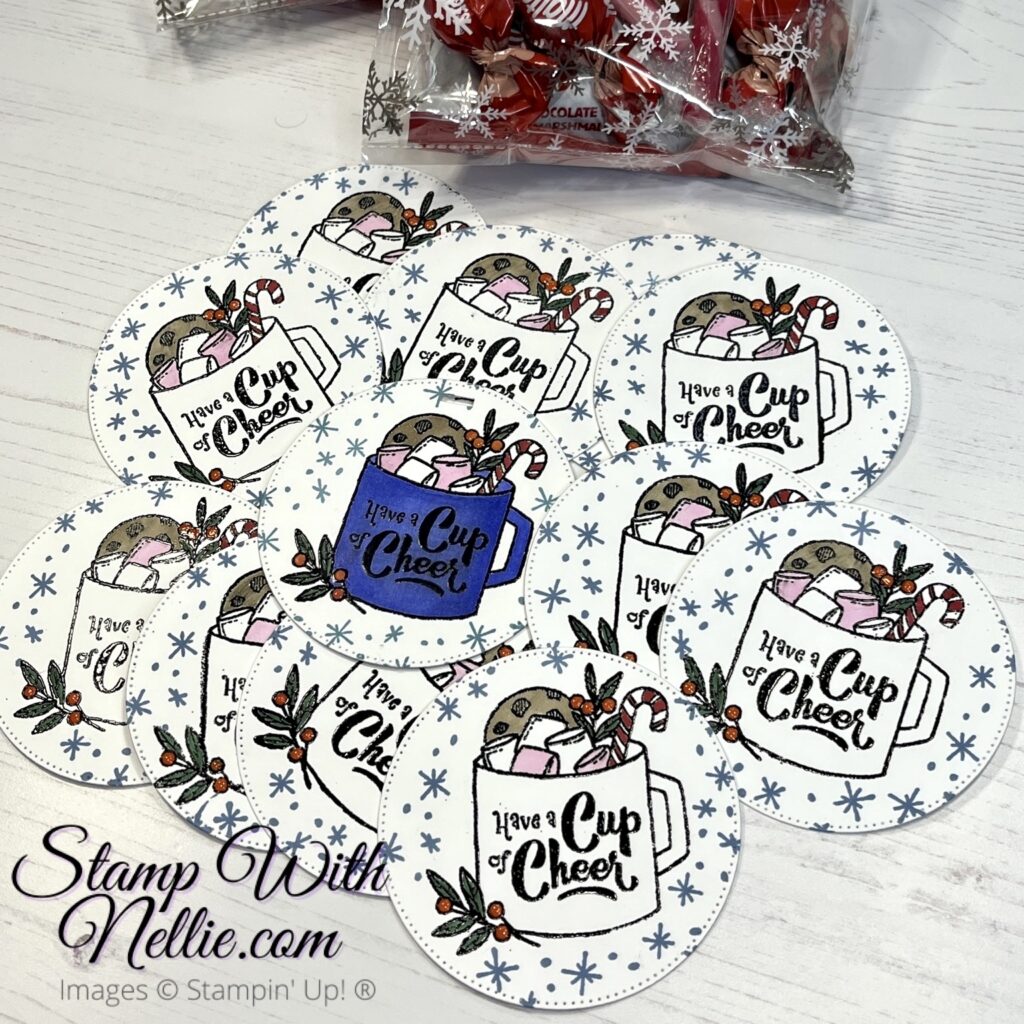
As I mentioned in the video, I have quite a few of these to make. So I’m making them in stages. I’ve done lots of the die cutting, then the heat embossing and I’m adding the colouring in stages too. First I coloured the cookies on them all, then the marshmallows etc. So this is what I’ve got done so far…

I actually quite like the white mug but can’t decide if they look unfinished or not. Do you think I should colour in all of the mugs? Leave me a comment to let me know.
I hope you’ve enjoyed today’s Festive Friday Gift Of Giving tags and will give themn a try.
SUPPLIES
To make the tag I created in the video you’ll need the following supplies:
- 2 pieces of Basic White card cut with the largest of the circular dies from Stylish Shapes
- Versamark ink and black heat embossing powder
- Stampin’ Blends to add colour
- Fine-Tip glue pen to add the shine to the berries
- Ribbon to attach your tag to your gift of choice
SHOP THE PRODUCTS
I’ve listed the products I used for today’s project below. You can click on any of the links in the Product List to visit that item in my online Stampin’ Up! store.
When you shop with me you’ll receive a handmade card, like these ones and gift as a token of my appreciation. If your order is under £150 please use the current Host Cod. This means that I can add in a free product to your customer thank you pack for the month. Find out more on the Host Code page in the main menu.
Happy crafting,
Heather x
Product List


Leave a Reply