Hello! I hope you are well. It was my birthday on Monday and my husband asked me if I wanted Stampin’ Up! products as his gift. And of course the answer was a very loud “yes, please!” I had been eyeing up the Party Banner dies for a while and so he agreed to buy them for me. He really is a keeper!! So, I didn’t waste much time before trying them out for today’s Snowy Delights Christmas card…
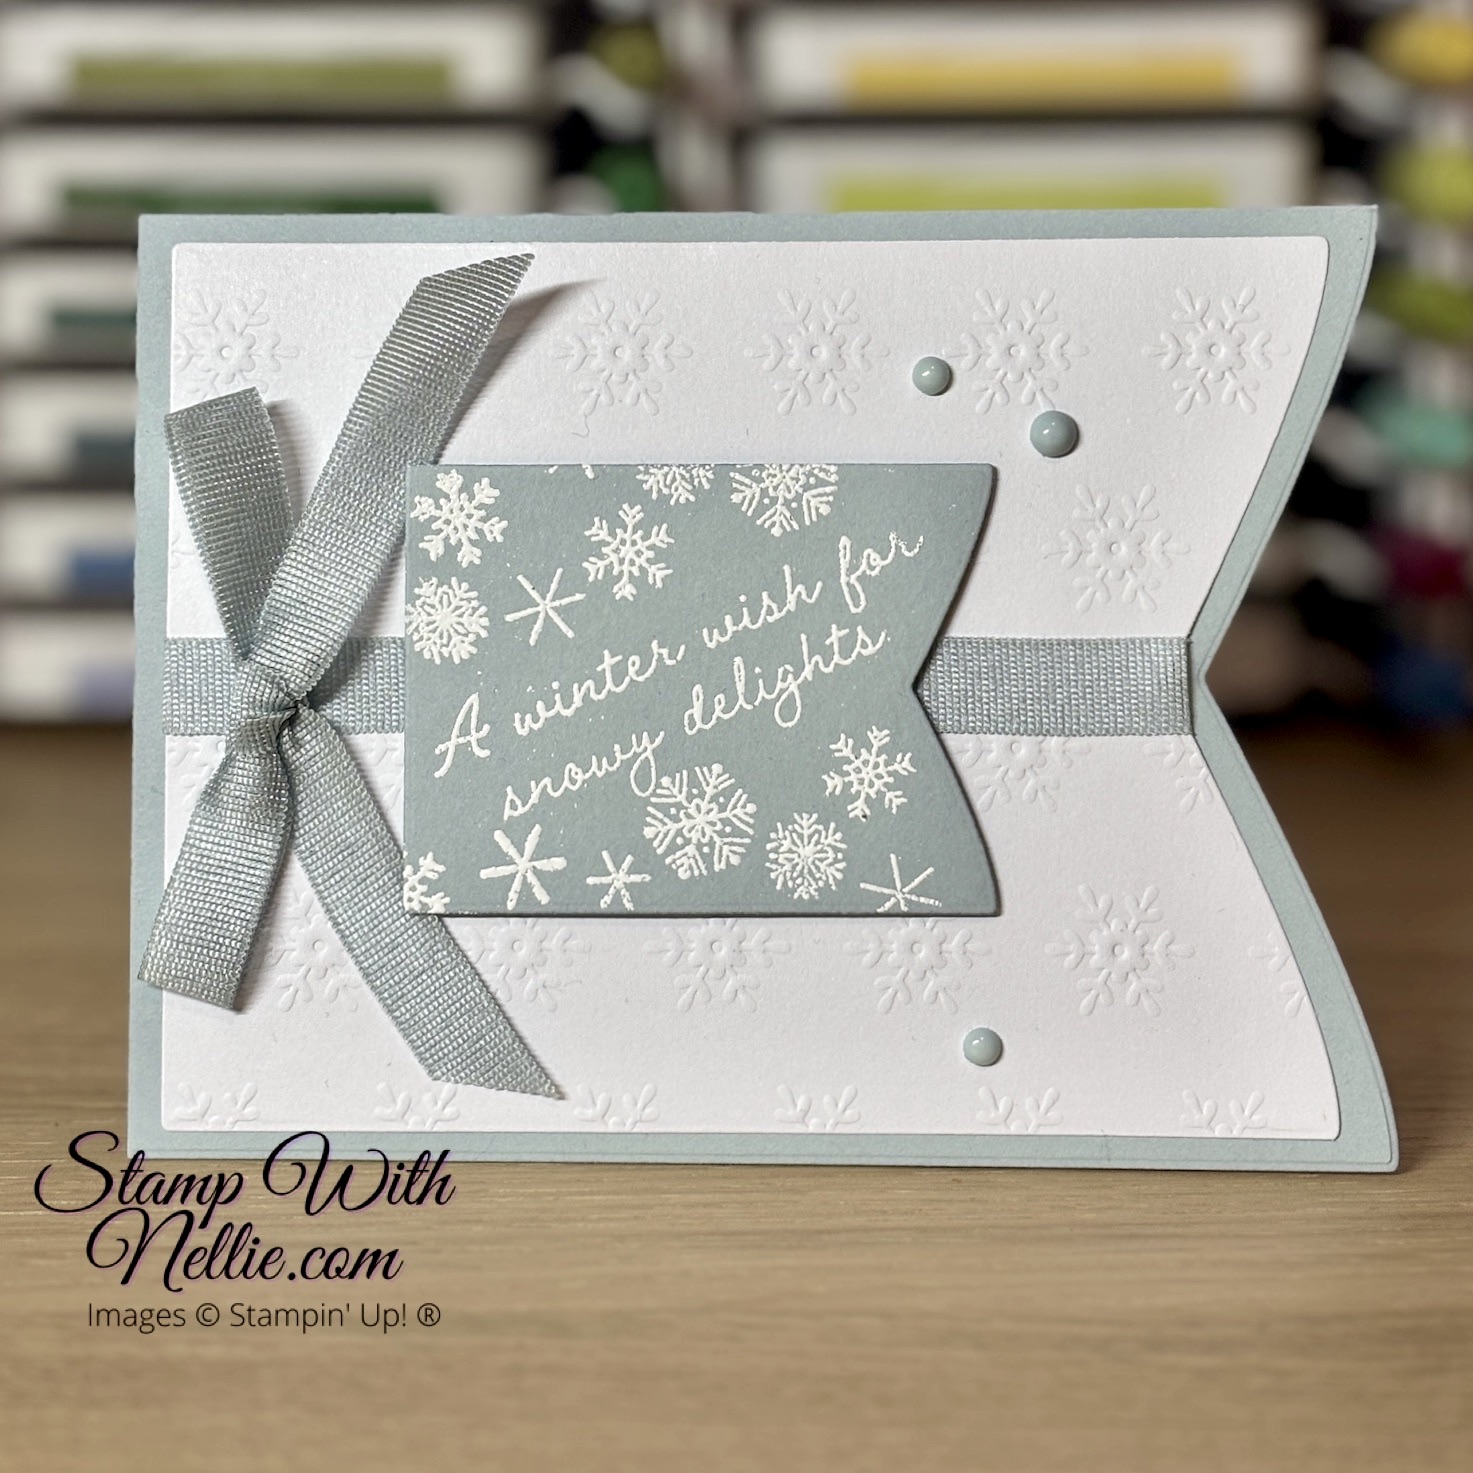
I used one of the large Party Banner dies to cut my Cloud Cover card base into this fun shape! Then I used more of the dies to cut a layer of Silent Snowfall pre embossed paper and my sentiment label for the card front.
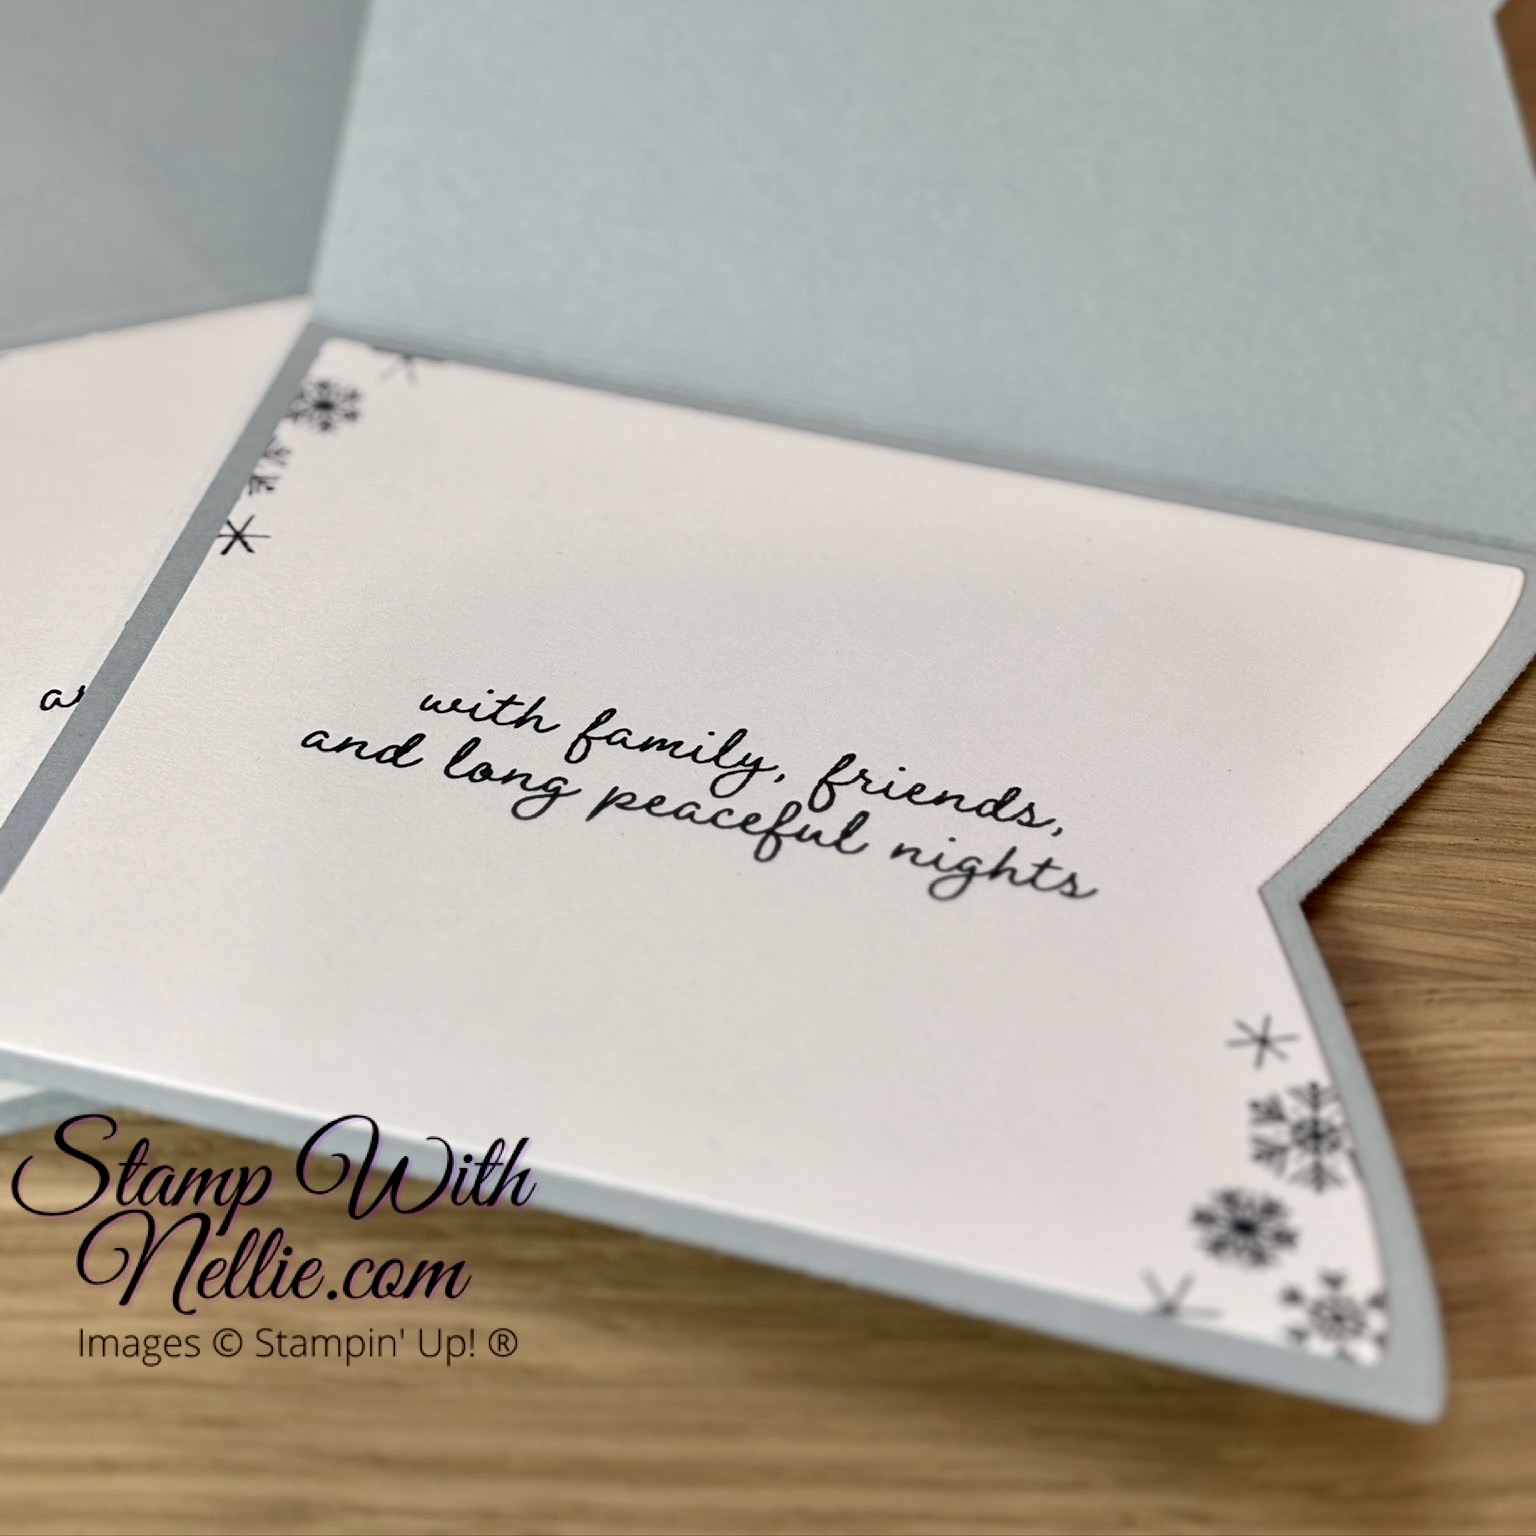
I used another die to cut a layer for inside the card and stamped another message with Secret Sea ink…
Let me show you how to make this unusual shaped card base and turn it into a Christmas card in today’s video…
youtube tutorial
If you’d like to check out the YouTube tutorial for this Snowy Delights Christmas card, please click on the image below…
Or if you prefer you can click here to pop over to YouTube and check out today’s project video. If you enjoy watching my video, I’d love you to give it a thumbs up and leave me a comment too. If you haven’t already subscribed to my channel, make sure you do so when you’re there; so you don’t miss out on future videos.
Here’s the card I made in today’s video…
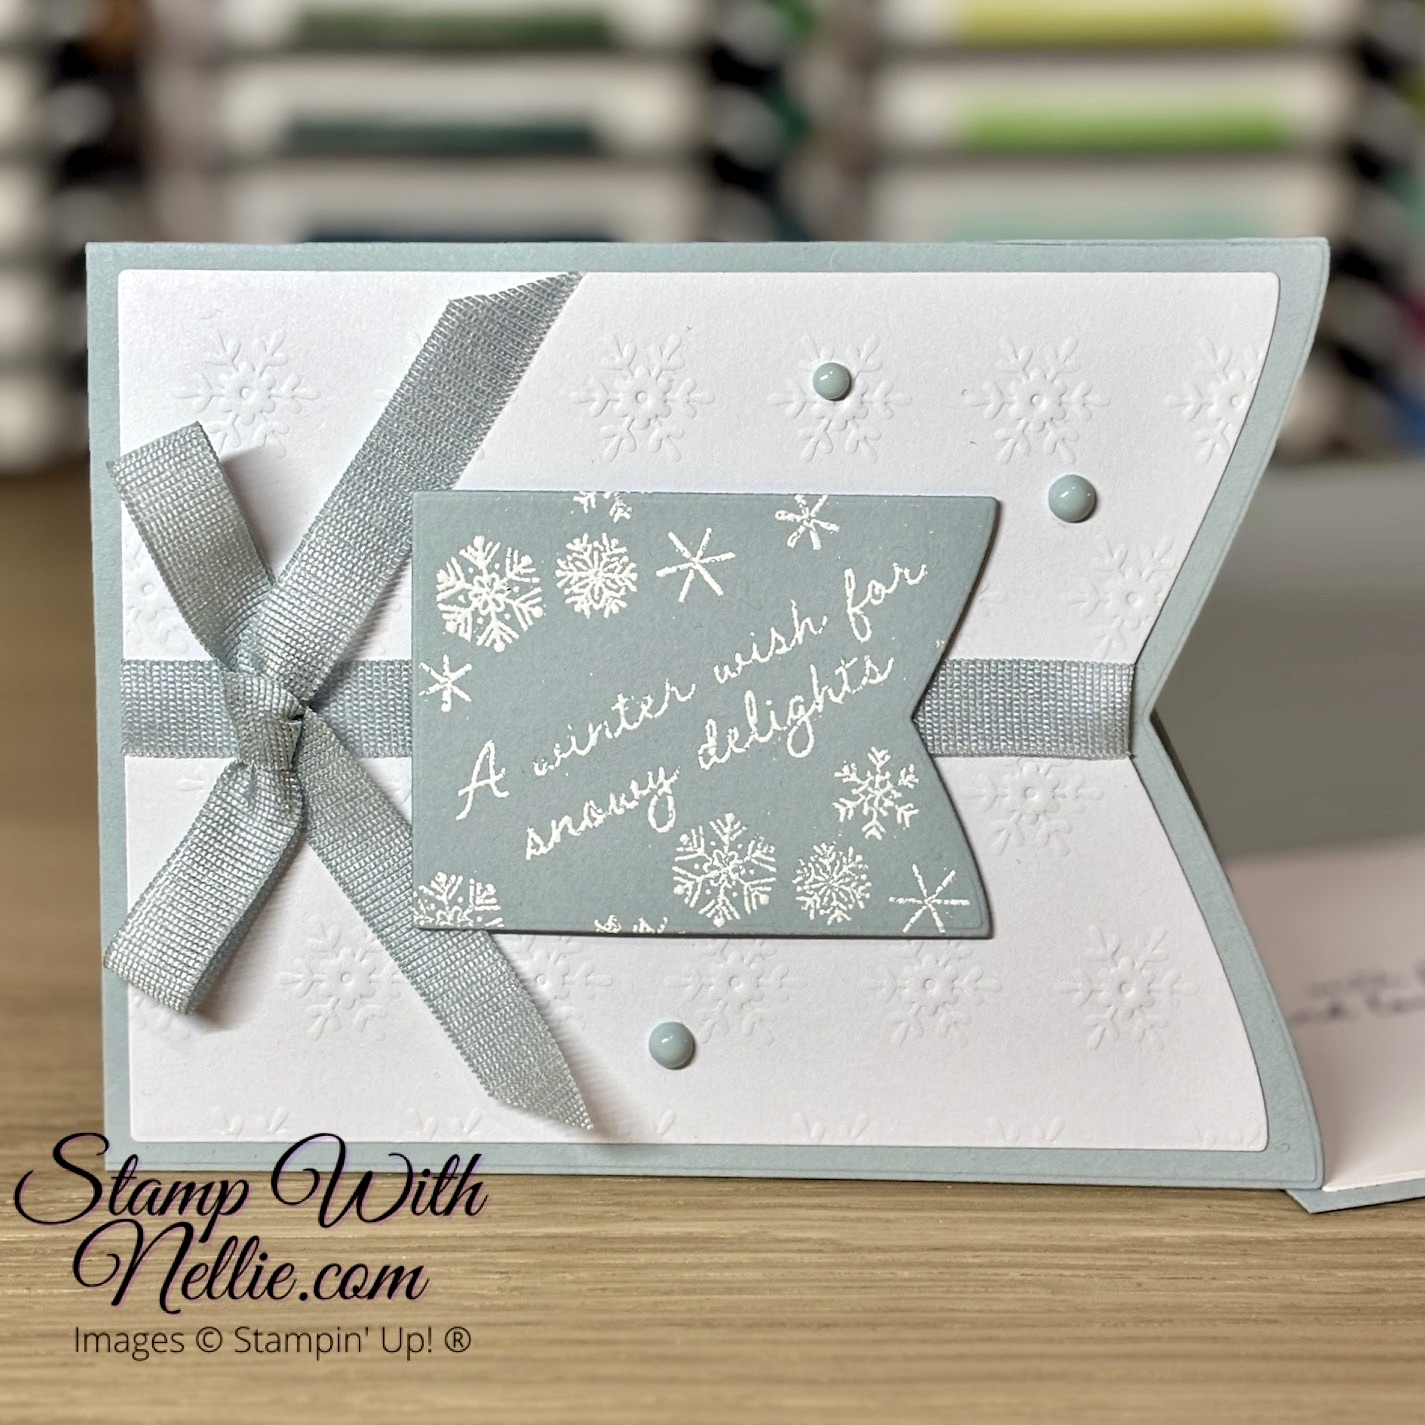
This style of card could be used in so many different ways! I may try it with some brighter designer series paper next time.
SHOP THE PRODUCTS
I’ve listed the products I used for the project in today’s video below. You can click on any of the links in the Product List to visit that item in my online Stampin’ Up! store.
CUSTOMER APPRECIATION
When you shop with me you’ll receive a handmade card and gift as a token of my appreciation. You will also earn Stampin’ Rewards to spend on a future order if you spend £20 (25€) – CLICK HERE to find out more.
Happy crafting,
Heather x
Product List![Snowy Delights Photopolymer Stamp Set (English) [ 165801 ]](https://assets1.tamsnetwork.com/images/EC042017NF/165801s.jpg "Snowy Delights Photopolymer Stamp Set (English) [ 165801 ]")
![Party Banners Dies [ 165264 ]](https://assets1.tamsnetwork.com/images/EC042017NF/165264s.jpg "Party Banners Dies [ 165264 ]")
![Silent Snowfall 12" X 12" (30.5 X 30.5 Cm) Specialty Designer Series Paper [ 166062 ]](https://assets1.tamsnetwork.com/images/EC042017NF/166062s.jpg "Silent Snowfall 12\" X 12\" (30.5 X 30.5 Cm) Specialty Designer Series Paper [ 166062 ]")
![Cloud Cover A4 Cardstock [ 165293 ]](https://assets1.tamsnetwork.com/images/EC042017NF/165293s.jpg "Cloud Cover A4 Cardstock [ 165293 ]")
![Basic White A4 Cardstock [ 166781 ]](https://assets1.tamsnetwork.com/images/EC042017NF/166781s.jpg "Basic White A4 Cardstock [ 166781 ]")
![Secret Sea Classic Stampin' Pad [ 165285 ]](https://assets1.tamsnetwork.com/images/EC042017NF/165285s.jpg "Secret Sea Classic Stampin' Pad [ 165285 ]")
![Versamark Pad [ 102283 ]](https://assets1.tamsnetwork.com/images/EC042017NF/102283s.jpg "Versamark Pad [ 102283 ]")
![Basics Wow! Embossing Powder [ 165679 ]](https://assets1.tamsnetwork.com/images/EC042017NF/165679s.jpg "Basics Wow! Embossing Powder [ 165679 ]")
![Muted Palette Dots [ 165155 ]](https://assets1.tamsnetwork.com/images/EC042017NF/165155s.jpg "Muted Palette Dots [ 165155 ]")
![Cloud Cover 3/8" (1 Cm) Faux Linen Ribbon [ 165271 ]](https://assets1.tamsnetwork.com/images/EC042017NF/165271s.jpg "Cloud Cover 3/8\" (1 Cm) Faux Linen Ribbon [ 165271 ]")
![Stampin' Dimensionals [ 104430 ]](https://assets1.tamsnetwork.com/images/EC042017NF/104430s.jpg "Stampin' Dimensionals [ 104430 ]")

Leave a Reply