Hello, I hope you are well.
Today I have a YouTube tutorial to show you how to make a really fancy Easter card that comes in it’s own box…
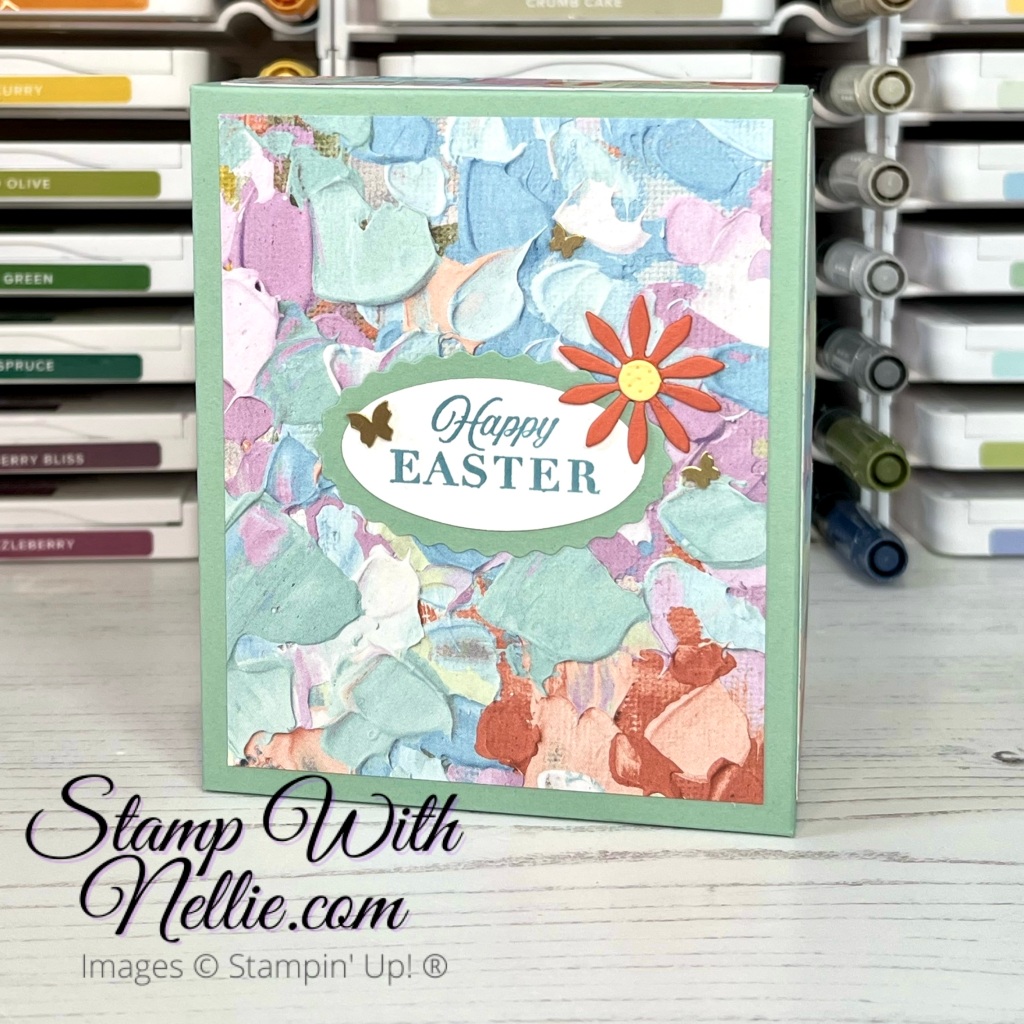
When you open the box it reveals the concertina card inside…
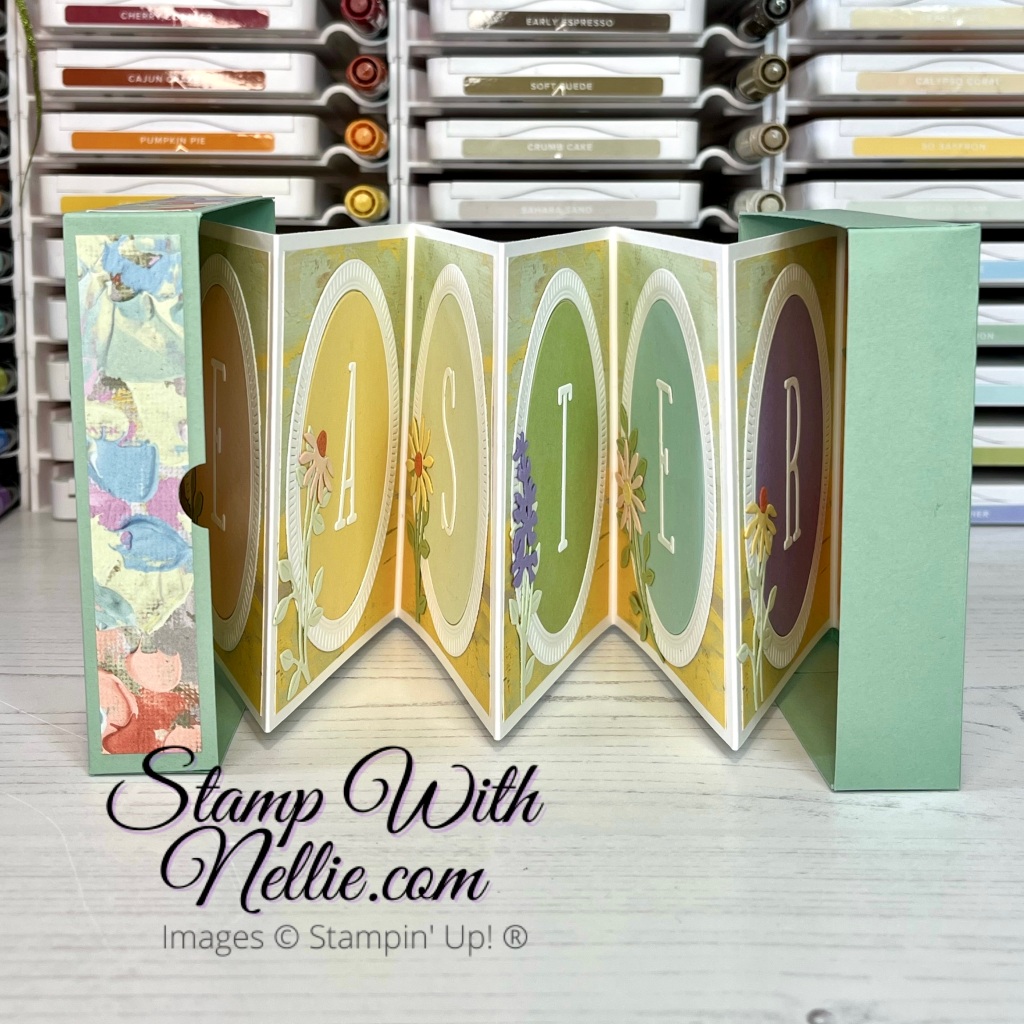
I used a whole heap of products to create this fun card including punches, dies, stamps, designer series paper, ink and card. It was definitely a labour of love!
I’d love you to click on the image below to check out my card in a box in more detail and to see how I constructed and decorated it…
Or you can watch the video by CLICKING HERE
To make the concertina card you’ll need the following supplies:
- Basic White Thick card
- measuring 4″ x 10-1/4″
- score on the long side at 3-1/4″, 6-1/2″ and 9-3/4″
- measuring 4″ x 7″
- score on the long side at 3-1/4″ and 6-1/2″
- measuring 4″ x 9-3/4″
- score on the long side at 3-1/4″ and 6-1/2″
- measuring 4″ x 10-1/4″
- 8 pieces of Fancy Flora DSP each measuring 3-3/4″ x 3″
- 6 ovals and frames cut with a Framed Floret die
- 6 die cut letters to spell EASTER
- decorations made with Dainty Delight dies
- sentiments for the first and last panel, cut with the Double Oval punch
To make the box the concertina card is glued into you’ll need the following supplies:
A4 card version
- Balmy Blue card cut to the following sizes
- 5-1/2″ x 6-1/4″ for the base – scored on all 4 sides at 1″
- 5-9/16″ x 6-5/16″ for the lid – scored on all 4 sides at 1″
- 2 pieces of Fancy Flora DSP each measuring 4″ x 3-1/4″
- 2 pieces of Fancy Flora DSP each measuring 3/4″ x 4″
- 2 pieces of Fancy Flora DSP each measuring 3/4″ x 3-1/4″
- Basic White card measuring 3-3/4″ x 3″
US Letter card version
- Balmy Blue card cut to the following sizes
- 5-3/8″ x 6-1/4″ for the base – scored on all 4 sides at 1″
- 5-7/16″ x 6-1/4″ for the lid – scored on all 4 sides at 1″
- 2 pieces of Fancy Flora DSP each measuring 4″ x 3-1/8″
- 2 pieces of Fancy Flora DSP each measuring 3/4″ x 4″
- 2 pieces of Fancy Flora DSP each measuring 3/4″ x 3-1/8″
- Basic White card measuring 3-3/4″ x 2-7/8″
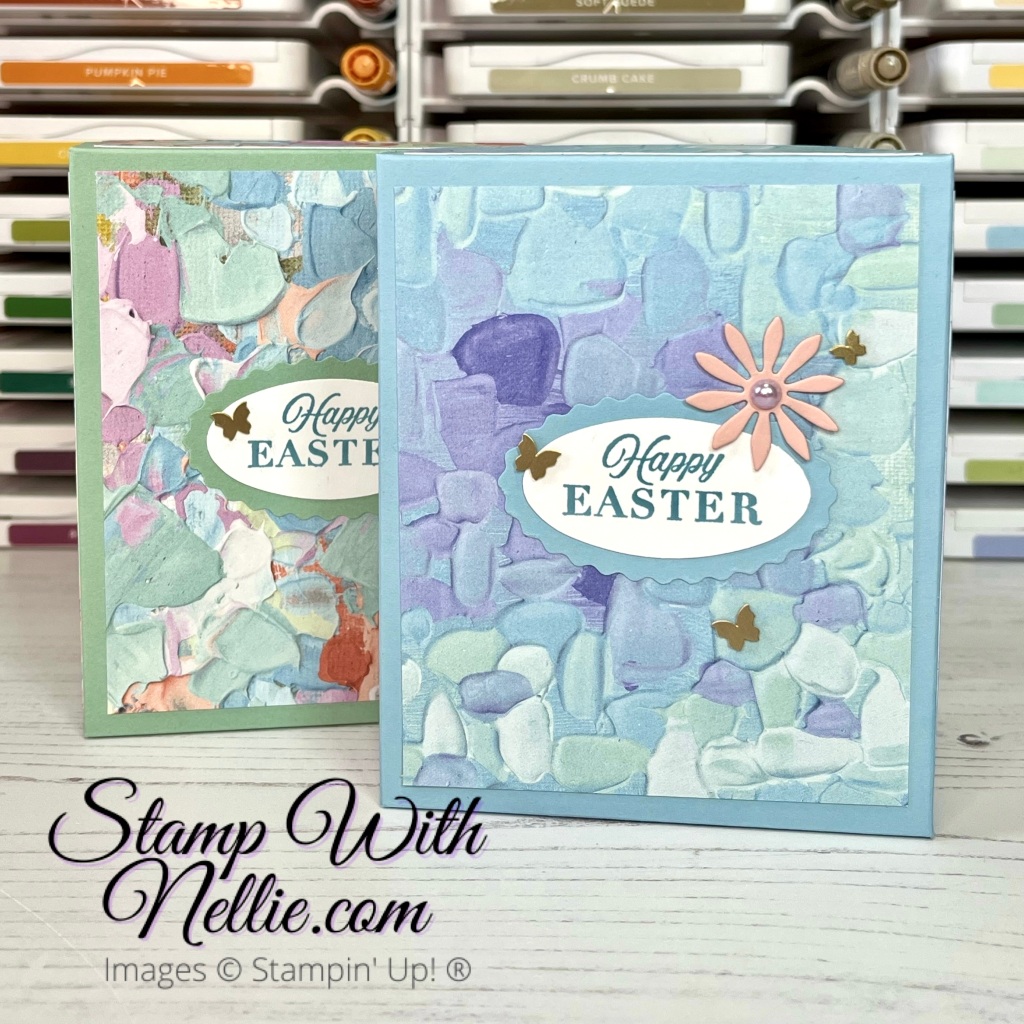
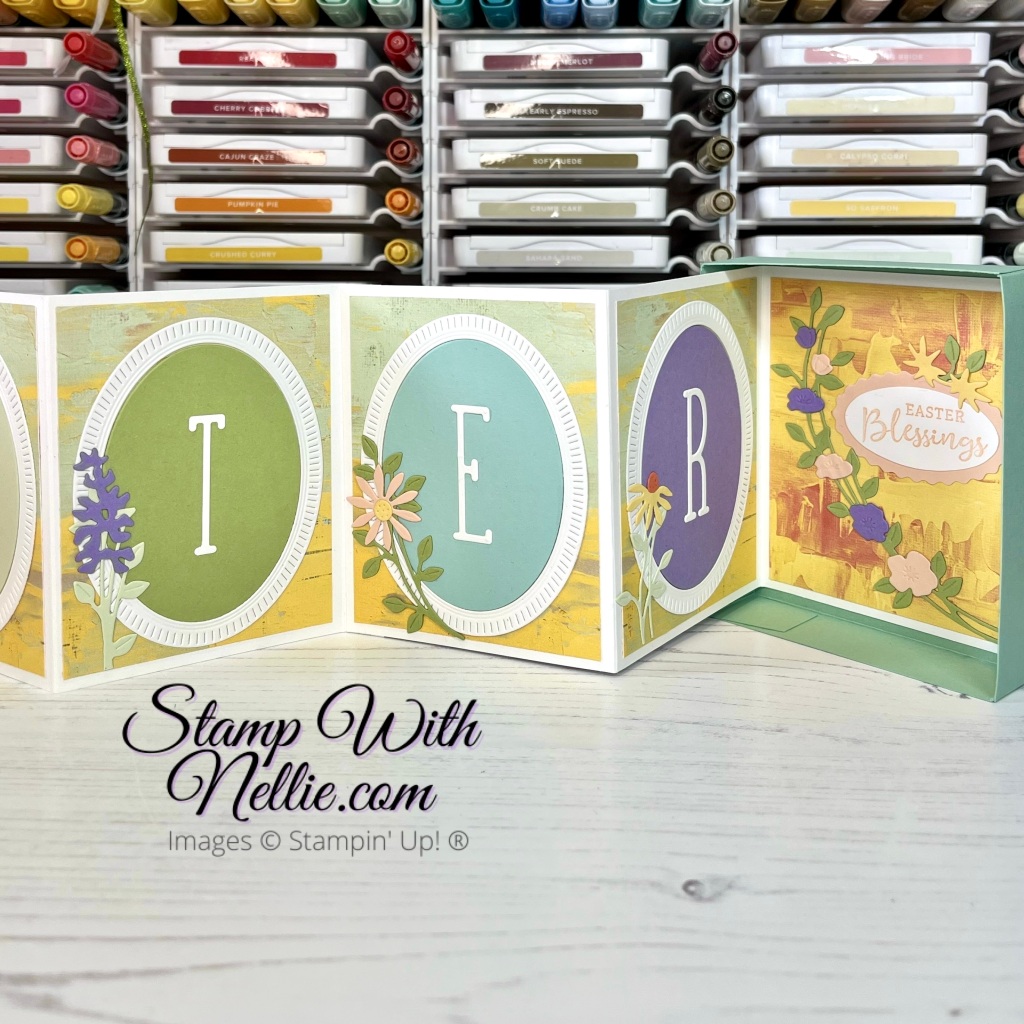
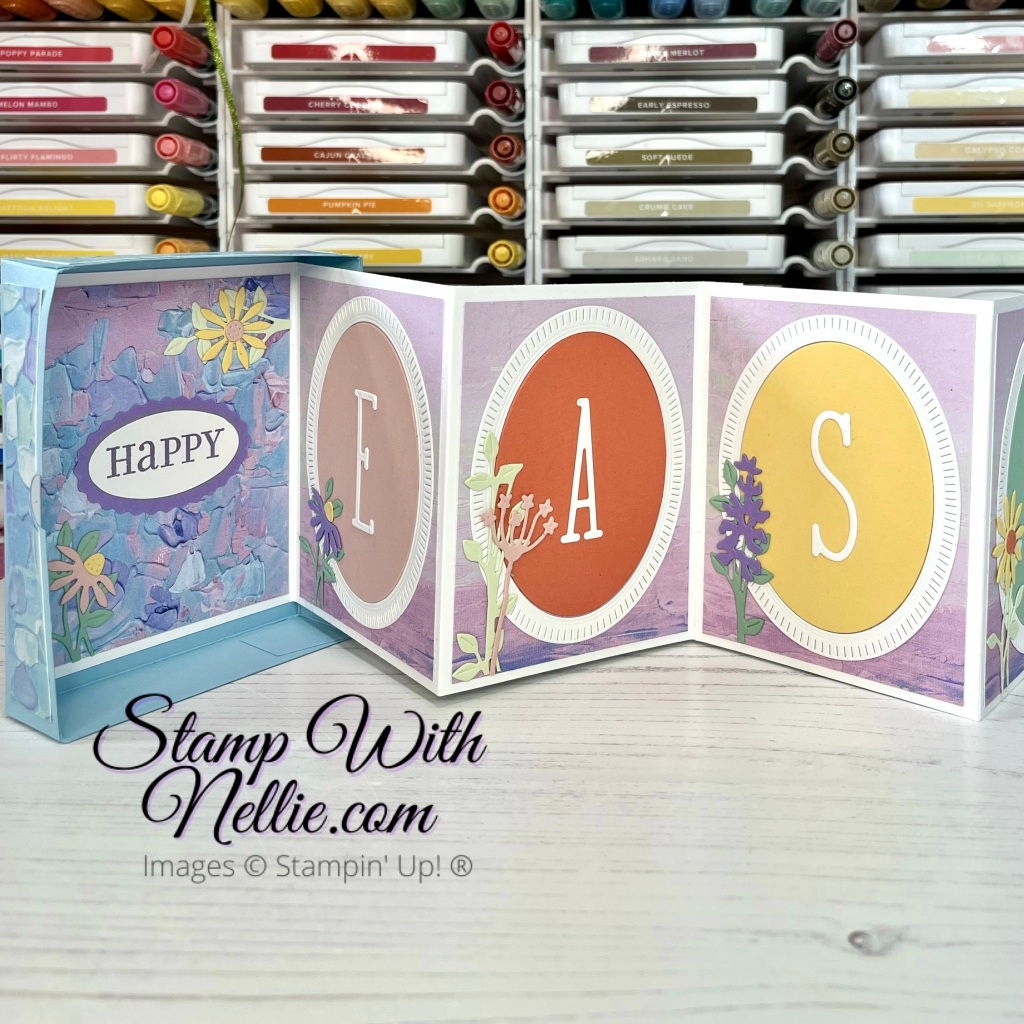
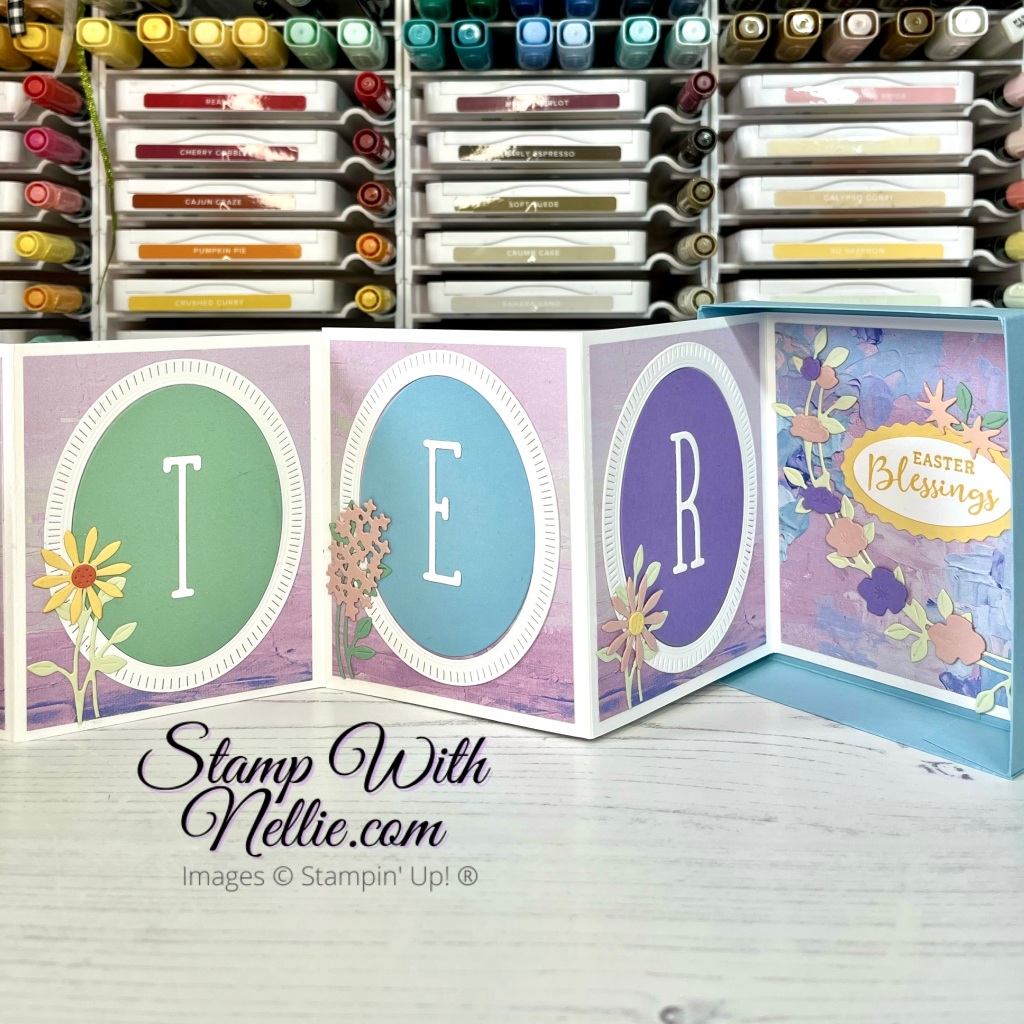
And here’s the one I made in my video (once I finished it!) along with the original one…
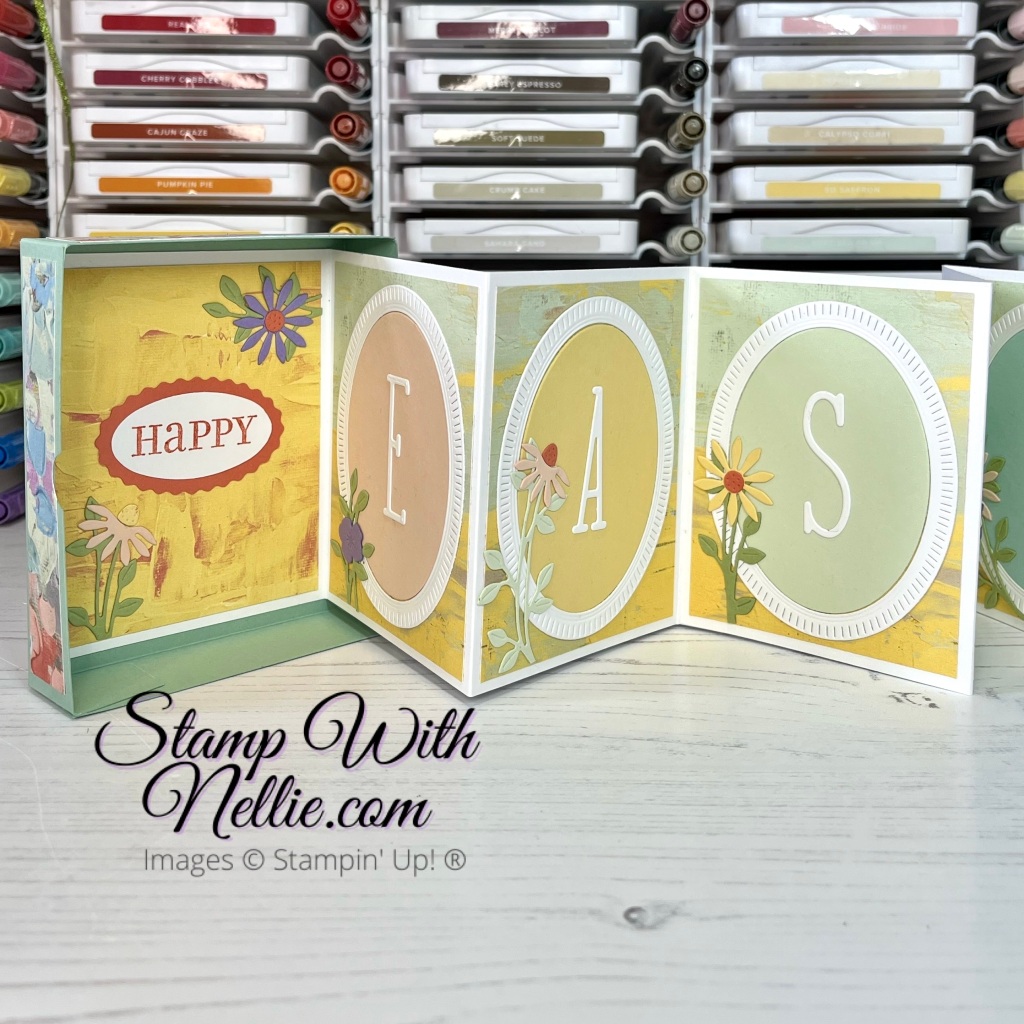
And here are some close ups of both versions…
I hope you’ve enjoyed today’s project and will try it out too.
Shop the products
I’ve listed the products I used for this project below. You can click on any of the links in the Product List to visit that item in my online Stampin’ Up! store.
When you shop with me you’ll receive a handmade card and gift as a token of my appreciation. If your order is under £150 please use the current Host Code so that I can add in a free product to your customer thank you pack for the month. Find out more on the Host Code page in the main menu.
Happy crafting,
Heather x
Product List


Leave a Reply