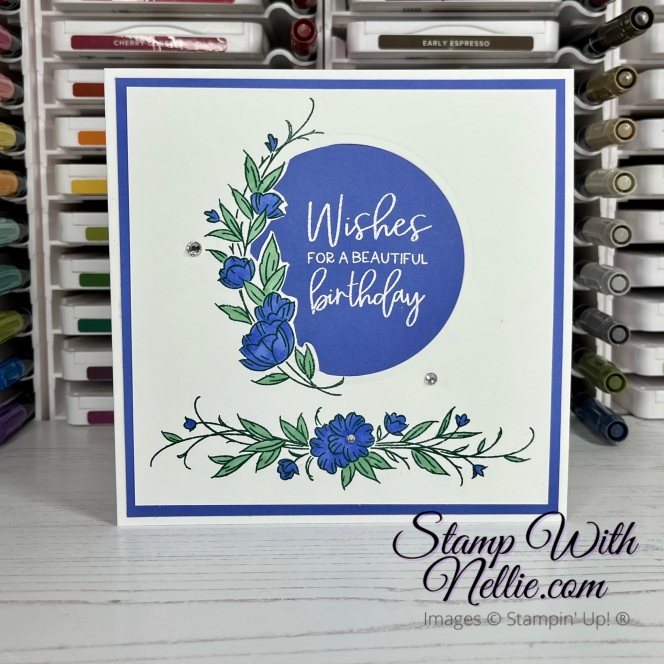
Hello, I hope you are well.
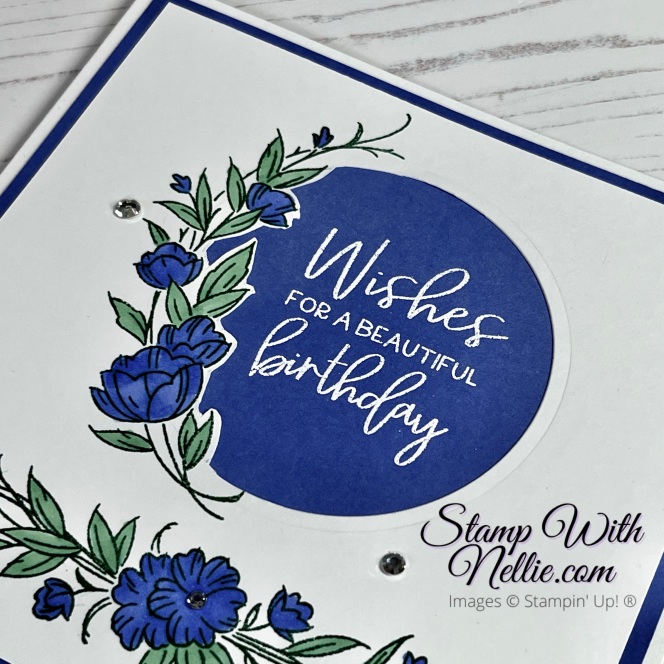
Today I’ve got a YouTube tutorial to share with you for this fun technique where you partially die cut and partially fussy cut on a card layer…

I’ve used a gorgeous new stamp set that features in the Stampin’ Up! mini catalogue that launches TOMORROW – 5th January 2023. It’s called Decorative Borders.
I also used a stamp from Framed Florets for the sentiment with white heat embossing.
I’d love for you to click on the image below to watch my video tutorial for this technique….
Or you can watch the video by CLICKING HERE
To make this card you’ll need the following supplies:
- Basic White Thick card for the base measuring 11-1/2″ x 5-3/4″
- score on the long side at 5-3/4″
- Orchid Oasis card measuring 5-1/2″ x 5-1/2″
- Basic White card measuring 5-1/4″ x 5-1/4″
Once I’d finished recording my video I decided that I need to add some bling so put a rhinestone over the green ink beside the flowers (it would have annoyed me otherwise, lol), one in the middle of the flower in the stamp along the bottom and 1 more for luck!

I hope you like this card and will give it a try.
Shop the products
I’ve listed the currently available products I used for this card below. You can click on any of the links in the Product List to visit that item in my online Stampin’ Up! store.
The Decorative Borders stamp set is product number 160513 and will be available in my online shop from 5 January 2023.
When you shop with me you’ll receive a handmade card and gift as a token of my appreciation. If your order is under £150 please use the current Host Code so that I can add in a free product to your customer thank you pack for the month. Find out more on the Host Code page in the main menu.
Happy crafting,
Heather x
Product List


Beautiful! Looks like a great technique
Thank you so much Deborah ❤️