Hello!
Do you remember the cards I made for the Project Share Blog Hop last weekend?
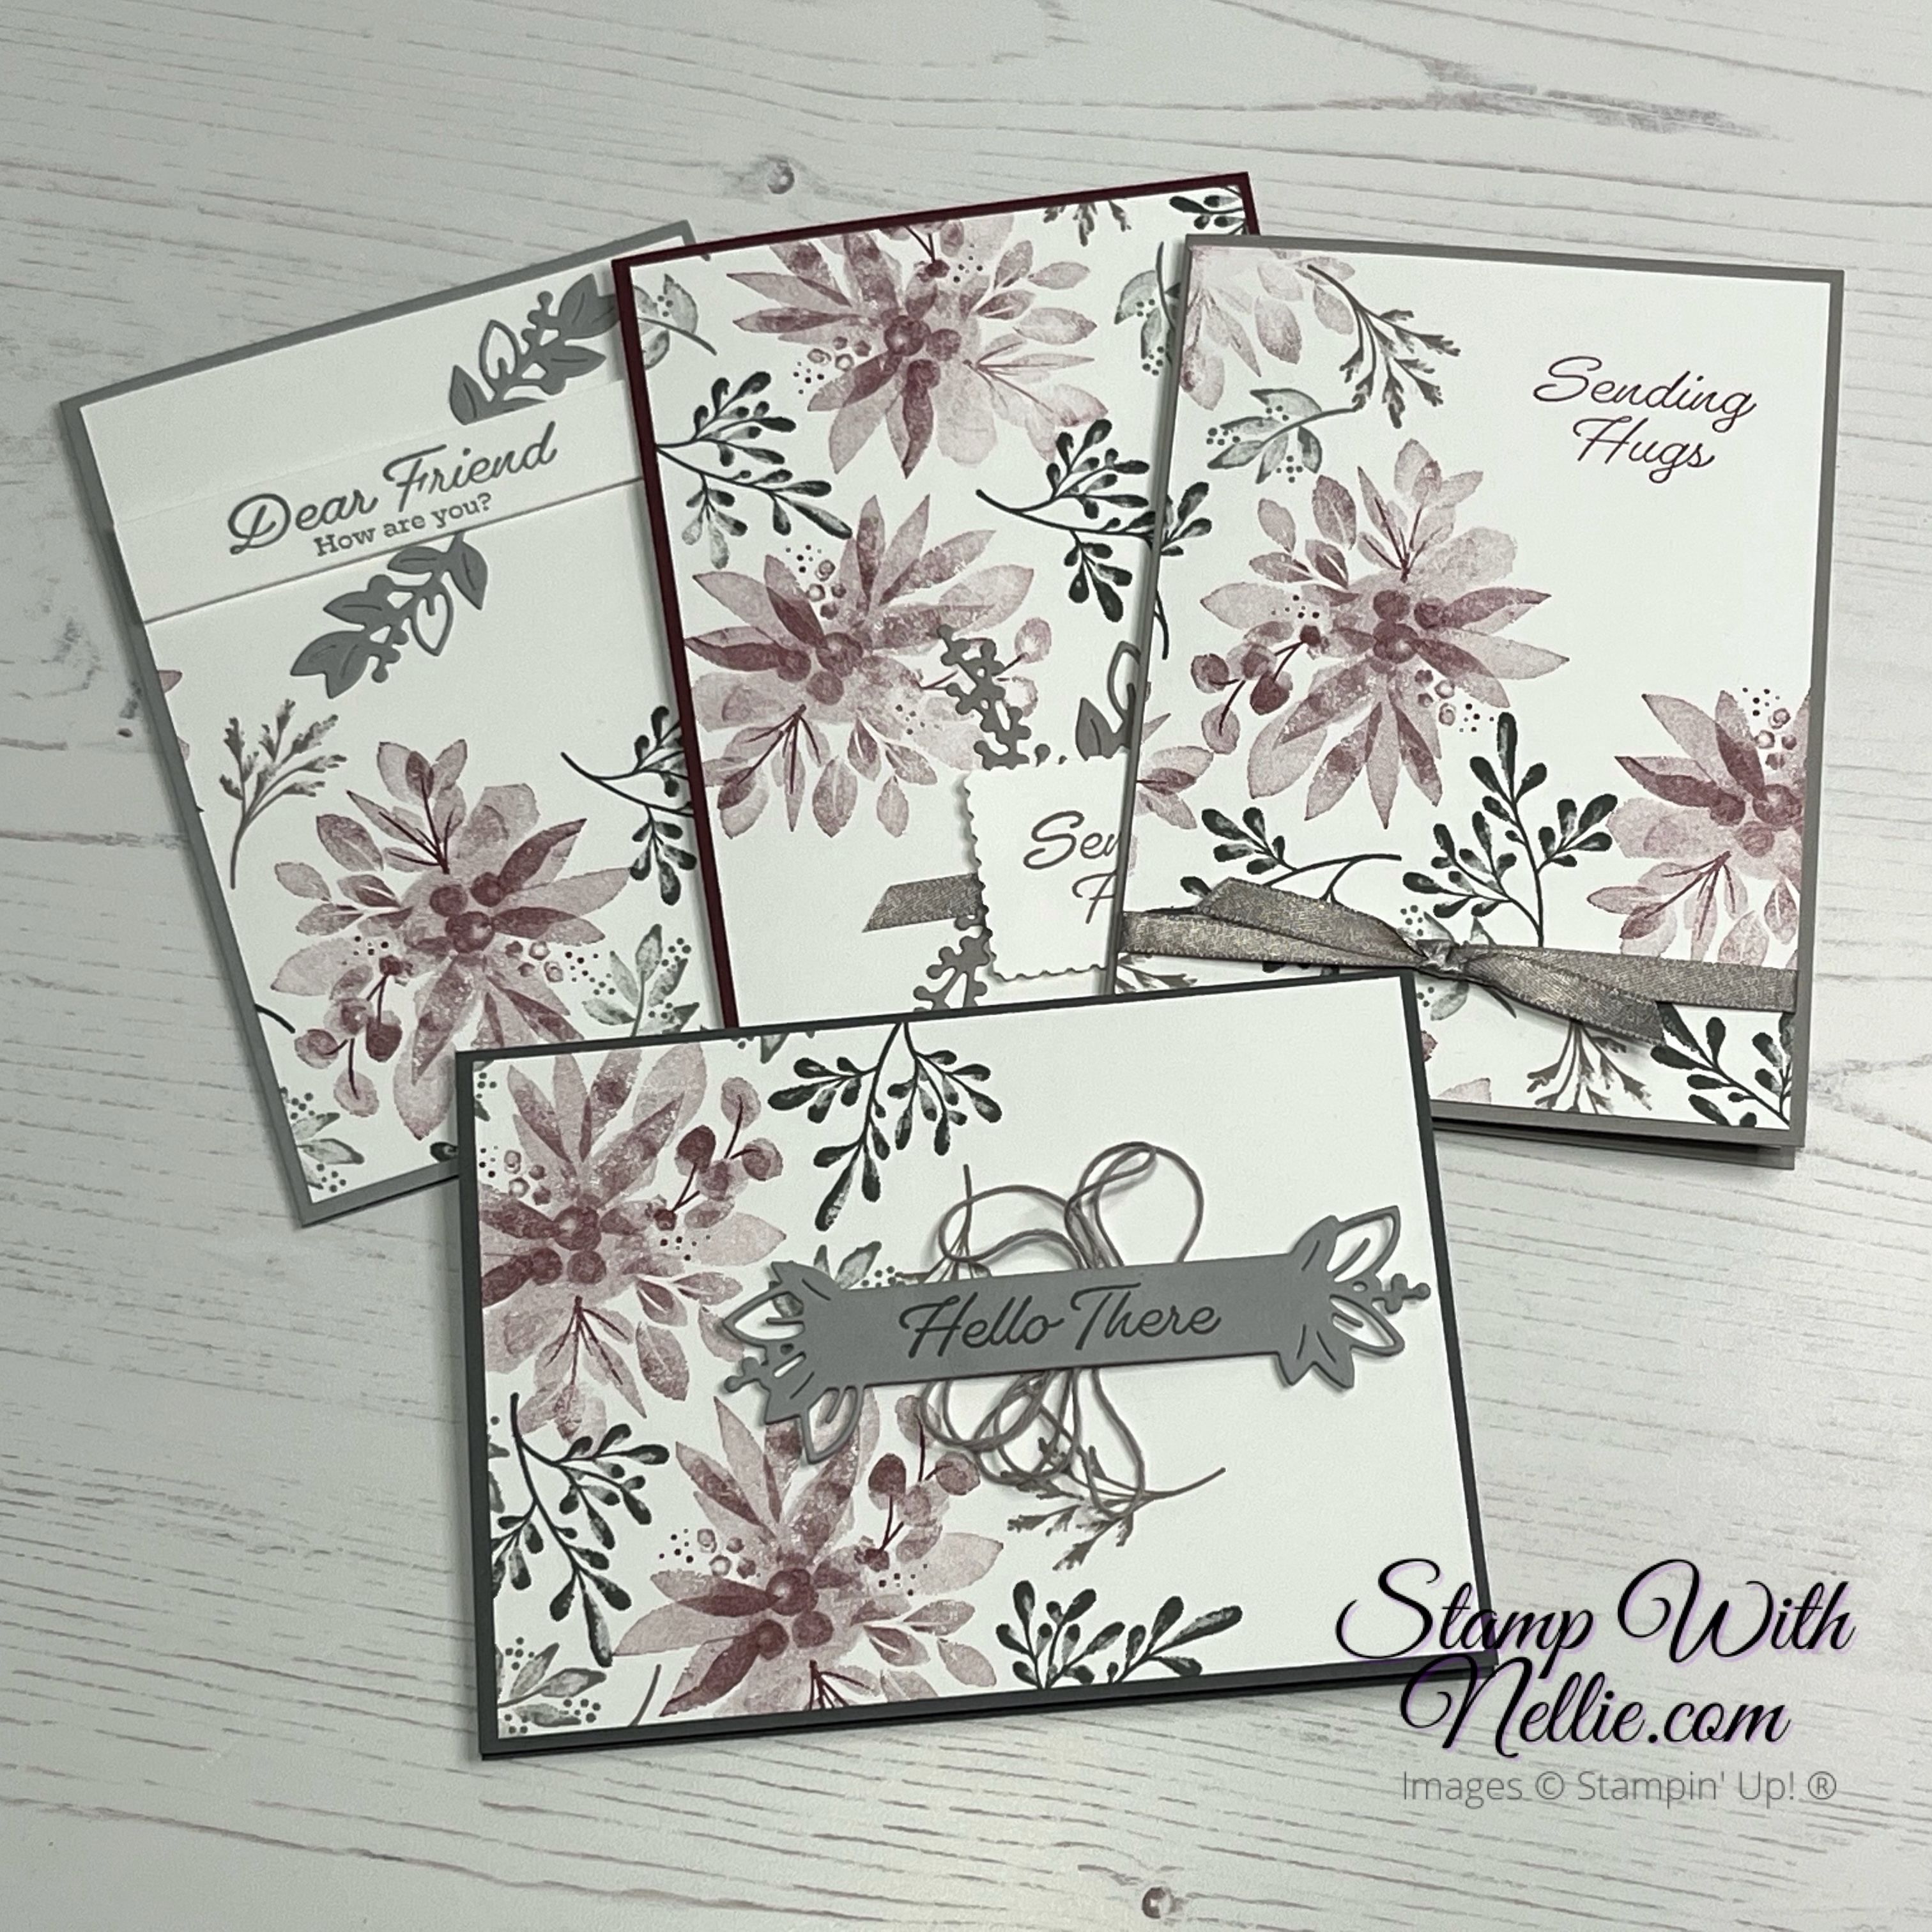
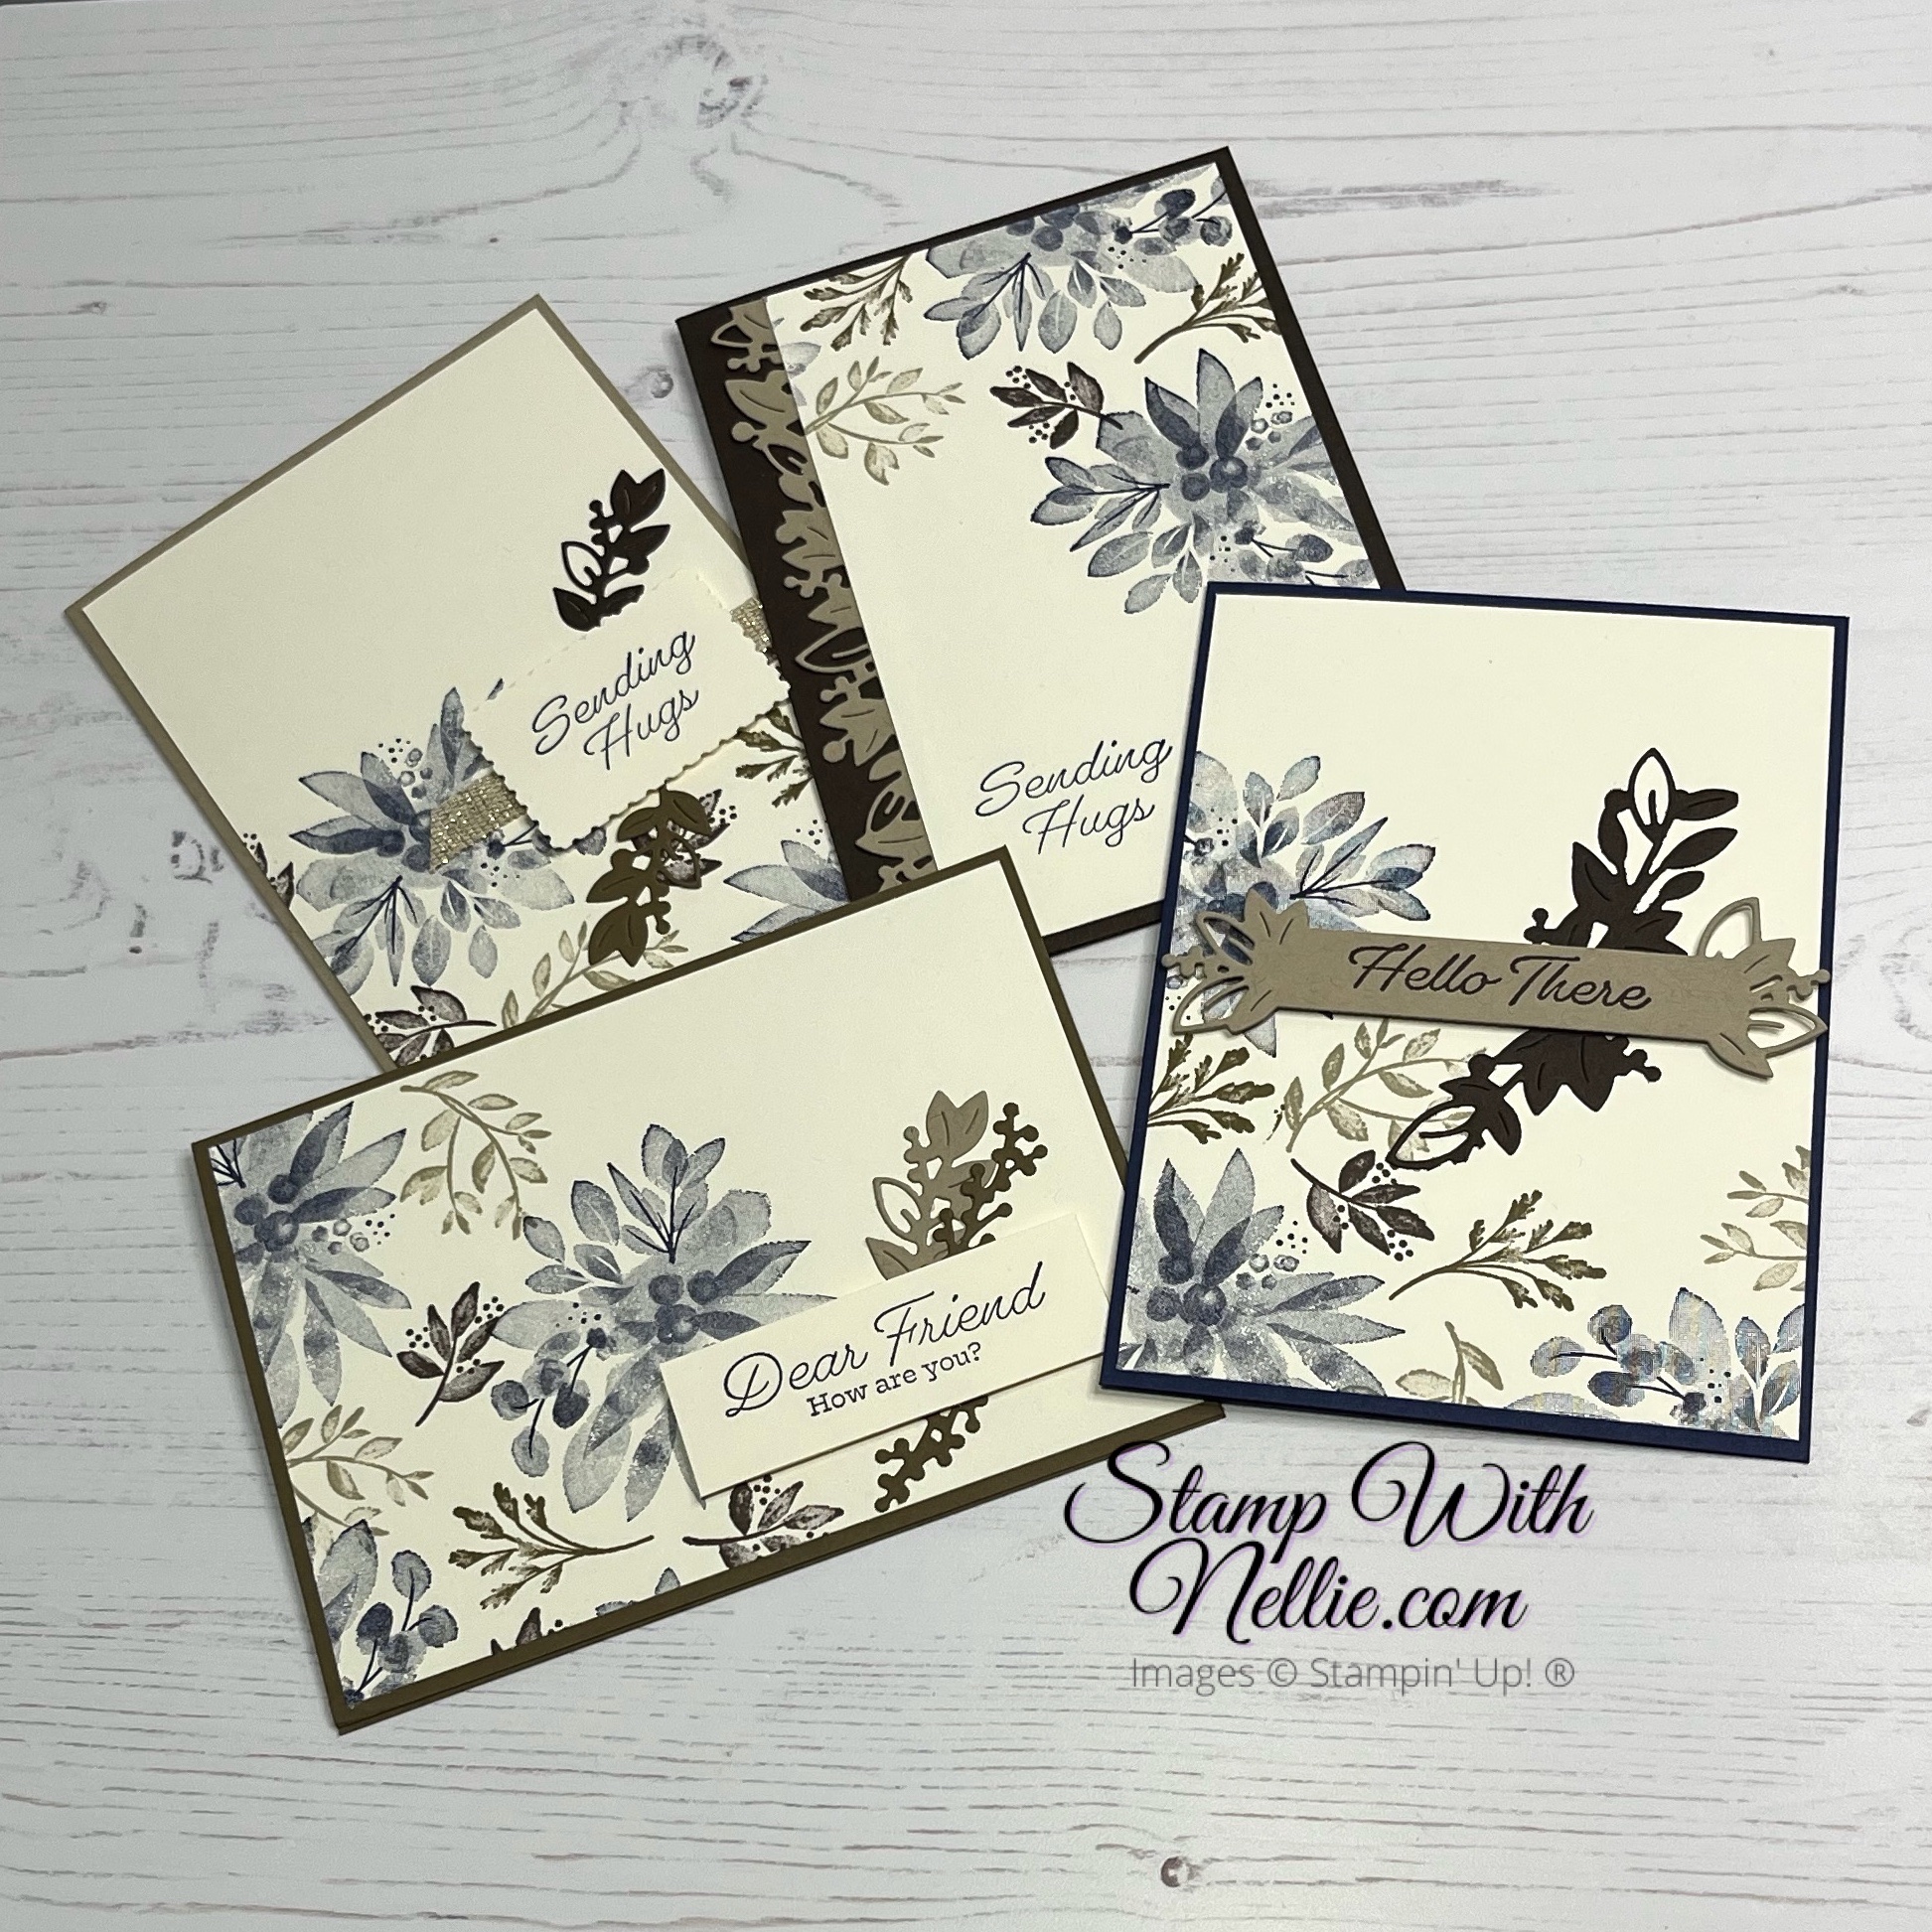
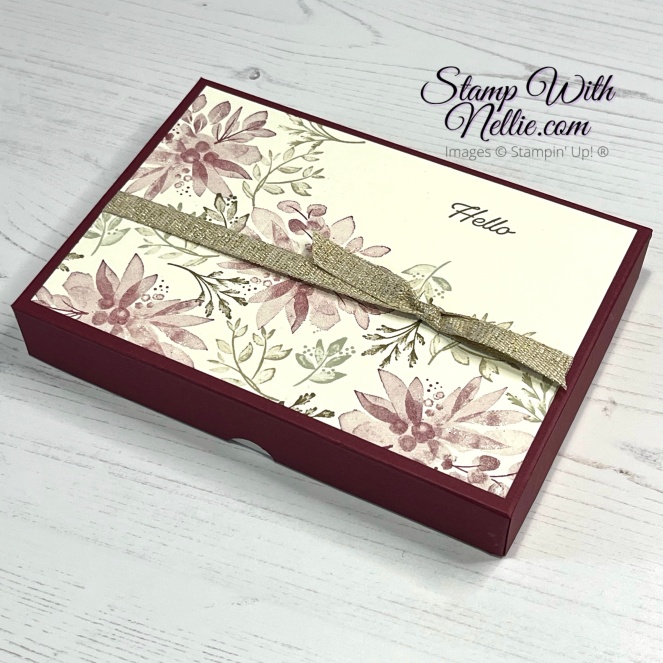
Well, I decided that they would make a nice gift for someone if I made a box to put them in and here it is…
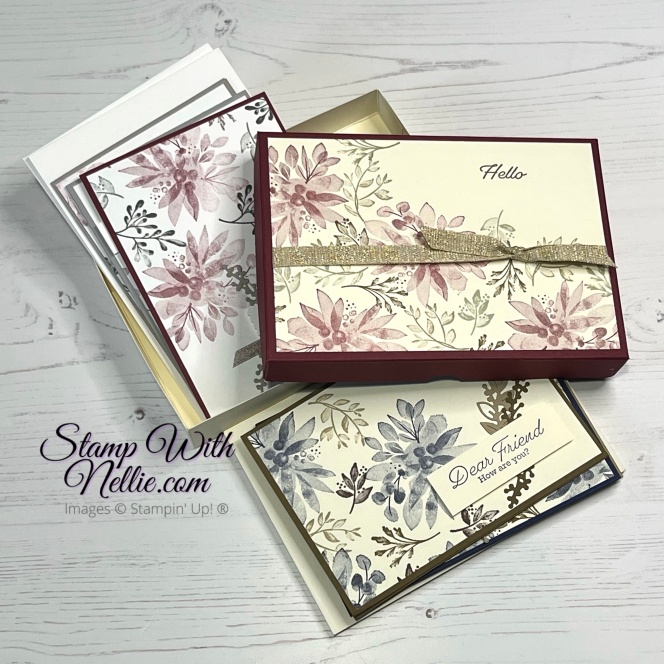
All 8 of the cards and their envelopes fit nicely inside this pretty box…
I have a video tutorial to show you how easy it is to work out what size of card you need and then make this lidded box…
My envelopes are obviously bigger than my cards and so I measured them and decided that my box needed to be 6-3/4″ x 4-3/4″ x 1″ when assembled. The length of card I needed was 8-3/4″ (6-3/4″ plus 1″ plus 1″) and the width was 6-3/4″ (4-3/4″ plus 1″ plus 1″). The card for my lid needed to be 1/16th longer and wider than the base to give a good fit.
Obviously if you wanted to put more cards in the box you’d need to increase the depth from 1″ to the height of your pile of cards and envelopes. Then you’d need to adjust the sizes of the pieces of card stock you’d need for both the base and lid accordingly.
Here are all the measurements for the box I made in the video:
- Very Vanilla Thick card for the base = 8-3/4″ x 6-3/4″
- score at 1″ on all 4 sides
- Night of Navy card for the lid = 8-13/16″ x 6-13/16″
- score at 1″ on all 4 sides
- Very Vanilla card for stamping = 6-1/2″ x 4-1/2″
Here’s the original along with the one I made in the video…
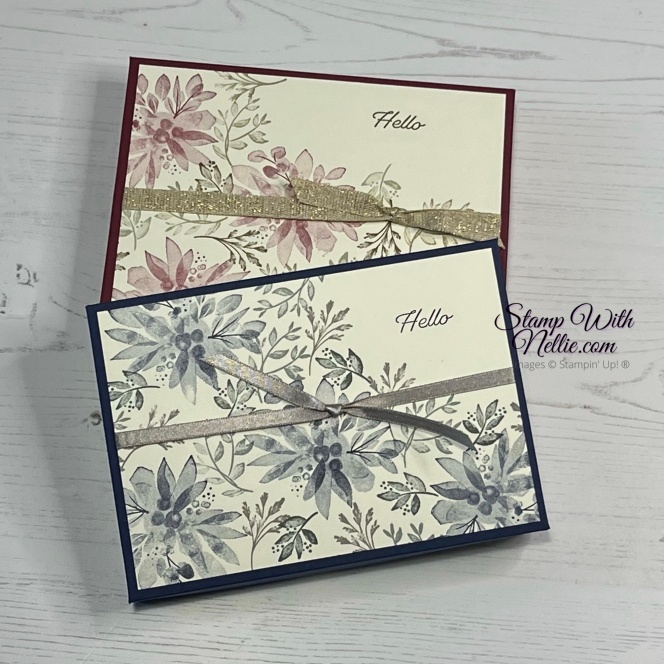
I hope you’ve enjoyed this project. If you’d like to watch the video for the cards enclosed in the box then please click on the image below:
Shop the products
I’ve listed all of the products I used for the box in today’s video below. You can click on any of the links to see that product in my online shop.
When you shop with me you’ll received a handmade card and gift as a token of my appreciation. If your order is under £150 please use the current Host Code so that I can add in a free product to your customer thank you pack for the month. Find out more on the Host Code page in the main menu.
Happy crafting,
Heather x
Product List


Leave a Reply