Wow, yesterday’s Celebrating Scotland was absolutely awesome!!
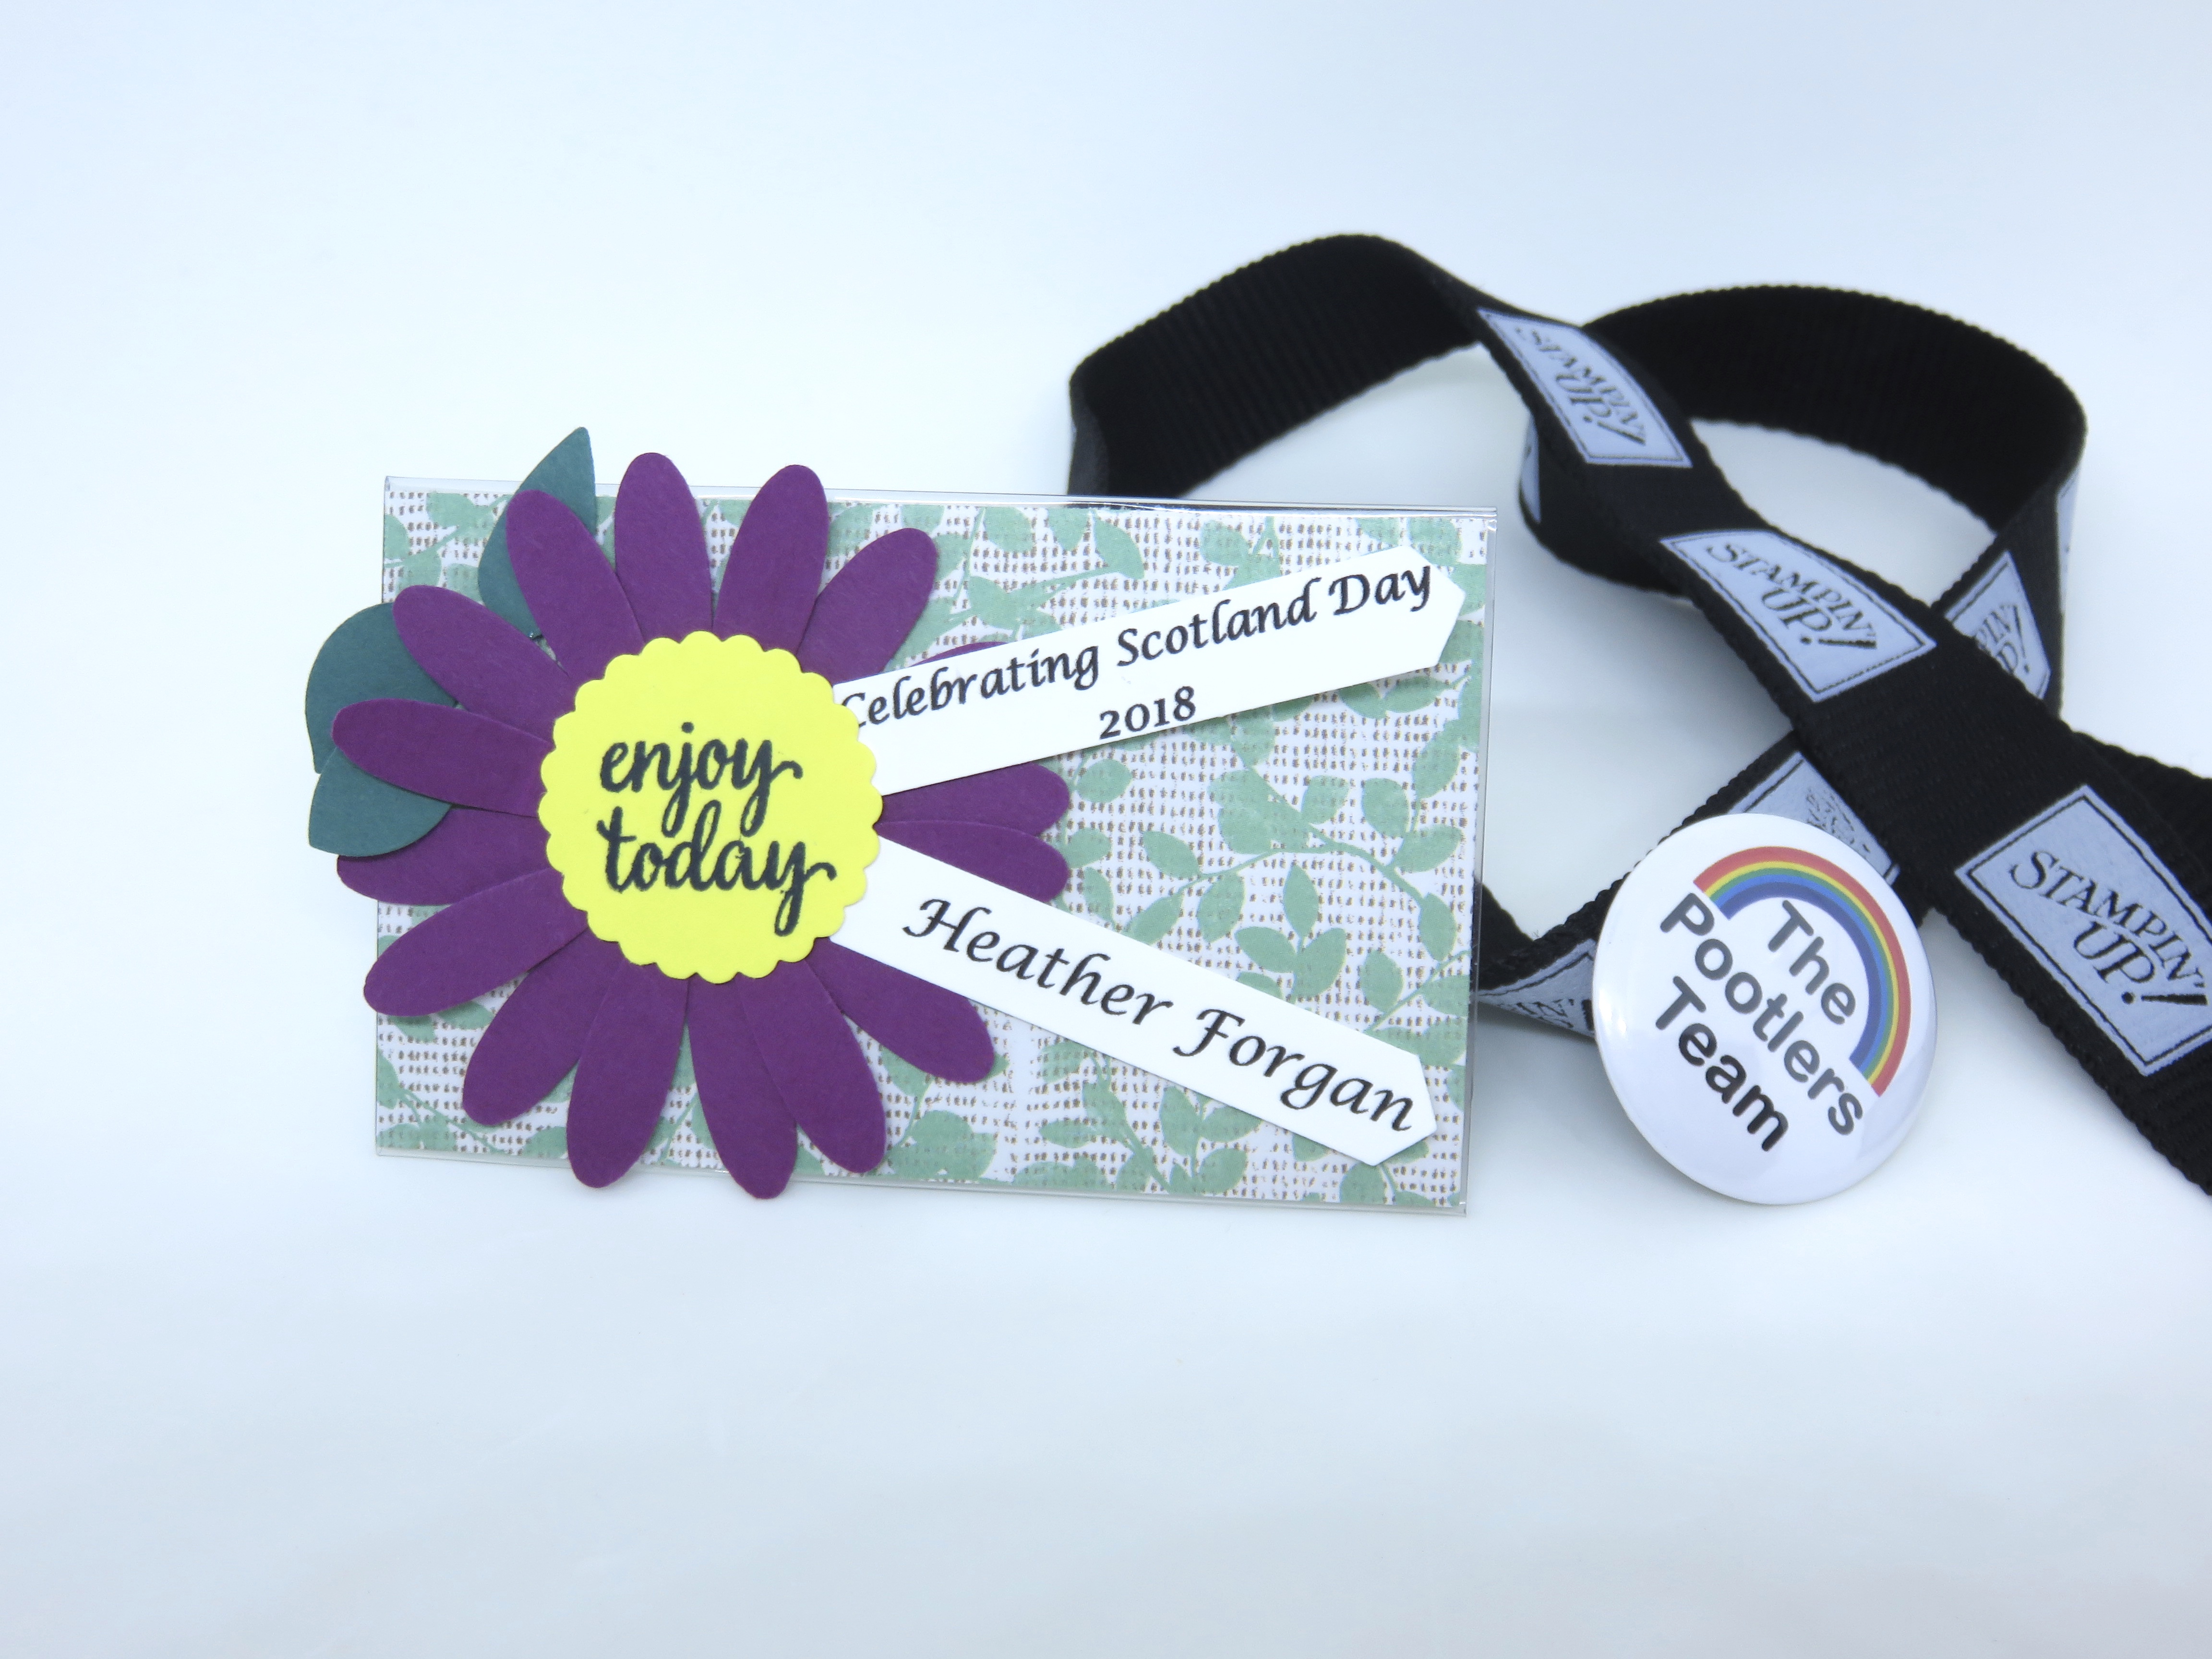
This was an event organised by a small group of Scottish independent Stampin’ Up! demonstrators for independent demonstrators from all over Scotland. They did a fabulous job and I sincerely hope that we can make this an annual event. Even the name badges we were given were SO pretty…

I said yesterday that I would post photos on Instagram but I failed, I was having way too much fun to stop and take photos of what we were doing – sorry!
Anyway, I will share more information about yesterday’s event in upcoming blog posts but firstly I wanted to share with you what I made to swap with my lovely Stampin’ Up! friends old and new….

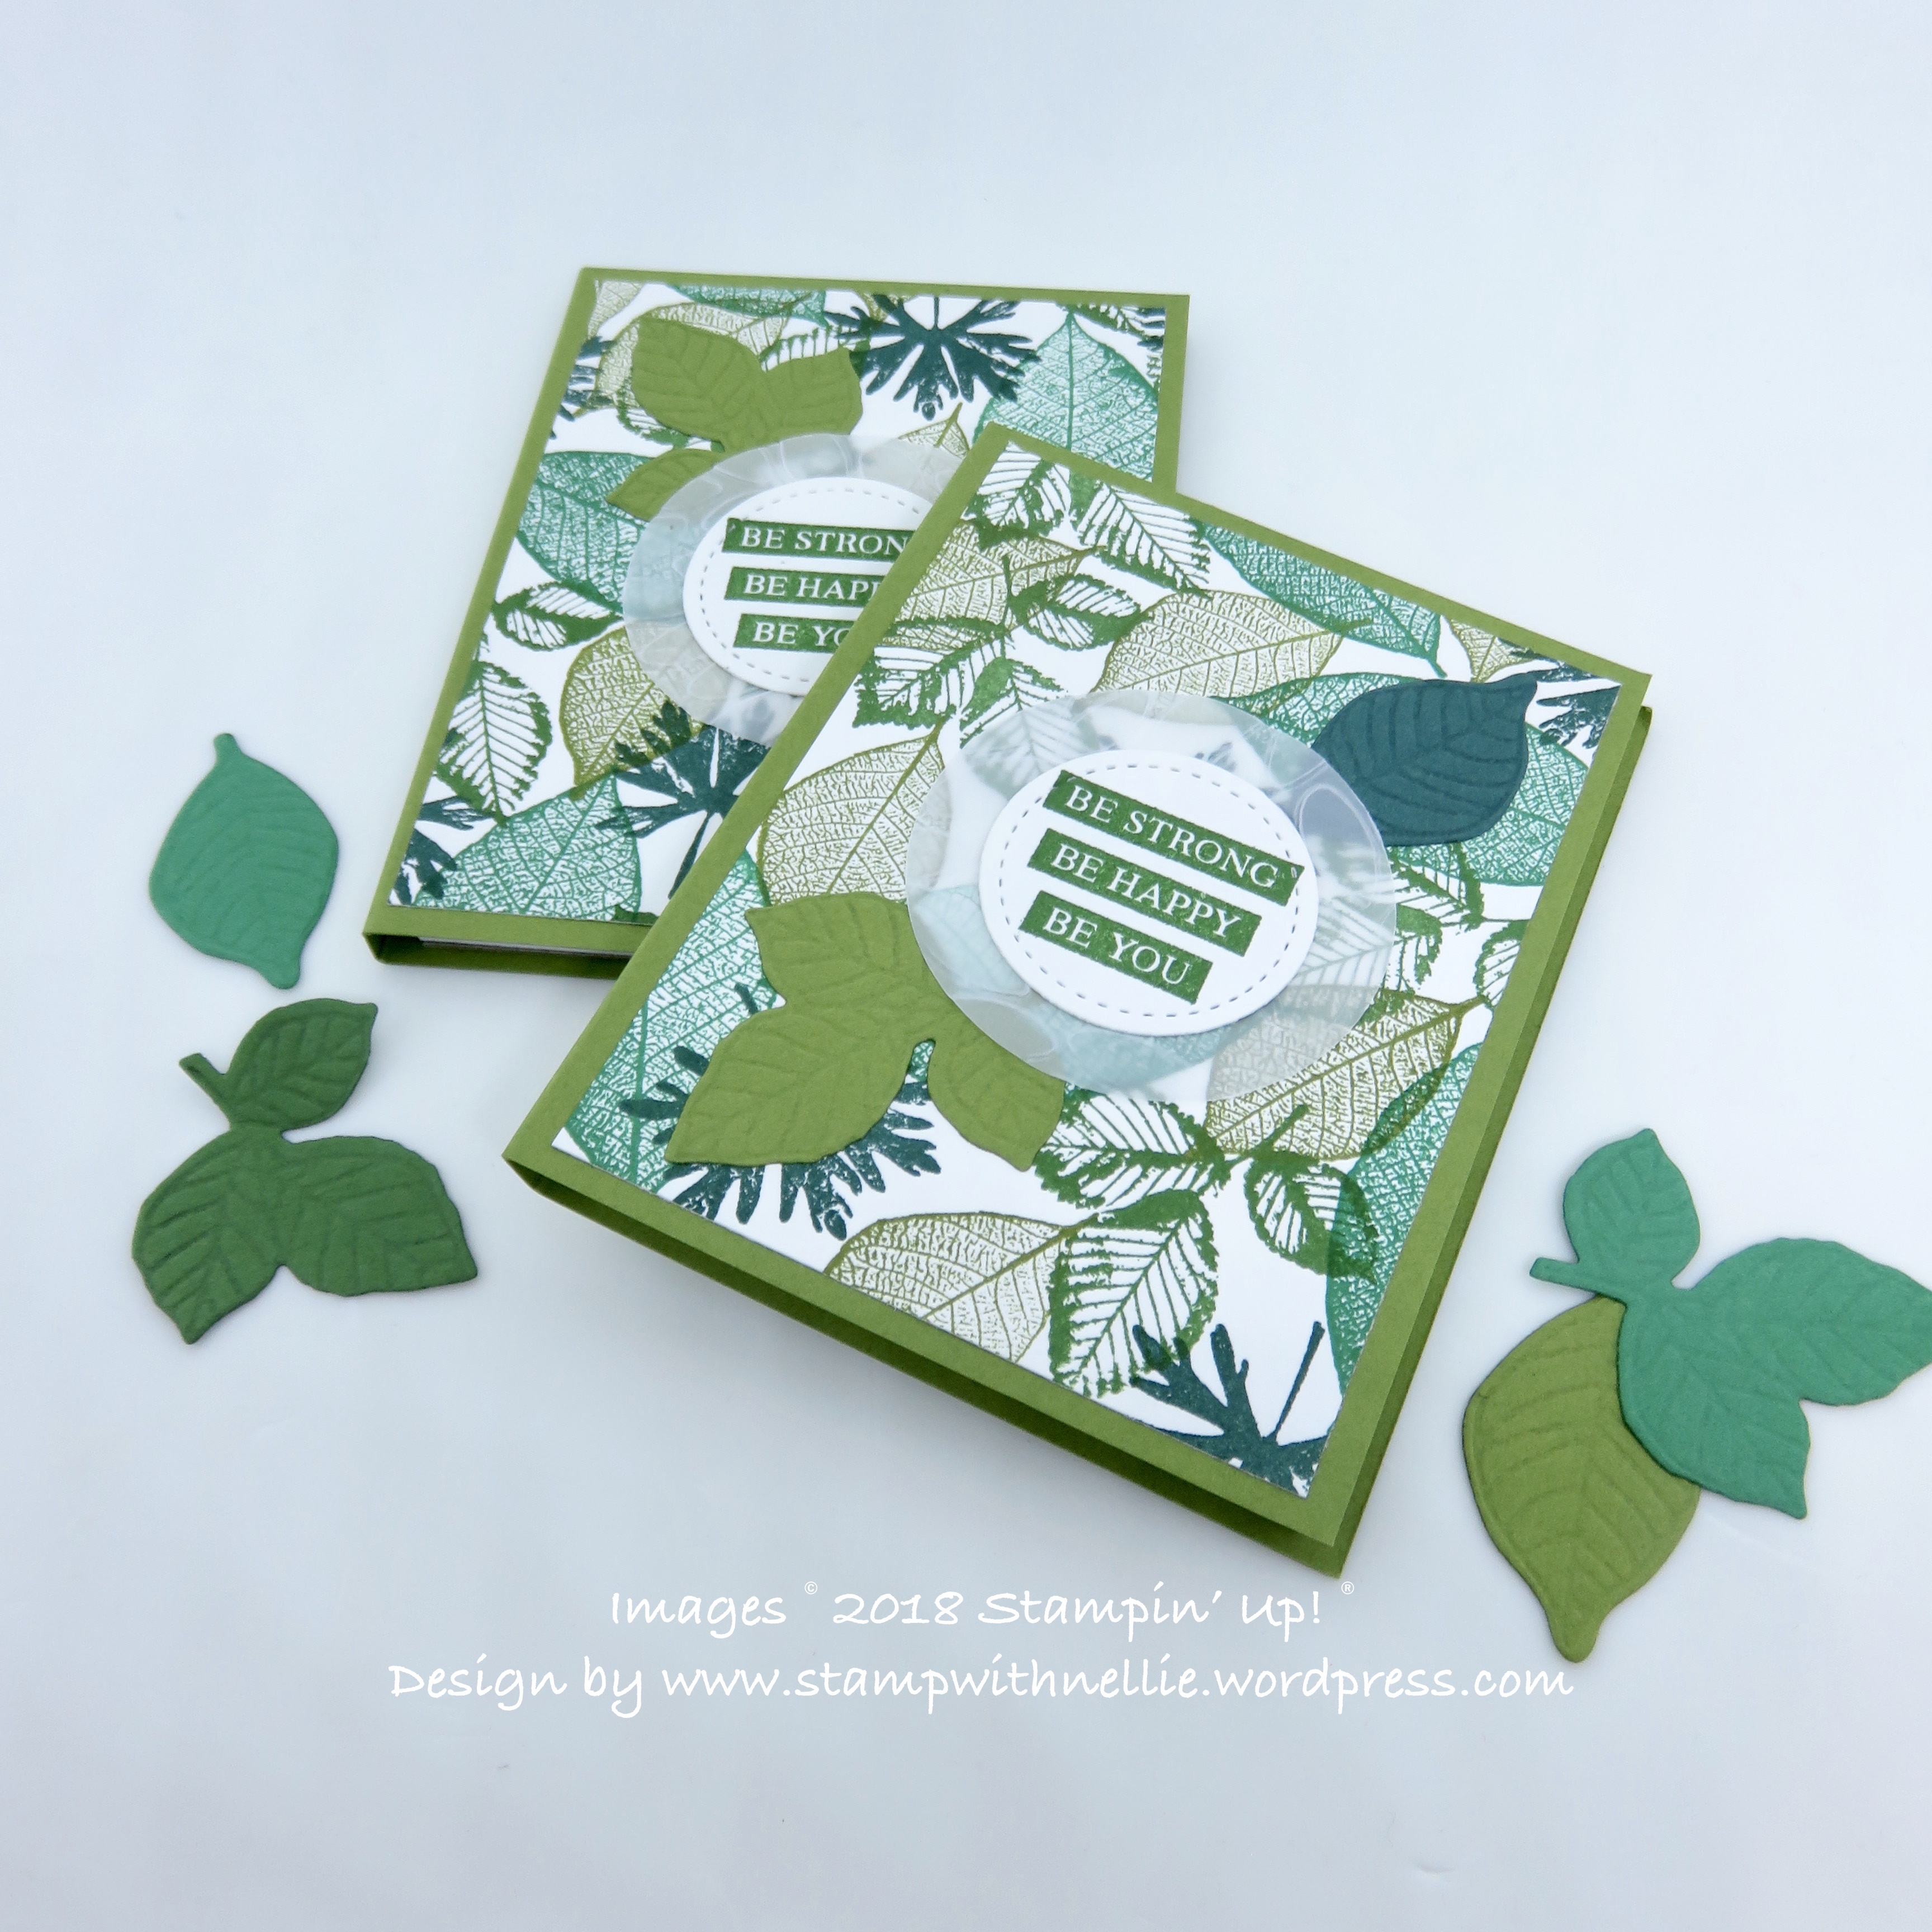
I love a pretty notebook and I reckoned that many of my friends would too – and they did!
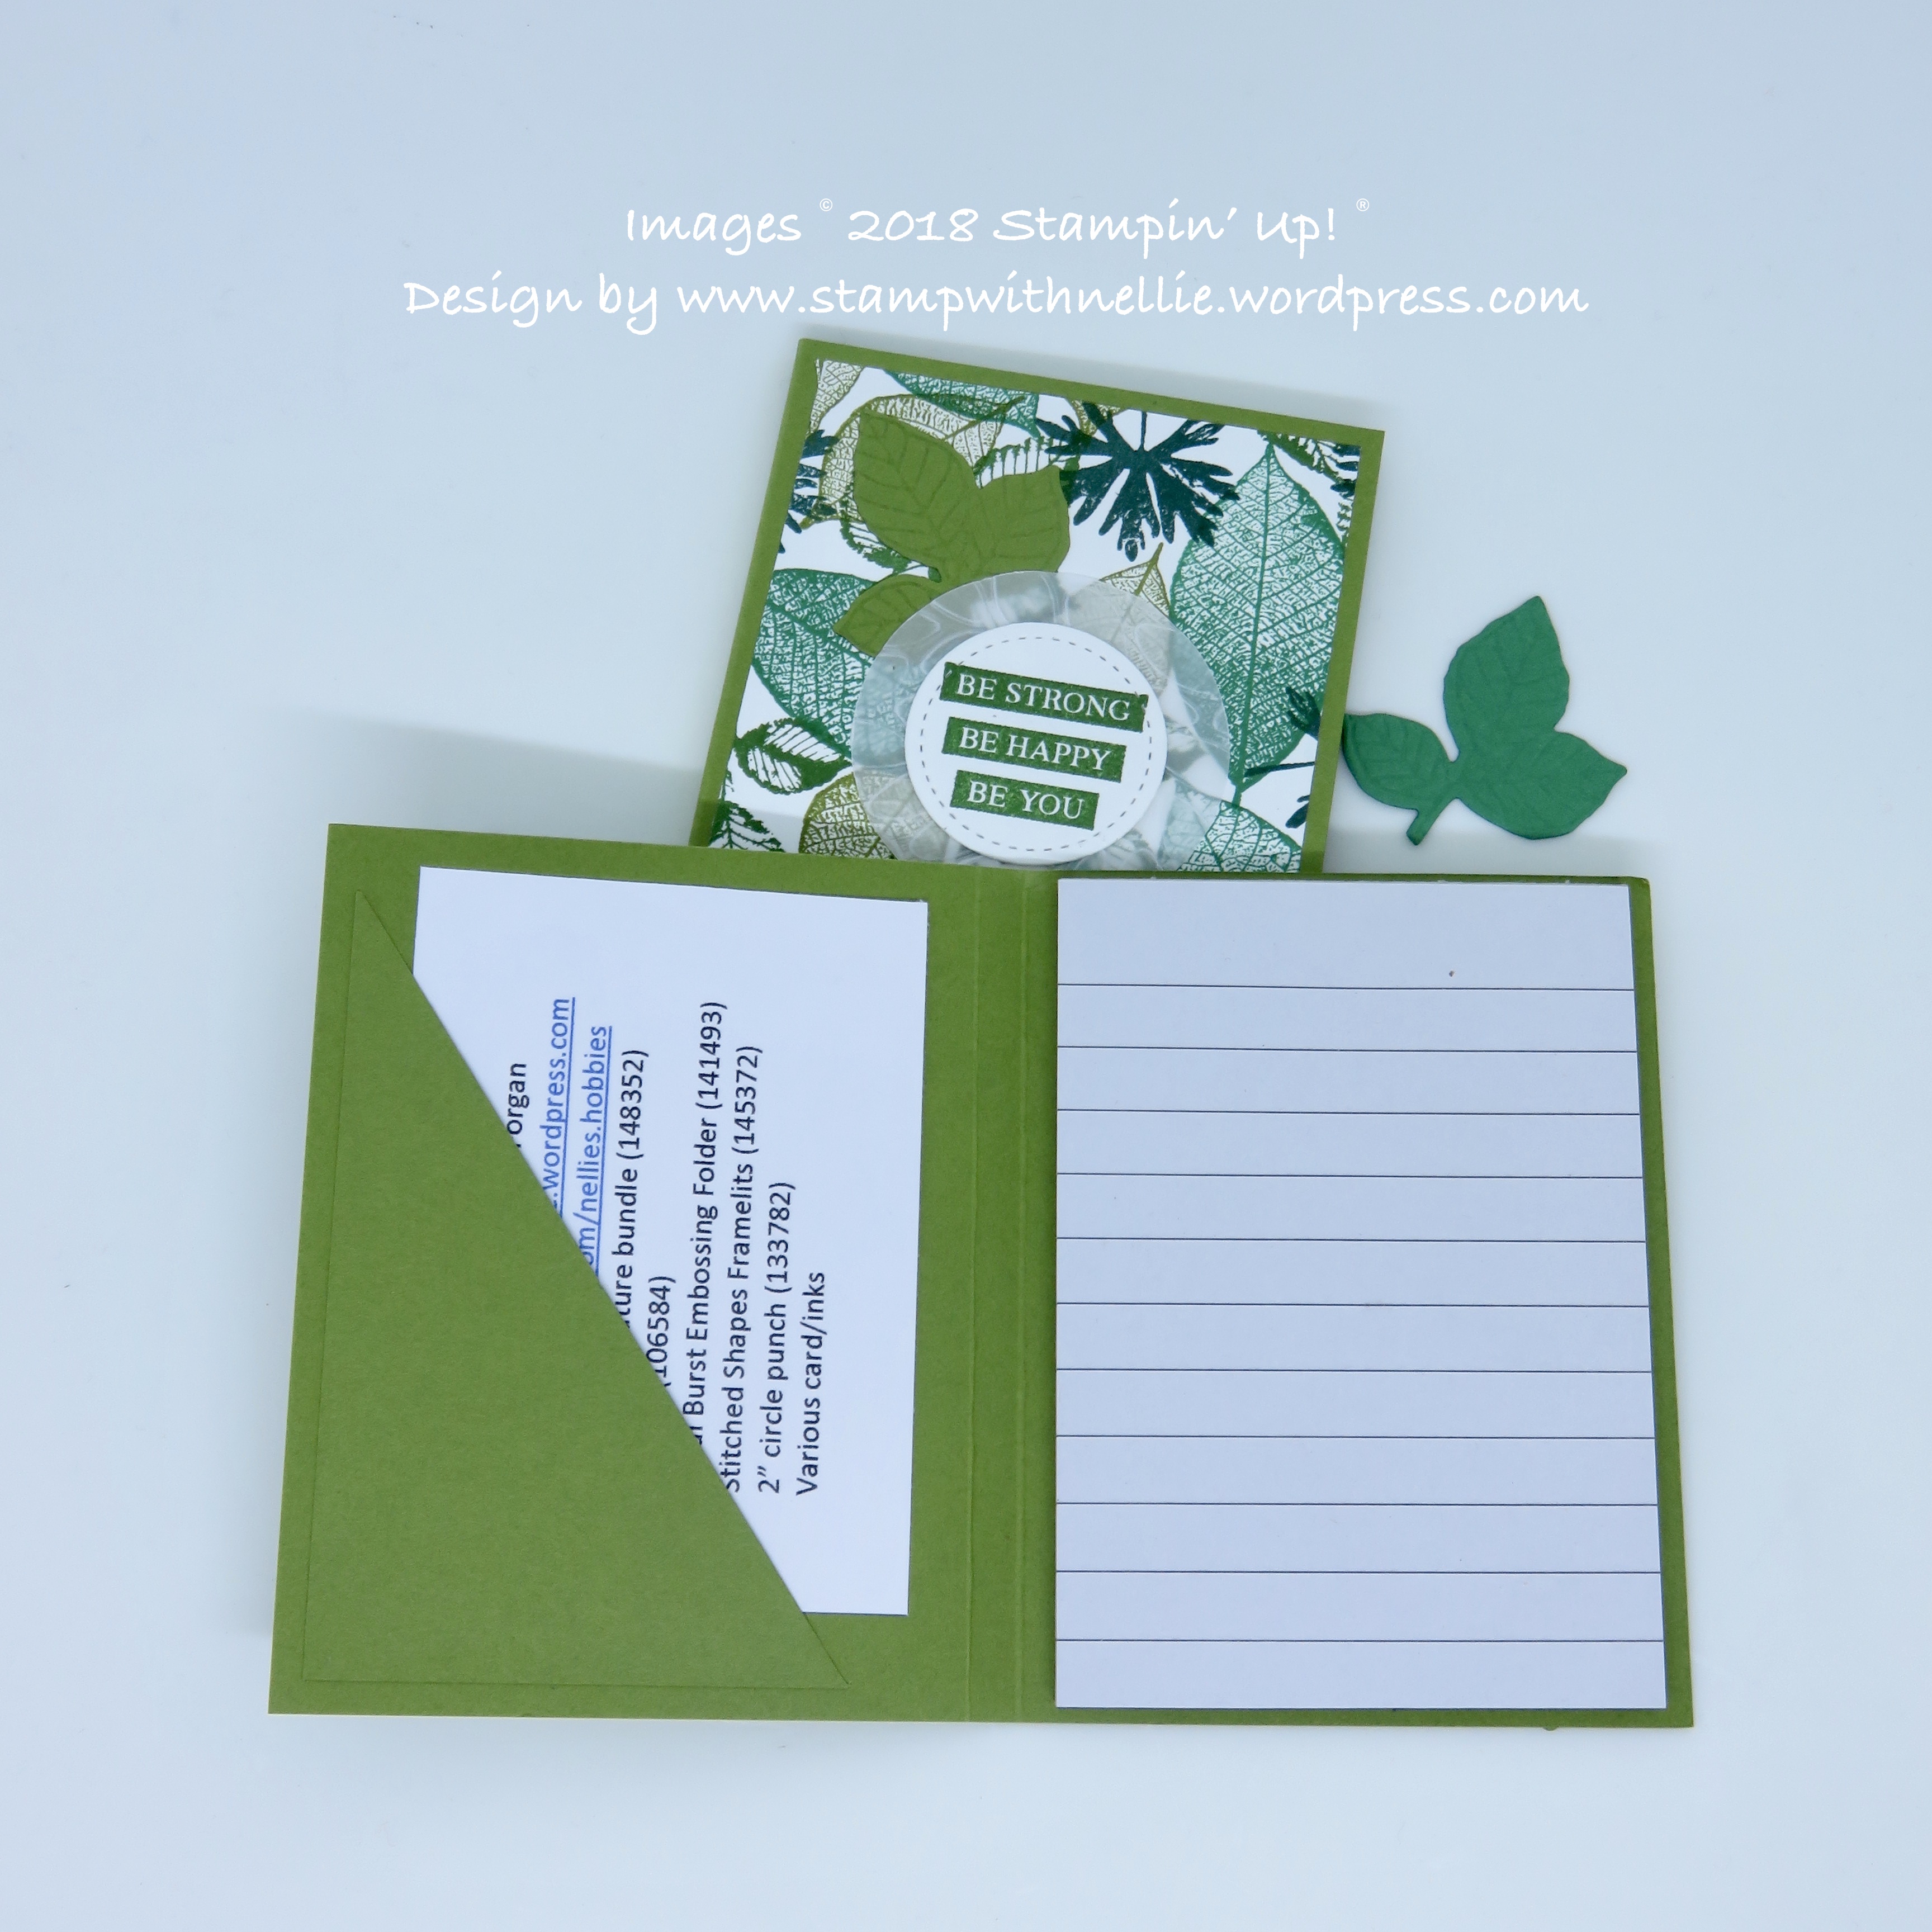
We make sure that we share our details on our swaps and I decided that I would print mine out on card and slip it into the pocket I made in the notebook. My fellow demonstrators can use this to keep one of their business cards handy at all times too…

Although these were easy to make there were quite a lot of components and when you’re making 45 it was rather repetitive and time-consuming, lol
- I cut card measuring 6 and 3/4 by 4 and 1/4 inches
- On the long side score at 3 and 1/4 and 3 and 1/2 inches then burnish your scorelines
- cut another piece of the same card measuring 3 and 3/4 by 2 and 1/2 inches and then cut that diagonally so you have 2 pieces for pockets, use 1 and save the other for your next notebook
- Glue your A7 notebook to the right of the inside and glue 2 sides of the pocket on the left side (don’t glue the diagonal edge)
- I stamped Whisper White card with the leaves from Rooted in Nature in a variety of green inks to create my very own Designer Series Paper (DSP).
- Cut this DSP to measure 3 x 4 inches and glue it to the front of you notebook cover
- I embossed and cut leaves from various shades of green card using the Nature’s Roots Framelits dies and glued them to the DSP
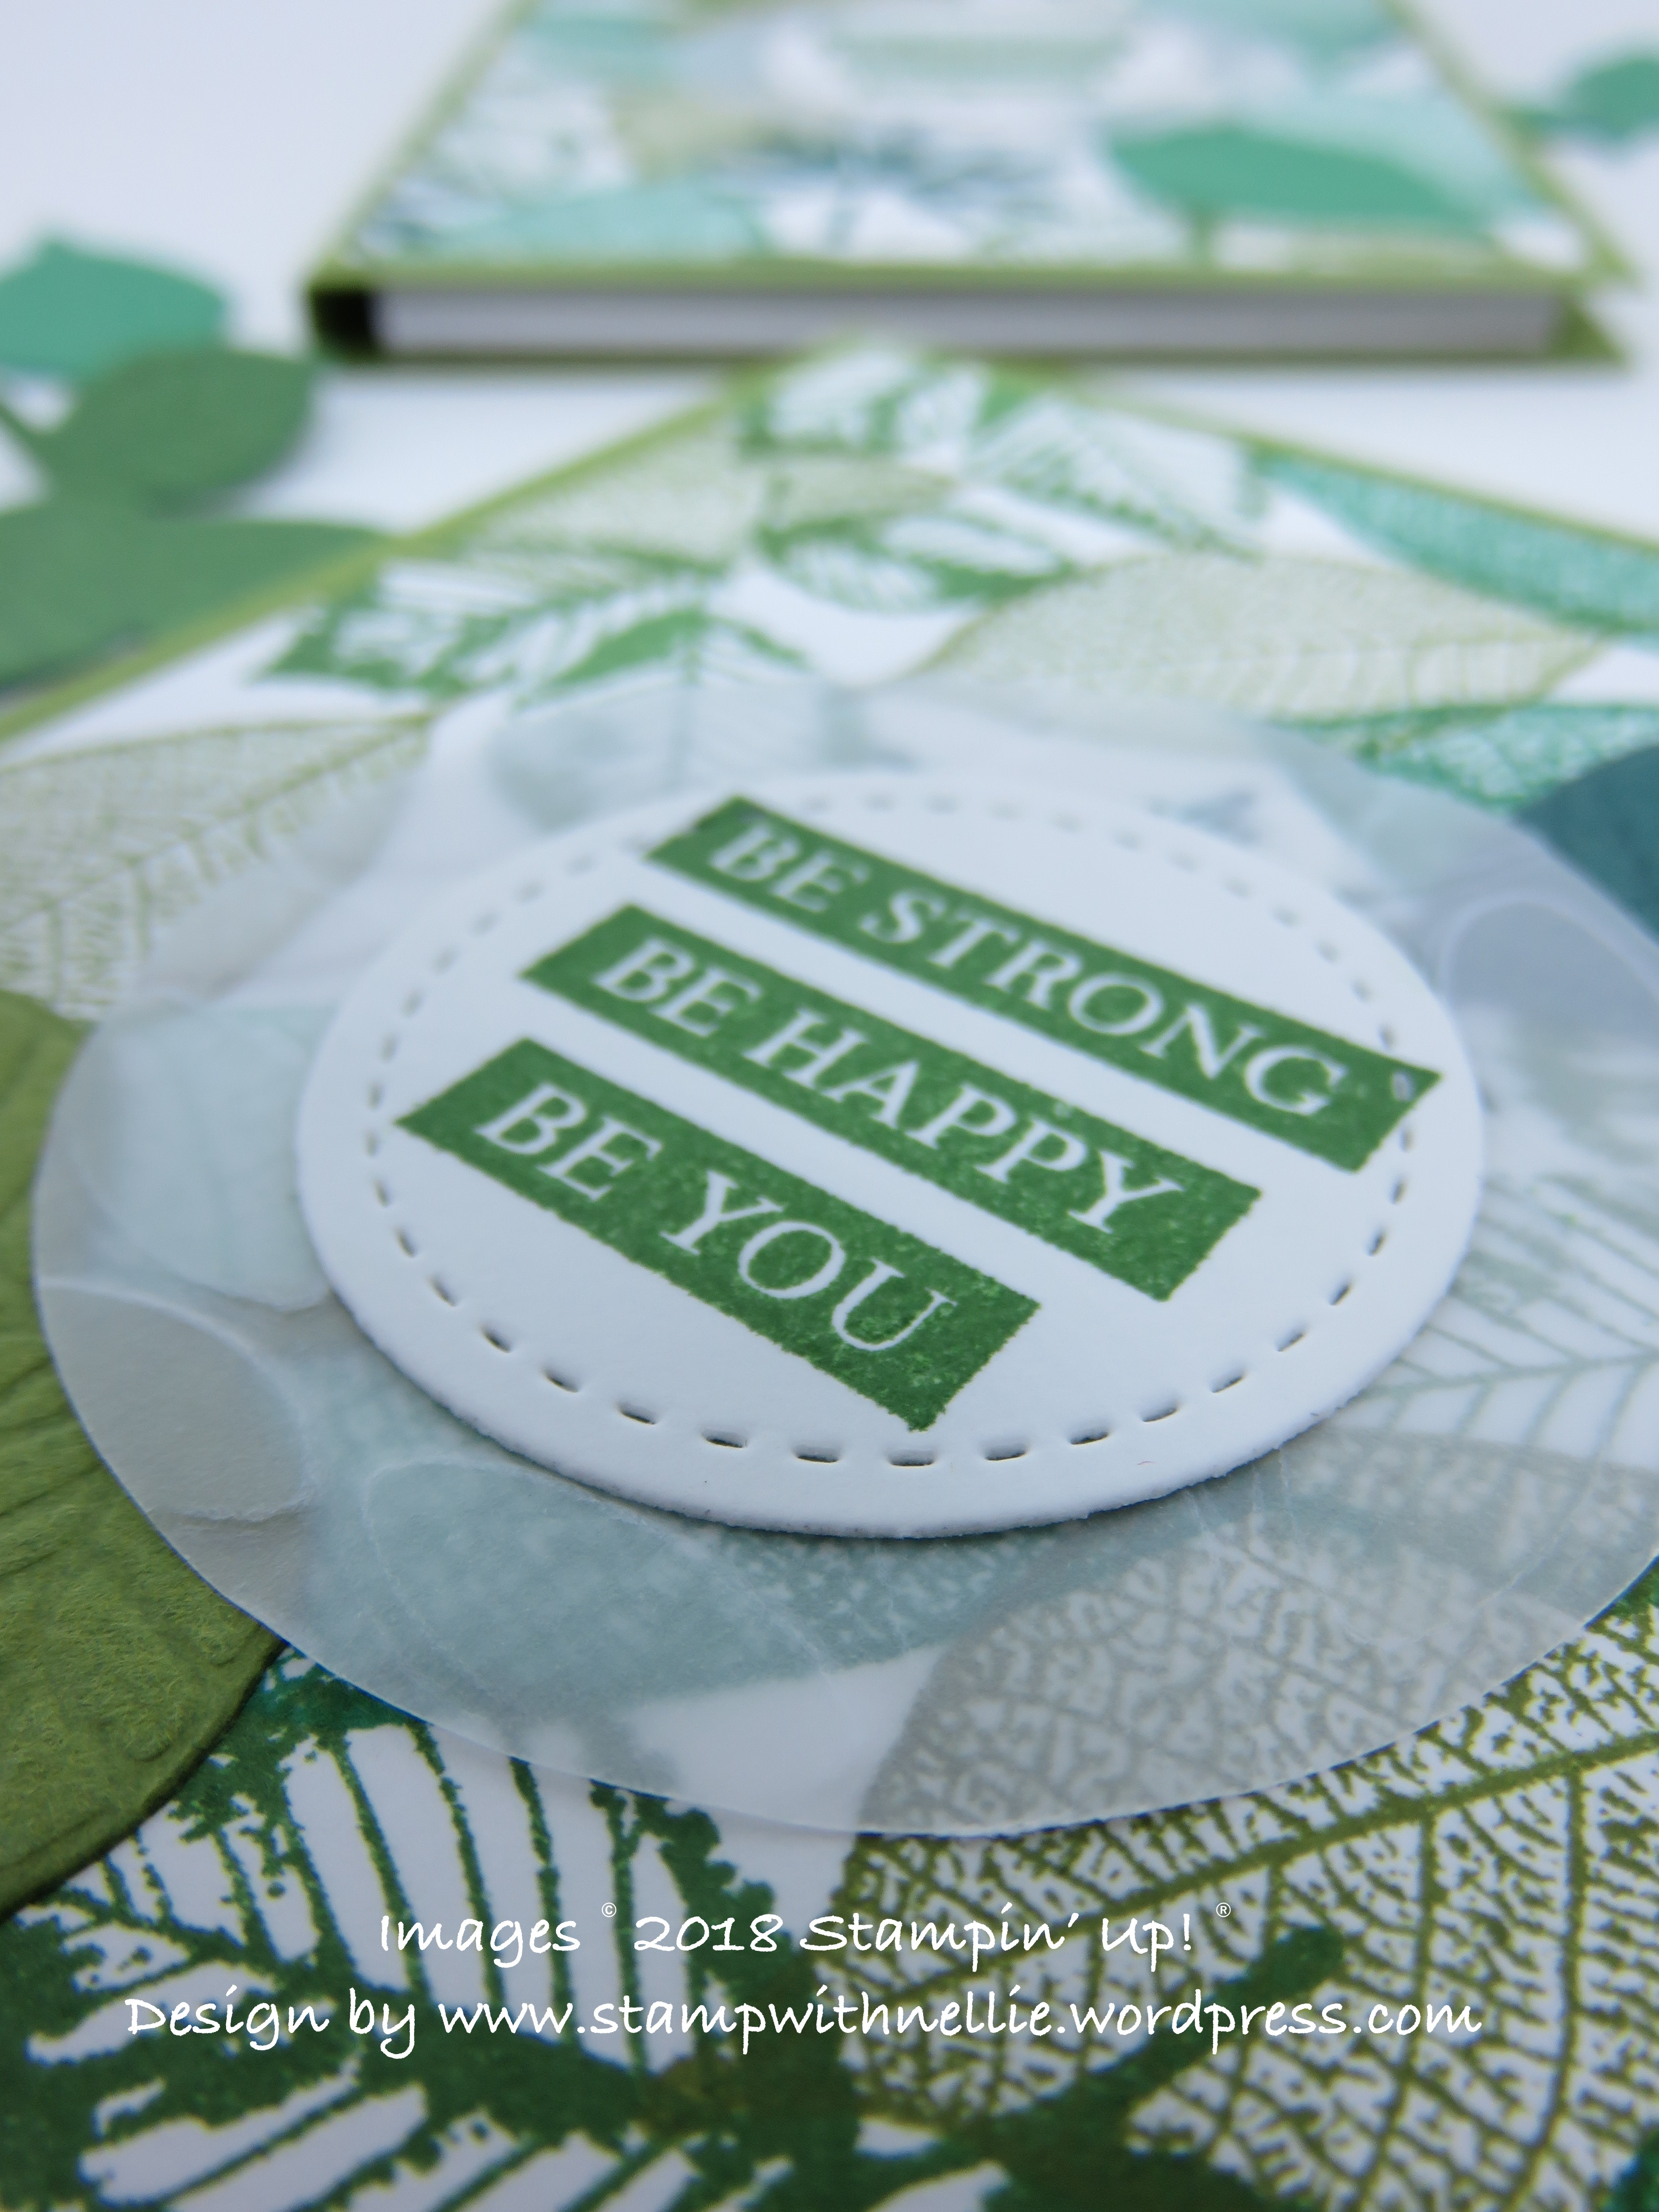
- I embossed Vellum using the Petal Burst Embossing Folder and punched 2 inch circles from it and glued that to the front too, slightly overlapping the leaves
- I die cut circles from Whisper White card using the Stitched Shapes Framelits
- As I was doing so many I used my Stamparatus to stamp the sentiment onto the circles in Garden Green ink
The Stamparatus makes multiple stamping just SO easy!
I added the leftover Whisper White card from after I cut the circles to the magnetic platform, lined up the stamp I wanted to use on hinged part and then all I had to do was pop the die cuts into the negative space on the platform, ink the stamp and close the hinge. Stamping 45 this way was much quicker than stamping them first and then having to line them up to die cut.

I hope you’ve enjoyed this project as much as I enjoyed making them for my fellow independent demonstrators.
A CHANCE TO WIN…
If you’d like me to post 1 of the spare notebooks I have left please add a comment to this post and I will randomly select someone from the comments I have before 5pm GMT on Monday 3rd September 2018.
I’ve listed all of the products I used (and there’s lots of them!) below. If you’d like to purchase any of them please click on one to visit my online Stampin’ Up! shop. I’d be honoured to be your independent demonstrator.
Also, if you’re interested in joining my team so that you too can enjoy the friendship of fellow demonstrators as well as the all important discounts on your craft supplies then please let me know. You can use the Contact Me form to get in touch.
Happy crafting,
Heather x
Product List


Would love to win one of your special notebooks, would make a beautiful addition to my collection.
Great work
Grace xx
Aww thanks Grace, that means so much to me, especially as this one is green 😂 xx
This is a great project. Thanks for sharing all the details.
Thank you so much for your lovely comment 😊